14
Initial Calibration
The sensor in the hood provides an activation time, when you
plug your appliance to the power for the first time.
This activation will take 5 minutes. After this process, you
can set your hood to automatically connect with an Elica’s
cooktop, or make the Manual settings to calibrate the sensor
to work without connectivity.
Automatic operation (sensor), connection with Golden
Induction Cooktop® and Diamond Cooktop®.
Attention!:
The proper operation of the hood will depend on
the
’Setting of parameters for Automatic Operation’
(see dedicated section)
đƫ
To connect the hood and hob, plug both appliances to the
power at the same time.
đƫ
Once you plug the range hood to the power, it will start
the calibration process. The icon
will start flashing for 5
minutes.
đƫ
Press the button
. (the LEDs light up in white) to
indicate that the hood can automatically operate with the
Elica cooktop; thus, hood operation will also depend on
use of the Elica cooktop.
NOTE:
Automatic operation with the cooktop is possible only
with specific cooking cooktops; for further details, please
contact the authorised dealer or technical assistance centre.
Automatic operation with any cooktop (sensor)
đƫ
Once you plug the range hood to the power, it will start
the calibration process. The icon
will start flashing for 5
minutes.
đƫ
Once the icon
has finished the calibration process,
press the button
(the central LED lights up in white)
đƫ
The hood will switch on at the most suitable speed based
on the cooking fumes detected by the sensor on the hood.
Setting of parameters for Automatic Operation
NOTE:
All calibration, selection, setting and logical connection
operations described below can be performed with the hood
off (OFF).
The adjustment of parameters is regularly done automatically
every time the hood is reconnected to the mains (e.g. with the
first installation or after a blackout) or manually.
Manual setting
To be performed when you notice unsatisfactory functioning
of the Automatic operation, and it has to be done when nor-
mal environmental conditions persist in the kitchen.
Manual setting includes:
đƫ
Hood calibration
Press and hold the button
, all button LEDs flash to
indicate initiation of calibration; the process will last for
approximately 5 minutes.
đƫ
Selection of the cooktop (gas , induction, or electric
Press and hold simultaneously the buttons
and
:
buttons ,
and
start flashing for 5 seconds.
Within this timeframe, press:
đƫ
Button
in case of gas cooktop
đƫ
Button
in case of electric cooktop
đƫ
Button
in case of induction cooktop
The preselected button remains lit to indicate the selection
was performed, after 10 seconds the button flashes briefly to
indicate that the performed selection was recorded.
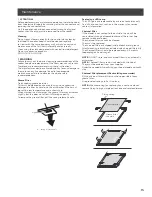
Indicators of Filter Saturation
At regular time intervals, the hood signals indicate the need to
perform filter maintenance.
đƫ
Button
on with steady light:
perform grease filter
maintenance.
đƫ
Button
flashing:
perform activated charcoal filter
maintenance.
NOTE:
Filter saturation signal is visible within the first minute
after switching off the hood; within this time, the reset of
saturation indicators must be performed.
Reset of filter saturation indicators:
Press and hold the button
.
Activation of saturation indicator activated charcoal filter
NOTE:
This operation must be performed with the hood off.
This indicator is normally deactivated; press and hold the
button
to activate the function: the button lights
up with steady light.
To deactivate the function, press and hold the button
: the
button lights up flashing.
CFM Reduction System
Before operating your hood:
Some States and Provinces of the US & Canada restrict the
maximum exhausting airflow of range hoods.
Airflow is measured as cubic feet per minute (CFM).
These maximum levels allowed are detailed in the local code of
your area. Please check local codes to find out if you need to
restrict the maximum airflow of your hood. If your local code
mandates a maximum airflow level below the maximum airflow
of this hood (i.e. 600 CFM), please execute the procedure below
to reduce the maximum airflow.
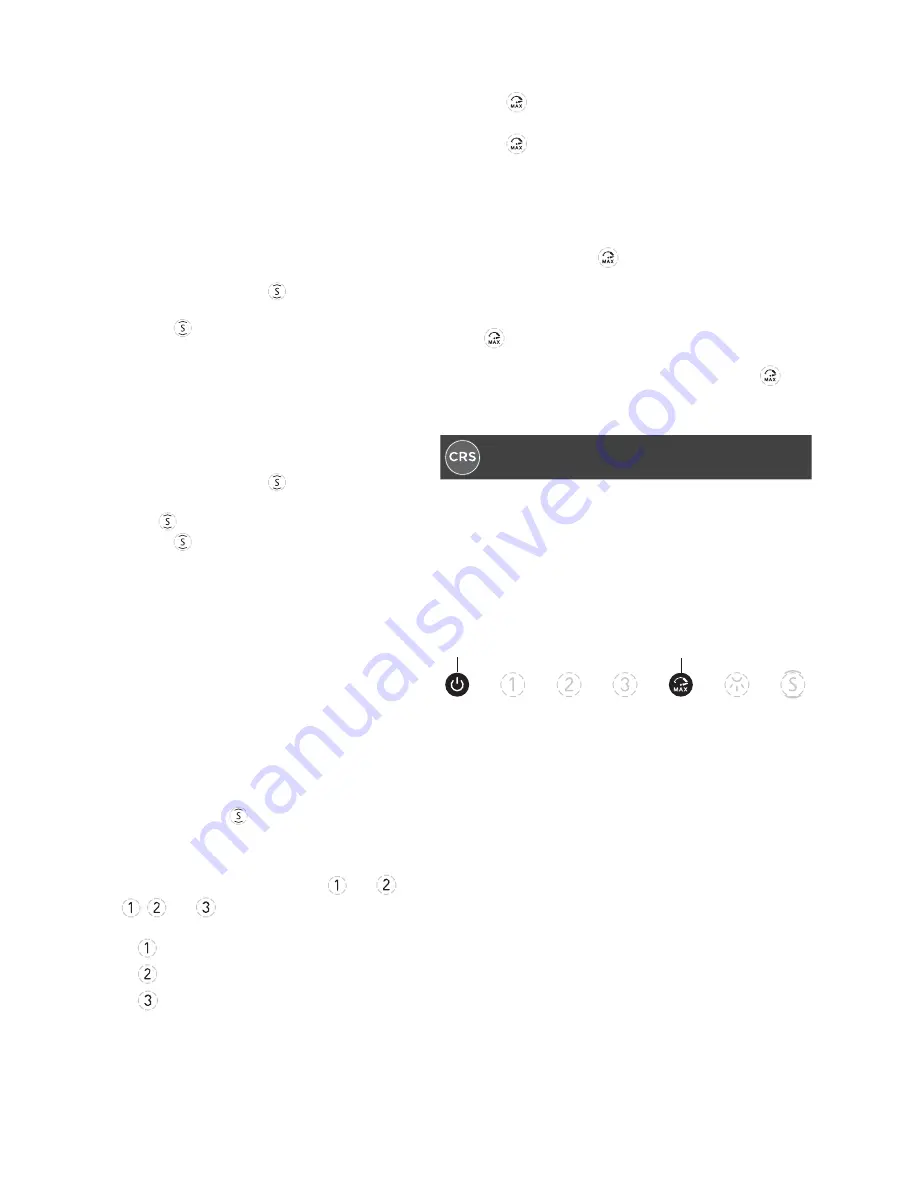
1
5
1
Turn the motor OFF.
2
Press the ON/OFF (1) and Intensive speed (5) buttons
together for 3 seconds.
You will hear a beep and all control lights will illuminate
for 3 seconds.
This action will Disable speeds 3 and 4 and effectively
lower the Maximum airflow to >300 CFM.
3
Locate the CFM certification sticker in the hardware pack.
4
Peel and Affix this sticker to a visible area in the blower.
This sticker provides official certification to your local
inspector that this hoods maximum airflow has been
reduced to >300 CFM.


