17
Use
The hood has been made for use in the internal recirculating
filtering version.
Cooking fumes and steam are aspirated inside the hood,
filtered and cleaned, passing through the fat filter/s and the
carbon filter/s that MUST be supplied with the hood.
Installation
Specialised personnel must carry out both the electrical
and the mechanical installation.
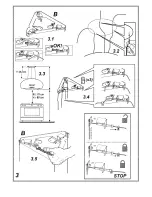
The minimum distance between the supporting surface for the
cooking equipment on the hob and the lowest part of the
range hood must be not less than 60cm from electric cookers
and 70cm from gas or mixed cookers.
If the instructions for installation for the gas hob specify a
greater distance, this must be adhered to.
Electrical connection
The mains tension must correspond to the tension shown on
the characteristic label situated inside the hood.
The product is meant for connecting directly to the mains
supply, therefore apply a regulation bipolar switch that
ensures complete disconnection from the mains in the
conditions of category III over-tension, conforming to the
installation rules.
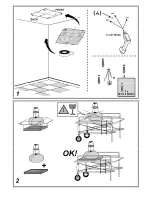
Warning! Detail B (fixing bracket to the ceiling - Fig. 1) is
equipped with a conductor (yellow-green) that must be
connected to the earth of the domestic electrical plant.
Fig. 4
Warining!
Changing the interconnection cable must be
carried out by the authorised technical assistance service.
Mounting
This type of cooker hood must be fixed to the ceiling.
Very heavy product; hood handling and installation must
be carried out by at least two persons.
Expansion wall plugs are provided to secure the hood to most
types of walls/ceilings. However, a qualified technician must
verify suitability of the materials in accordance with the type of
wall/ceiling. The wall/ceiling must be strong enough to take
the weight of the hood.
Do not tile, grout or silicone this
appliance to the wall. Surface mounting only.
Operation
Use the high suction speed in cases of concentrated kitchen
vapours. It is recommended that the cooker hood suction is
switched on for 5 minutes prior to cooking and to leave in
operation during cooking and for another 15 minutes
approximately after terminating cooking.
Note:
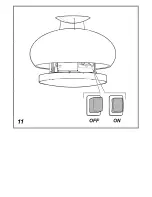
if the hood does not work, make sure that it is ON by
using the ON/OFF button.
Using the remote control
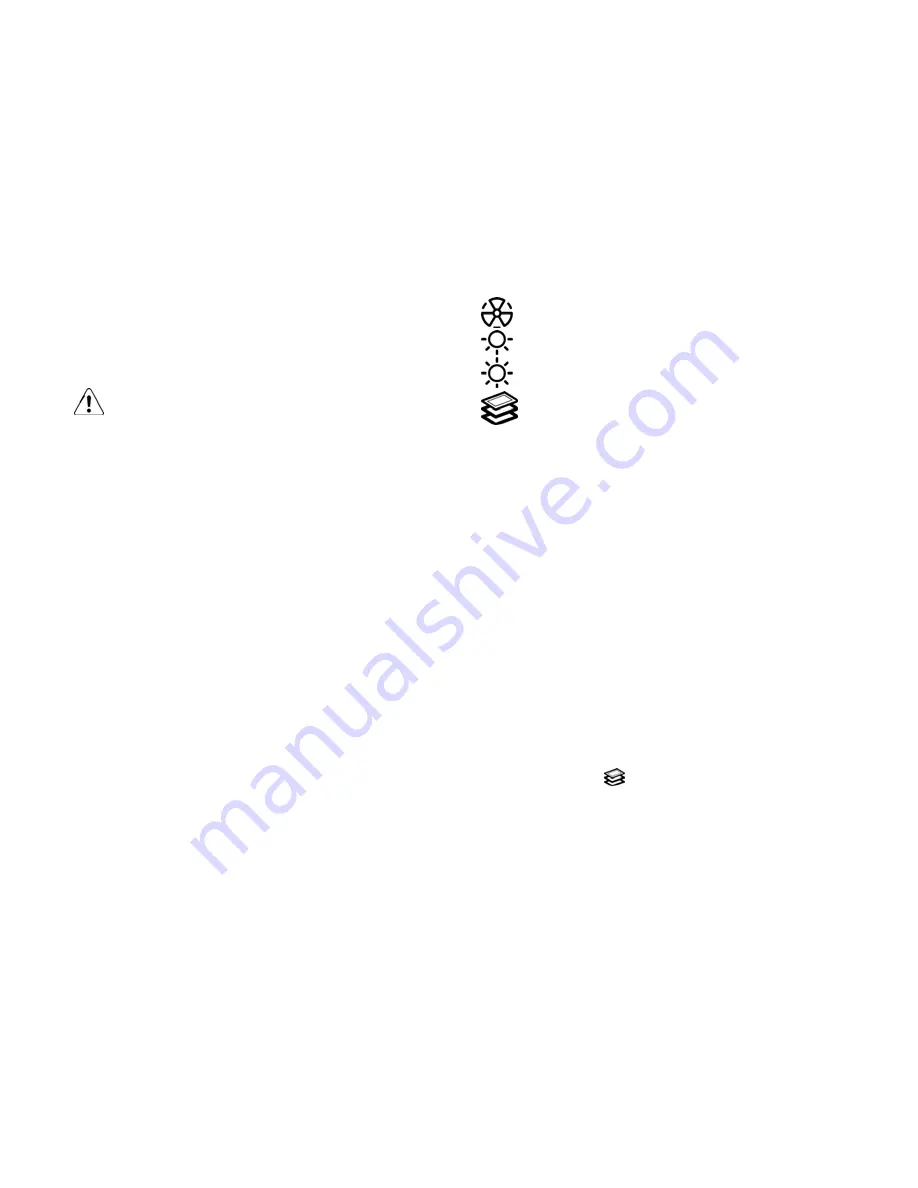
The remote control is able to control all the functions of the
hood:
Select the suction speed (power)
Light
ON/OFF
Not
implemented
Not
implemented
Selecting the suction speed (power):
Press the "
◄
" key or the "
►
" key until you see the symbol
relating to the “Select the suction speed (power)” function.
Press the “+” key or the “-” key or the "
■
" key respectively to
increase or diminish or switch off (stand-by) the speed
(suction power).
Light ON/OFF:
Press the "
◄
" or "
►
" button, until the LED corresponding to
the "Light ON/OFF" symbol appears on the remote control.
Press the “+” or “-” button to put on or off the lights.
Press the "
■
" to change the status of the lights, from off (all
lights) to on (all lights) and vice-versa.
Configuration of the remote control
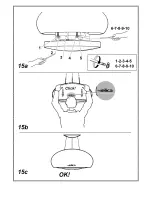
To enable the remote control, proceed as follows:
Press the "
◄
" or "
►
" button until you can see on the remote
control the symbol "
" related to the function “Reset and
configuration of the filter saturation signalling” and press
continuously on the central button "
■
" for at least 5 seconds.
An audible signal indicates the successful configuration.
Maintenance of the remote control
Cleaning the remote control:
Clean the remote control with a damp cloth and a neutral
solution of detergent without abrasive substances.
Changing the battery:
•
Open the battery casing using a small screwdriver with a
flat point.
•
Change the finished battery with a new one of 12 V type
MN21/23
In inserting the new battery respect the polarity indicated
on the battery casing!
•
Close the battery casing up again.

