10
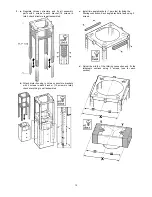
e.
Install drywall around duct and conduit; then refinish
ceiling, leave enough clearance for easy installation of
chimney structure up to ceiling.
f.
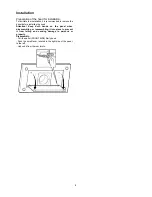
Tape Template in place and fit 4 screws on mounting
holes, do not tighten but leave a space of 1/2“, remove
the template.
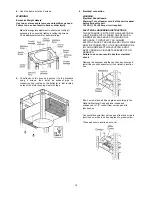
3.
a.
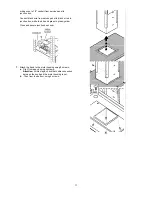
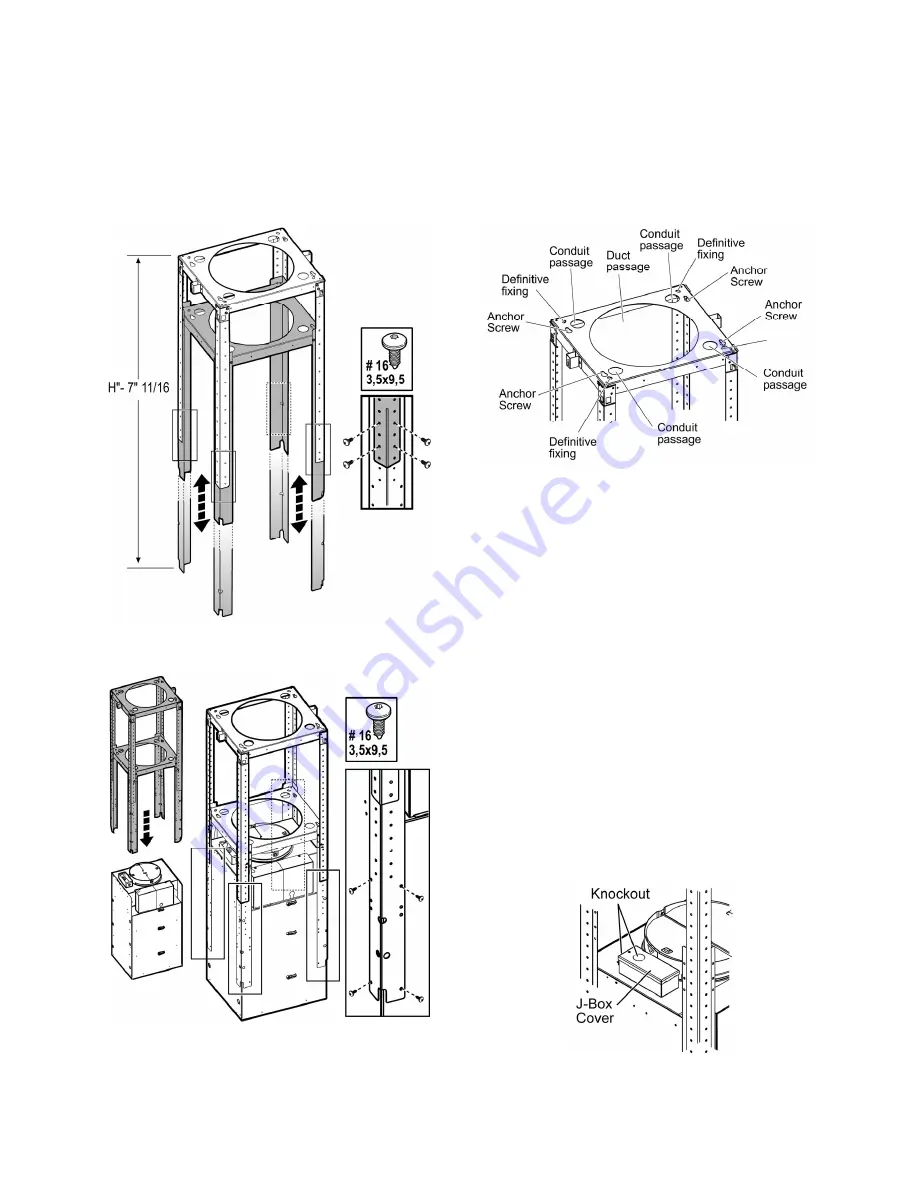
Regulate chimney structure and fix all assembly
parts with 4 screws to each bracket (16 screws in
total), check structure is well assembled.
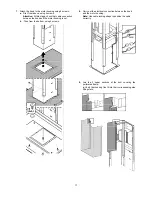
b.
Attach motor housing to chimney structure brackets
with 4 screws to each bracket (16 screws in total)
check everything is well assembled.
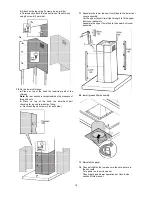
4.
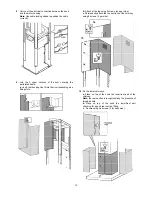
Hook the frame onto the 4 screws.
WARNING
Excessive Weight Hazard
Use two or more people to move and install range hood.
Failure to do so can result in back or other injury.
Make final angular adjustment to structure at ceiling if
necessary then securely tighten 4 ceiling lag screws.
Fit six additional screws for definitive fixing.
5.
Connect the other end of the exhaust pipe to the flue.
Seal with tape.
6.
Electrical
connection
WARNING
Electrical Shock Hazard
Warning: Turn off power circuit at the service panel
before wiring this unit.
120 VAC, 15 or 20 Amp circuit required.
ELECTRICAL
GROUNDING
INSTRUCTIONS
THIS APPLIANCE IS FITTED WITH AN ELECTRICAL
JUNCTION BOX WITH 3 WIRES, ONE OF WHICH
(GREEN/YELLOW) SERVES TO GROUND THE
APPLIANCE. TO PROTECT YOU AGAINST
ELECTRIC SHOCK, THE GREEN AND YELLOW WIRE
MUST BE CONNECTED TO THE GROUNDING WIRE
IN YOUR HOME ELECTRICAL SYSTEM, AND IT
MUST UNDER NO CIRCUMSTANCES BE CUT OR
REMOVED.
Failure to do so can result in death or electrical
shock.
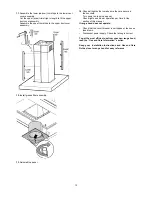
Remove the knockout and the Junction box cover and
install the conduit connector (cULus listed) in junction
box.
Run 3 wires; black, white and green ,according to the
National Electrical Code and local codes and
Summary of Contents for Horizonte Island Series
Page 2: ...EN Contents page 3 FR Sommaire page 24 ES Contenido página 45 ...
Page 66: ...66 ...
Page 67: ......
Page 68: ...LIB0098383 Ed 04 14 ...


