E
n
g
li
sh
Check :
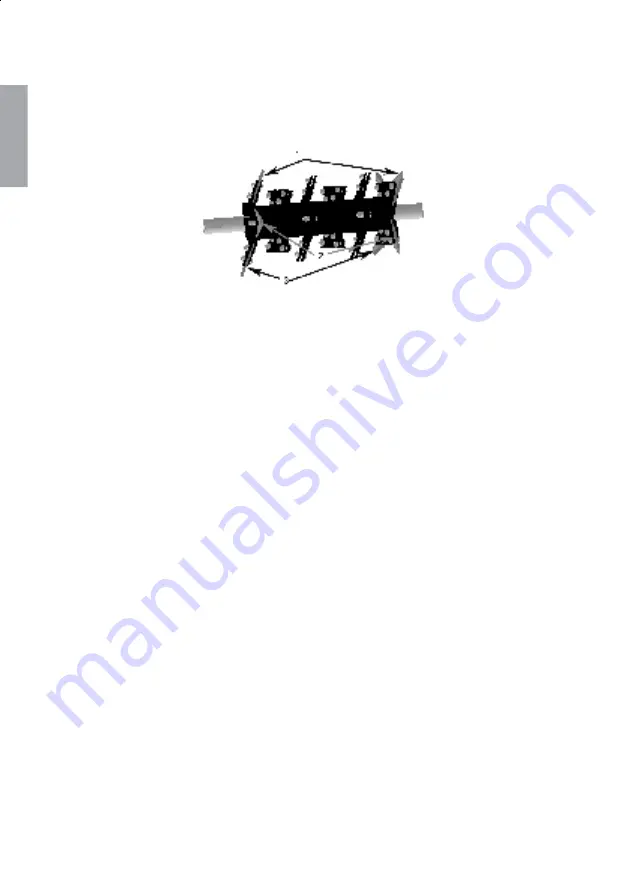
Check that the rear of each blade is towards the wall
of the shredding cham-
ber. If this is not the case, correct the blades that are incorrect.
Changing the blades of group 2. (4 knife discs)
• Disassemble two blades that are diametri
cally opposite each other. Ro- tate
them through 180° and change them over. Do the same with the two
remaining blades. Repeat this operation for the three remaining blade disks
of group 2.
Check :
The front side (bevelled edge) of each blade of group 2 mounted on a fluted
part of a blade disc must point towards the centre axis. When this is not the
case, adjust.
B. To renew a shredding knife, proceed as follows.
• New sets of knives are available
form your ELIET Dealer under the foll
owing part number :
STD blades: BU 401 300 201
Resist
TM
blades : BU 401 300 302
• When renewing the blades, simply remove the old blades and replace them with new blades.
• First remove any dirt between the blade plates before you insert a new blade. To do so, use a
stripping knife.
• Use the same procedure as for reversing the blades. See checks for both groups.
• On renewing shredding knives, always fit
new bolts and nuts.
Summary of Contents for Superprof 2000
Page 1: ...M A NU AL Superprof...
Page 2: ...lish...
Page 14: ...E nglis BQ 505 010160 BQ 505 112116 BQ 505 010130 BQ 505010 070...
Page 22: ...gi ven by theenginemake...
Page 24: ...thewar r ant y card...
Page 26: ...pr ope rt y...
Page 28: ...debrist o pr ot ectitf orm ov erh eating...
Page 30: ...si t uationwher e you no longerhave cont rolov erthework...
Page 36: ...rearfla p...
Page 39: ...28...
Page 46: ...engine and remov e theignit i onkey...
Page 48: ...r emov e theexc es s oil...
Page 51: ...anglegrinderwitha grindingdi sc sui t ablef ors t eel...
Page 53: ...no purp os e Thi s i s th e time t o rev ers e or r enew th e blad es...
Page 55: ...gr oup...


