12052022JA
2
www.elitescreens.com
The screen’s deployment is already set from the factory to drop to its maximum distance. There is NO extra black
masking on the roller to allow for a lower drop. Please be aware of this as adjusting the screen’s limit motor will
void your warranty if the motor becomes faulty. Unapproved changes or modifications (except for cutting the power
cord for hardwire installations) to this unit are prohibited and will void your warranty. For more information, please
contact our Technical Support Department at tehcsupport@elitescreens.com
NOTE: This equipment has been tested and found to comply with the limits for a Class B digital device, pursuant
to Part 15 of the FCC Rules.
These limits are designed to provide reasonable protection against harmful interference in a residential installation.
This equipment generates and can radiate radio frequency energy and, if not installed and used in accordance with
the instructions, may cause harmful interference to radio communications.
However, there is no guarantee that the interference will not occur on a particular installation. If this equipment
causes harmful interference to radio or television reception, which can be determined by turning the equipment off
and on, the user is encouraged to try to correct the interference by one or more of the following measures.
✓
Reorient or relocate the receiving antenna of the device which may be causing the interference.
✓
Increase the separation between the screen and the device’s receiver.
✓
Connect the equipment into a different power outlet other than the device.
Pre-Installation
1.
Carefully unpack the screen.
2.
Always handle the screen upright on a level, clean surface.
3.
Keep the screen out of contact with foreign particles such as dust, sawdust, and/or liquids.
Note:
Wall screws included with this product are complementary and may not be adequate for all mounting surfaces.
Consult with a professional installer or hardware store for proper mounting screws and anchors.
Regardless of the mounting method, the screen should be securely supported so that the vibration or pulling on the
viewing surface will not cause the casing to become loose or fall. Included mounting screws are complimentary
and may not be appropriate for all mounting surfaces. Use appropriate anchors to safely secure the screen to the
mounting surface or consult with a professional installer
.
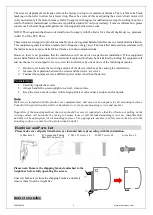
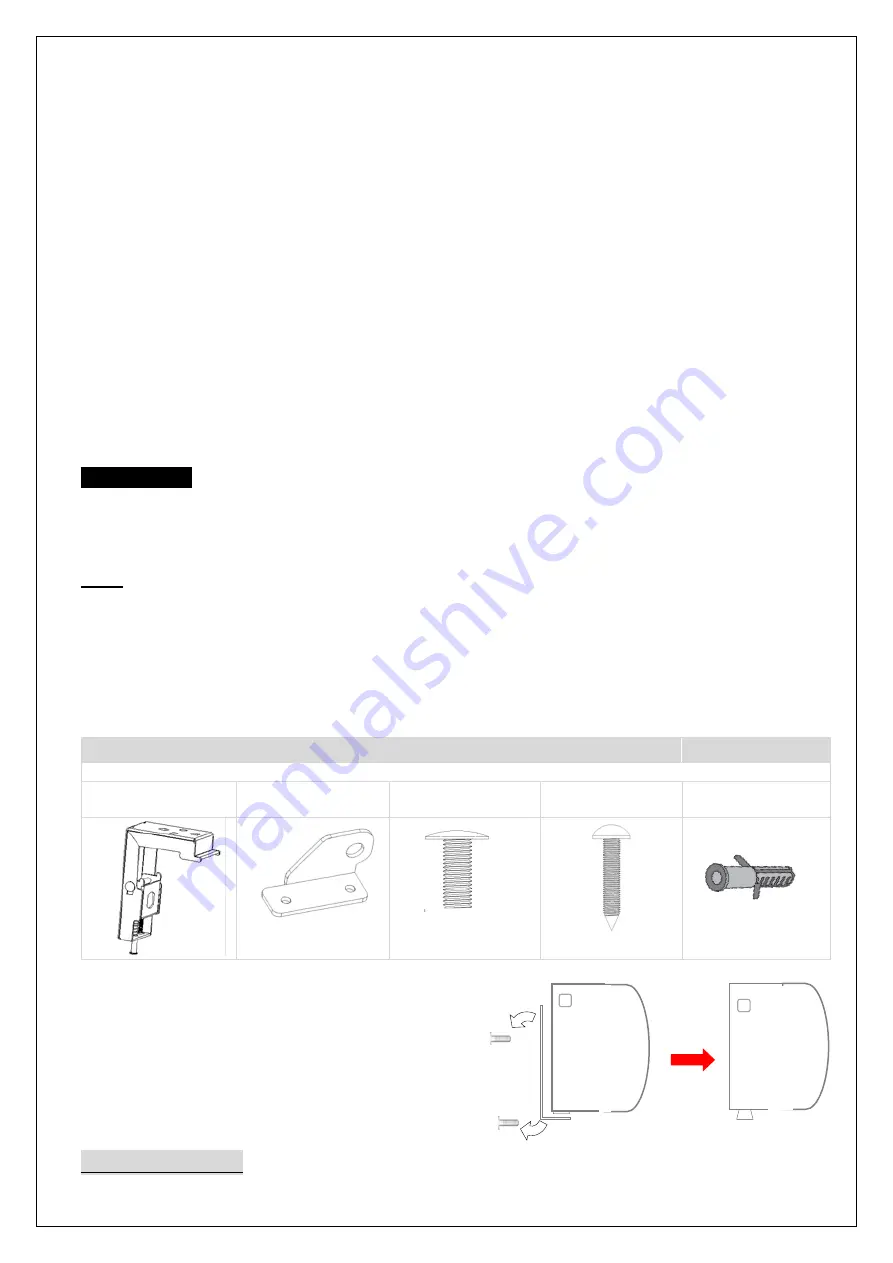
Please note: Remove the shipping brackets attached to the
weight bar before fully operating the screen.
Unscrew both screws from the shipping brackets and safely
remove them from the weight bar.
Notice to Installer:
Hardware and Parts List
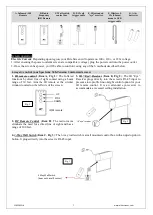
Please make sure all parts listed below are included before proceeding with the installation.
A. Bracket x 2
B. Suspended Ceiling
Bracket Connector x 2
C. M5 x 12 screw x 4
D. M5.5 screw x8
E. Anchor x 8

