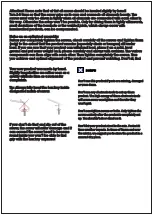
Attention!
Please note that at first all screws should be inserted slightly by hand!
Turn 2-3 times so that the screw grips on its own and connects all elements loosely. The
screws must only be driven in tightly when all elements are connected with each other in
this way. Otherwise the setup won´t be possible. Only by driving them in tightly afterwards,
small deviations of the borehole or the welded joints, which always occur with
handcrafted products, can be compensated.
Notes on an optimized assembly:
Before you completely tighten the screws, check carefully all the screws and tighten them
(only) to the extent that the product remains (especially chairs or loungers) still under
load. If you are sure that your product can withstand load, place it on a solid, level
ground and put some weight on it, please carefully and always with cushions. The various
components can then align with each other. Then tighten completely the screws. Thus
you achieve and optimal alignment of the product and prevent wobbling. Don’t sit, find
Your new product was made by hand.
Slightly irregularities are rather seen as a
quality attribute than as a reason for
complaints.
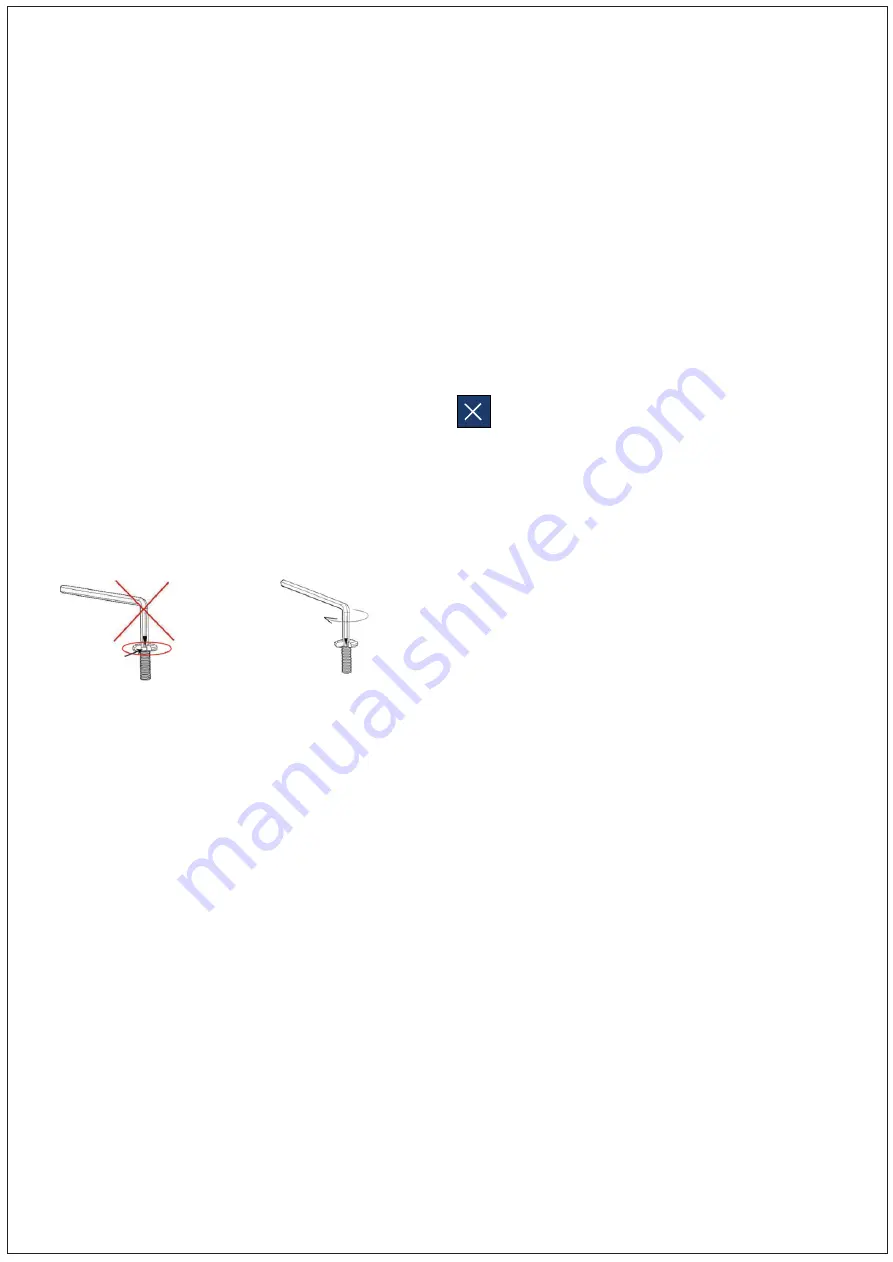
Tip: Always fully insert the hex key inside
designated notch of screw.
If you don´t do that and slip out of the
screw, the screw will suffer damage and it
can caused the screw head to become
round inside you won´t be able to find
grip with the hex key anymore!
DONT’S
Don´t use this product if parts are missing, damaged
or worn down.
Don´t use any electronic tools to set up these
product. The high energy of these electronic tools
will cause screw over ghten and therefor they
won’t grid.
Don´t over ghten screws or bolts. Only ghten the
screws en rely a er the product is completely set
up. You shouldn’t sit or stand on it.
Don´t let your product stand in the rain. Protect it
from weather impacts. In mes of freeze and over
the winter, we suggest you to store the product in a
covered dry place.


