2-2
2-3 INSTALLATION OVERVIEW
Step 1 – Mount monitor
Step 2 – Mount gateway
Step 3 – Wire system component
Step 4 – Configure system if required
Step 5 – Calibration
Step 6 – Set User Limits
2-4 INSTALLATION STEP 1: MOUNT MONITOR
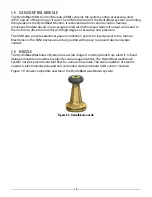
• Before mounting the HydroBlast monitor, ensure that space allows for monitor to be rotated and
calibrated. Disconnect all electrical connections.
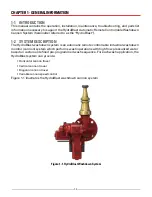
• Bolt the monitor to water source pipe, terminated with DN80 flat face flange base. Use
appropriate gasket for the application.
• Thread nozzle onto 2.5" NPT monitor outlet thread and tighten.
2-5 INSTALLATION STEP 2: MOUNT GATEWAY
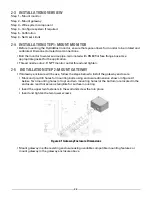
• If Gateway enclosure will be use, follow the steps below to install the gateway enclosure
• Mark and pre-drill holes for mounting bolts using enclosure dimension shown in figure 2-1
below. Two mounting holes (at top) and two mounting holes (at the bottom) are located in the
enclosure rear that serve as template for surface mounting
• Insert the upper two fasteners in the wall and screw them in place
• Insert and tighten the two lower screws
Figure 2-1 Gateway Enclosure Dimensions
• Mount gateway in either existing enclosure using available compatible mounting features or
mount gateway in the gateway enclosure above


