Installing the Application
| 21 of 124
S
u
pe
rS
pe
ed
U
S
B
Ex
pl
o
re
r
2
8
0
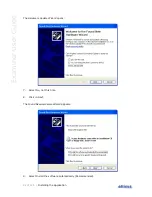
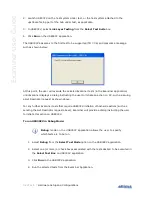
After installing Examiner, a New Hardware Wizard will appear the first
time the Explorer 280 back-panel USB port is connected to your PC.
Refer to section 2.3, Connecting to the Control Computer, for more
information about installing the USB driver.
2.3
Connecting to the Control Computer
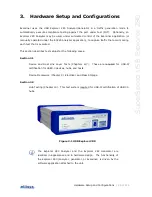
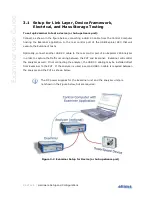
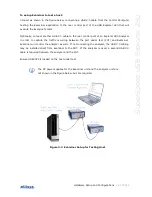
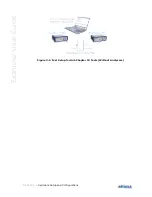
Examiner, and the USB Explorer 280 Analyzer that may optionally be used in the Examiner
setup (see Figure 3-2 and Figure 3-3), are controlled over a high-speed USB 2.0 connection by
a PC hosting the Examiner application, enabling the use of any notebook or desktop computer.
The USB driver for the Explorer 280 must be installed before Examiner can be used.
Although the unit can upload or download data on a full speed USB 1.1
connection, Ellisys strongly recommends that you connect it to a high
speed USB 2.0 port to obtain optimal performance. If you experience
problems with Examiner, please ensure the Explorer 280 executing
Examiner is connected to a high speed USB 2.0 port before contacting
technical support.
Follow the steps below to install the USB driver:
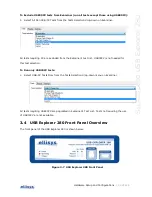
Connect a USB 2.0 cable between the Type B USB receptacle on the Explorer 280 back panel
and the PC. If attaching the Explorer 280 for the first time, wait until Windows displays a
message indicating that a new device has been found (typically a small bubble indication at the
lower-right of the screen), then go to step 3.
To update a previously installed device driver:
1.
Open the Device Manager: Start | Control Panel (on some operating systems, the Device
Manager icon is present at this step, if so, proceed to step 4).
2.
Double-Click the System icon.
3.
Click on the Hardware tab.
4.
Click on Device Manager.
5.
Click on Ellisys protocol analyzers.
6.
Right-click and select Update Driver.


