How to replace the PCB interference filter
36
SM_Elmasonic_S_02.2018_EN
© Elma Schmidbauer GmbH
9.1.2
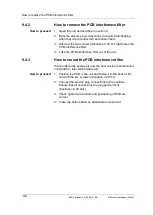
How to remove the PCB interference filter
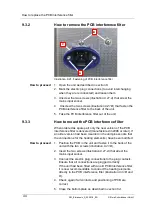
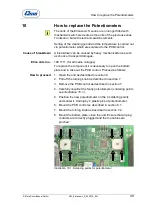
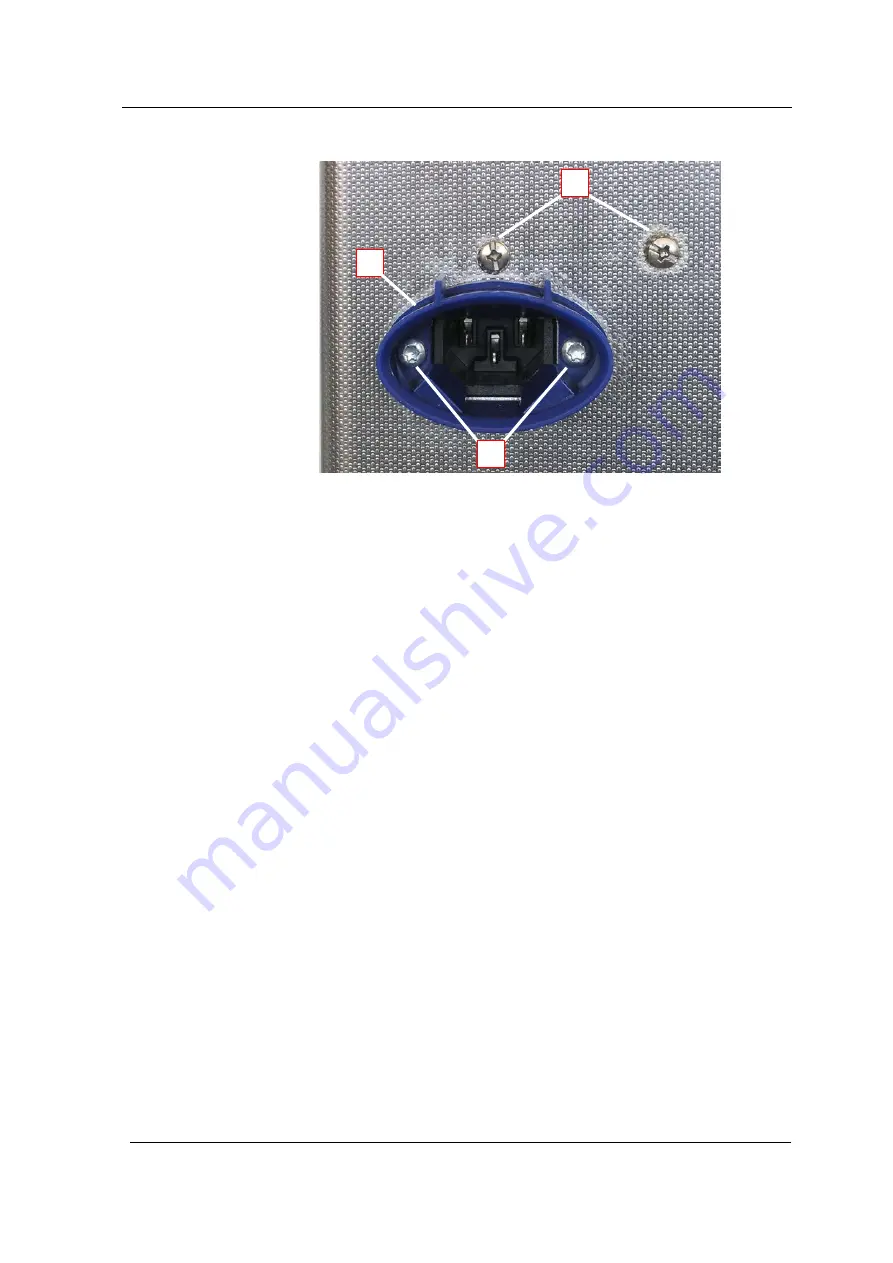
Illustration 9.6. Fastening of the PCB interference filter
1. Open the unit as described in
section 6.
2. Mark the electric plug connections (to avoid interchanging
when they are reconnected) and loosen them.
3. Insert the screws (
illustration 9.6.A
) that arrest the mains
input socket.
4. Unscrew the two screws (
illustration 9.6.B
) that fasten the
PCB interference filter to the back of the unit.
5. Take the PCB interference filter out of the unit.
9.1.3
How to mount the PCB interference filter
When ordered as spare part only the new version of the PCB
interference filter is delivered (manufactured in 2006 or later). If
an older version had been mounted in the unit please note that
the connections for the heating element(s) have been modified.
1. Position the PCB in the unit and fasten it to the back of the
unit with the two screws (
illustration 9.6.B
).
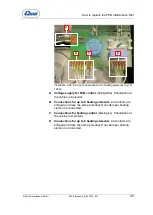
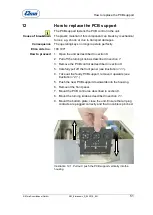
2. Insert the two screws (
illustration 9.7.A
) that arrest the
mains input socket.
3. Connect the electric plug connections to the plug contacts.
Ensure that all connections are plugged correctly.
4. Check again if all contacts and positioning of PCB are
correct.
5.
Close the bottom plate as described in
section 6.4
.
How to proceed
How to proceed
B
C
A


