28
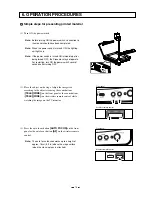
1.
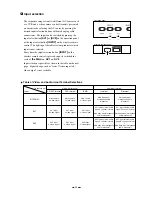
Select the menu to be adjusted by using the
[
]
and
[
]
buttons, and fix the selection by using the
[
]
button. Then, the Sub menu is displayed.
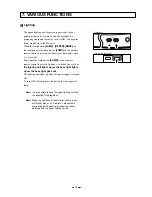
2.
Select the item to be adjusted by using the
[
]
and
[
]
buttons, and adjust the value by using the
[
]
and
[
]
buttons.
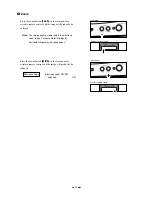
3.
After adjustment, press the menu button
[MENU]
to
return to the Main menu
<MAIN MENU>
. Then,
press the menu button
[MENU]
again, and the OSD
screen will close.
The adjusted value is saved when the main menu
<MAIN MENU>
closes, and reflected on the next
rebooting. (To return the adjusted value to the default
value, select
[DEFAULT]
in the Main menu
<MAIN
MENU>
, and press the
[
]
button.)
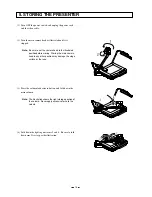
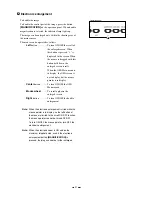
When the menu button
[MENU]
on the front panel or the
center button of the mouse is pressed, the OSD Setting
Main menu
<MAIN MENU>
is displayed.
Choose the item of each function in the main menu.
<How to adjust the OSD on the operation panel>
MAIN MENU
CHROMA
SHUTTER
MIC
OPTION
MEMORY
[ DEFAULT ]
Main menu (in the monitor)
Operation panel
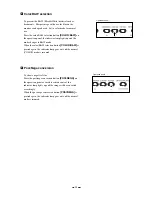
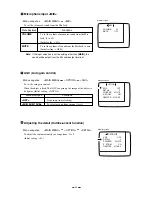
Operation panel
<Mouse functions in the OSD Menu screen display>
· Left
button ................ Equivalent to the
[
]
button
on the operation panel
(ADJUST function).
When the Main menu is in
display, the OSD screen is not
in display but the mouse
pointer is in display.
· Center
button .......... Equivalent to the menu button
[MENU]
on the operation
panel (END function).
· Mouse wheel
......... Equivalent to the
[
]
and
[
]
buttons on the operation
panel (SELECT function).
· Right
button ............. Equivalent to the
[
]
button
on the operation panel
(ENTER and ADJUST
functions).
8. OSD (On-Screen Display)


