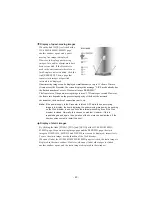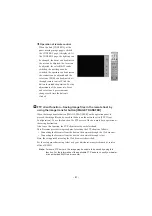
- 38 -
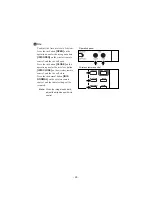
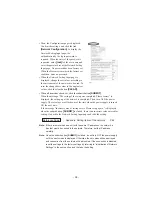
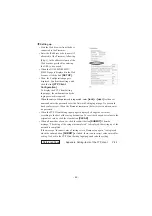
• Then, the Configurations page is displayed.
Confirm the settings, and click the link
[Network Configuration]
.To display the
Network Setting Input page, the
authentication by the login password is
required. When the entry of the password is
requested, enter
[root]
for the user name and
enter the password set at the Network Setting
Input page. No password has been factory set.
When the Presenter remains in the factory set
condition, enter no password.
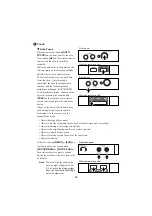
• When the Network Setting Input page is
displayed, change the set values according to
the environment of the network to be used. To
reset the changed set values to the original set
values, click the clear button
[CLEAR]
.
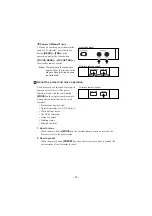
• When all items have been set, click the submit button
[SUBMIT]
.
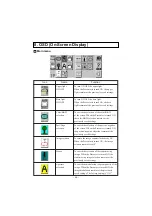
When the message “The saving of the setup was completed. Please restart.” is
displayed, the setting up of the network is completed. Then, turn OFF the power
supply. The set values are effective as of the time when the power supply is turned
ON the next time.
If the message “Incorrect value of setting exists. Please set up again.” is displayed
when the submit button
[SUBMIT]
is clicked, there is an incorrect value entered for
setting. Go back to the Network Setting Input page and redo the setting.
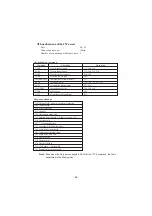
Reference Page · Appendix: Setting items of the network P.44
Note: If there are more than one unit with the same IP address on the network, a
disorder would be caused to the network. Therefore, set the IP address
carefully.
Note: Once the submit button [SUBMIT] is clicked, do not turn OFF the power supply
until the next screen is displayed. Otherwise, the set values will be destroyed
and connection from the network will be disabled. If the connection is disabled,
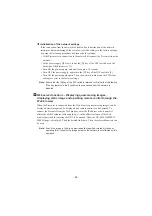
reset the settings to the factory settings by referring to “Initialization of Network
Settings” in the next section, and the redo the setting.

