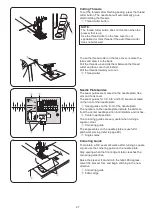
40
e
r
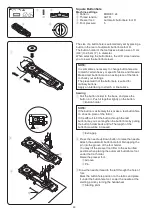
q w
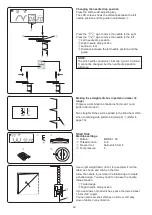
Press the “
” sign to move the needle to the right.
Press the “ ” sign to move the needle to the left.
q
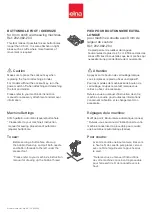
Left needle drop position
w
Right needle drop position
e
Guide on foot
r
Distance between the left needle position and the
guide
NOTE:
The stitch width of patterns 18 (mode 1) and 19 (mode
1) cannot be changed, but the needle drop position
will move.
Changing the needle drop position
Press the stitch width adjusting key.
The LCD screen shows the distance between the left
needle position and the guide in millimeters
r
.
→
←
r
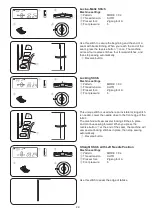
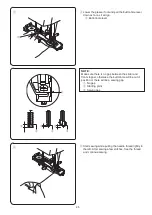
Making the straight stitches in pattern number 18
longer
Program a combination of patterns 18 (mode 1) and
pattern 58 (mode 2).
Two straight stitches will be added to the blind hem stitch
when combining with pattern 58 (mode 2)
q
(Refer to
page 70).
q
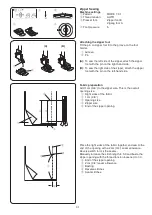
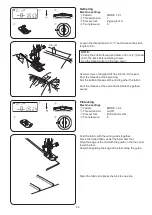
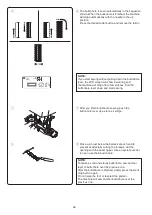
Use a light weight fabric (tricot, for example). Fold the
fabric as shown and stitch on the fold.
Allow the needle to just clear the folded edge to create
a shelled edge. You may need to increase the needle
thread tension.
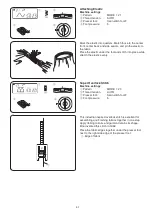
q
Folded edge
w
Right needle drop position
If you sew rows of shell stitches, space the rows at least
1.5 cm (5/8˝) apart.
You can also sew shell stitches on knits or soft silky
woven fabrics in any direction.
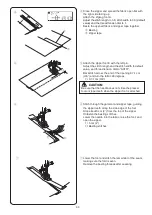
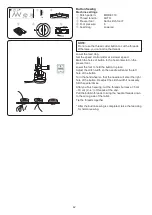
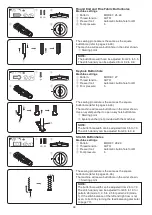
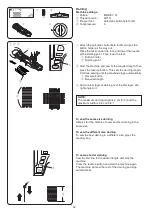
Shell Tuck
Machine settings
q
Pattern:
MODE 1: 20
w
Thread tension:
6−8
e
Presser foot:
Satin stitch foot F
r
Foot pressure:
5
q
w
q
e
w
r


