Weather Station P03/3-RS485 • Version: 11.10.2011 • Subject to technical alterations. Errors excepted.
11
Aligning the DCF77 antenna
The antenna for DCF77 reception of date and time is located under the PCB in the
housing. Using the set screw (see chapter “PCB layout”, Fig. 1, No. 4), you can turn the
antenna by up to 180° in order to achieve the best alignment. You know you are getting
reception when the control LED (see Fig. 1 No. 3) blinks regularly once every second
(the blinking stops after 59 seconds). The LED stops blinking 30 minutes after switching-
on.
Mounting the weather station
Close the housing by putting the cover back over the bottom part. The cover must snap
in on the left and right with a definite “click”.
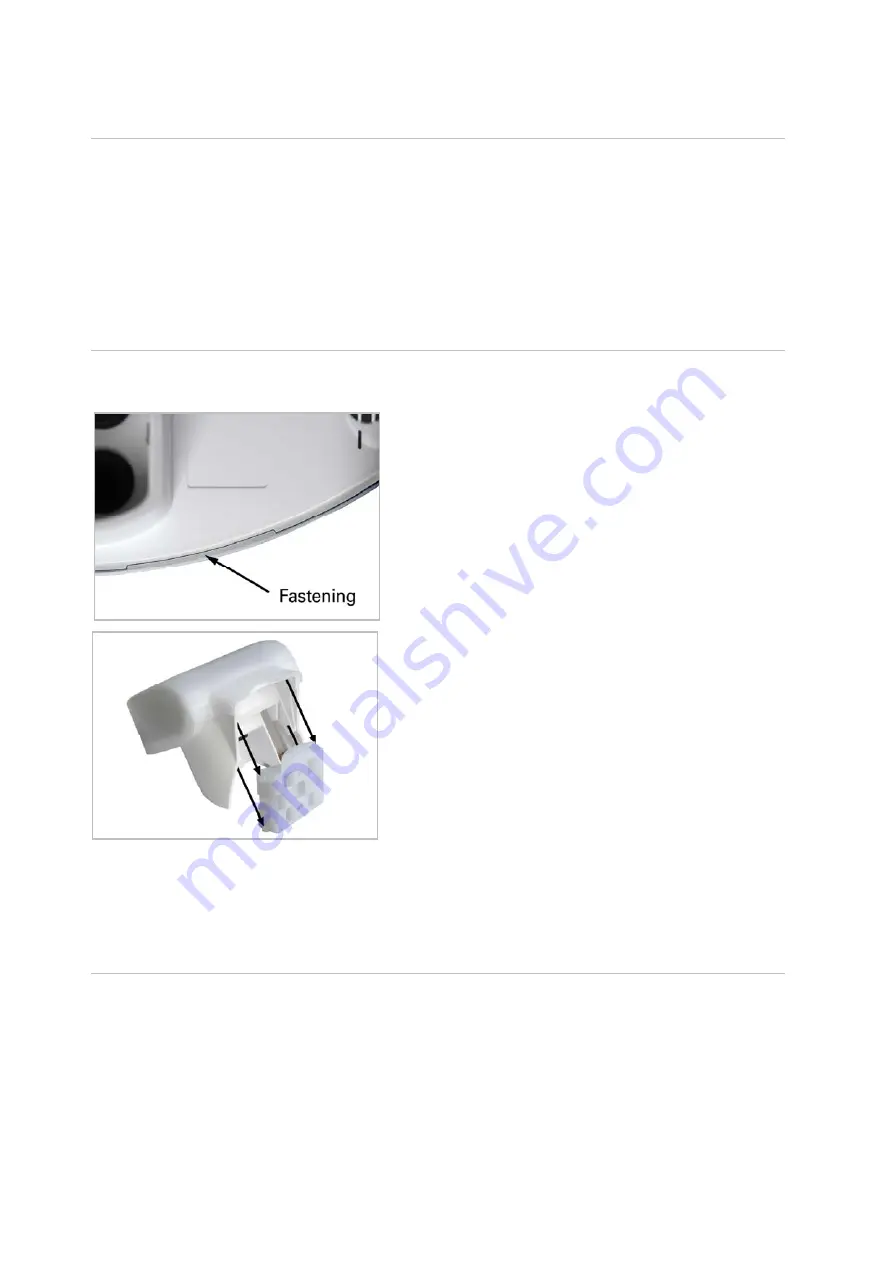
Fig. 10
Make sure the cover and bottom part are properly
snapped together! This picture is looking at the
closed weather station from underneath.
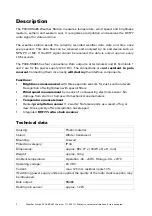
Fig. 11
Push the housing from above into the fastened
mount. The bumps on the mount must snap into
the rails in the housing.
To remove it, the weather station can be simply pulled upwards out of the mount,
against the resistance of the fastening.
Notes on installation
Do not open the P03 weather station if water (rain) could get in: even a few drops could
damage the electronics inside.
When mounting, you must take care not to damage the temperature sensor (small PCB
on the bottom of the housing). Also, the wire connecting the PCB with the rain sensor
must not be pulled off or kinked at the terminal.
Remove all existing protection labels after installation.


