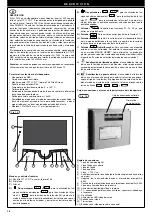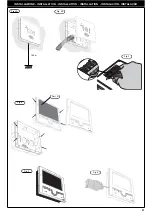
SETTINGS
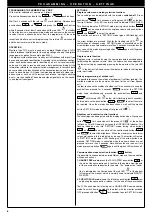
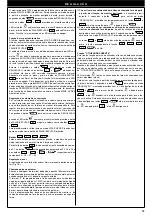
Ringtone volume and melody selection functions
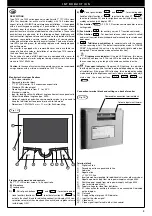
These settings can be adjusted with the display
switched off
. Press
push-button
for 2 seconds, until the green LED
at the bot-
tom right flashes. This LED is normally used to indicate DOOR OPEN.
This flashing indicates “SETTING” mode, during which buttons
and
can be used to adjust the ringtone volume and push-buttons
and
to select the melody.
The monitor will remain in “SETTING” mode (green LED flashing) until
the arrow buttons are pressed. Wait for the flashing red LED
for
confirmation of changes made. SETTING mode is cancelled when the
arrow buttons are not pressed for more than 5 seconds. Nevertheless the
user can exit this mode by pressing button
again until the green
LED switches off.
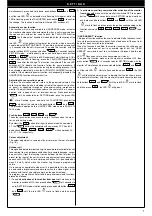
Ringtone mute function
Ringtone mute is activated using the same procedure described above
for adjusting the ringtone volume. Once the volume has been adjusted to
the lowest setting by repeatedly pressing the down arrow, the red LED
in the bottom left-hand corner illuminates to indicate that ringtone
mute is activated.
Melody programming of outdoor call
It is possible to choose the melody of outdoor call (call from landing). The
available melodies are the same as the ones for the call from speech
unit.
In order to choose the melody of outdoor call it is necessary to keep the
push-buttons pressed for 2 seconds
to enter the SETTING
mode keep simultaneously pressed the push-buttons
and
until the red LED
below starts flashing (about 2 seconds).
At this point use the push-buttons
e
to select the melo-
dy required. Once the melody has been chosen, wait until the monitor
exit the SETTING mode (switching off of green LED
).
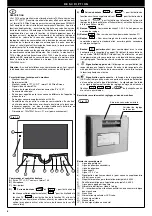
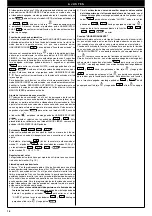
Brightness and contrast control functions
These settings can be adjusted with the display switched on. Press push-
button
for 2 seconds, until the green LED
at the bottom
left flashes. This LED normally serves as the OPEN DOOR indicator. This
flashing indicates entry into “SETTING” mode, during which buttons
and
can be used to set the contrast and buttons
and
to select the brightness. When the maximum and minimum
values are reached, this is indicated by a beep. The monitor will remain
in “SETTING” mode (green LED flashing) until the arrow buttons are
pressed. SETTING mode is cancelled when the arrow buttons are not
pressed for more than 5 seconds. Nevertheless the user can exit this
mode by pressing button
again until the green LED switches off.
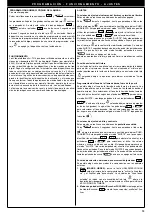
Communication mode selection function (
button)
It is possible to choose between two different modes of communication
with speech units or:
1. HANDS FREE mode:
press the TALK/LISTEN push-button
at
the start of the conversation only, to activate the audio, and at the end
of the conversation to deactivate the audio. The "audio active" condi-
tion is indicated by the illumination of the red LED
at the bottom
left corner of the monitor, which is normally used to indicate RINGTO-
NE MUTE.
2. PUSH-TO-TALK mode:
keep the talk/listen push-button
pres-
sed during the conversation; release it at the end of the conversation.
The 7200 series monitor is factory set to HANDS FREE communication
mode. To switch from one mode to the other, with the monitor switched
OFF press push-button
for 2 seconds to enter SETTING mode;
6
P R O G R A M M I N G - O P E R A T I O N - S E T T I N G S
OPERATION
Monitors type 7214 must be used only on digital Digibus type ELVOX
video-interphone installations; for the supply voltage use only the digibus
range power supplies (for example type 6948).
The digibus system allows you to carry out installations with digital type
device and command identification. According to the installations configu-
ration, each device connected is identified by a 4 or 8 univocal numerical
code and it is able to receive and send a data packet containing all the
information related to the communication management; in fact each data
packet includes the identification of the destination device and the com-
mand to be carried out. All typical command operations of a video-inter-
phone system, such as call, electrical lock release, stair-light switching
on etc., are then codified.The audio and video signals are, on the contra-
ry, analogical type signals.
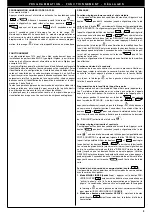
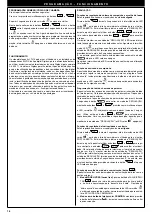
PROGRAMMING THE NUMBER/CALL CODE
With monitor switched off, operate as it follows:
Press simultaneously and hold the
and
push-buttons.
Wait for 3 seconds until the red led
starts flashing. Release both
push-buttons
and
and press the
push-button
within
5
seconds for at least 3 seconds until the red LED
is steadily
lit. Now the device is on programming mode and can receive the number
to code from an entrance panel or from the programmer. At the code
reception and after a correct programming, the red led
switches off
and the device returns to the basic mode.
Summary of Contents for DIGIBUS 7200 Series
Page 28: ...28 NOTE ...
Page 29: ...29 ...


