www.emachines.com
51
5
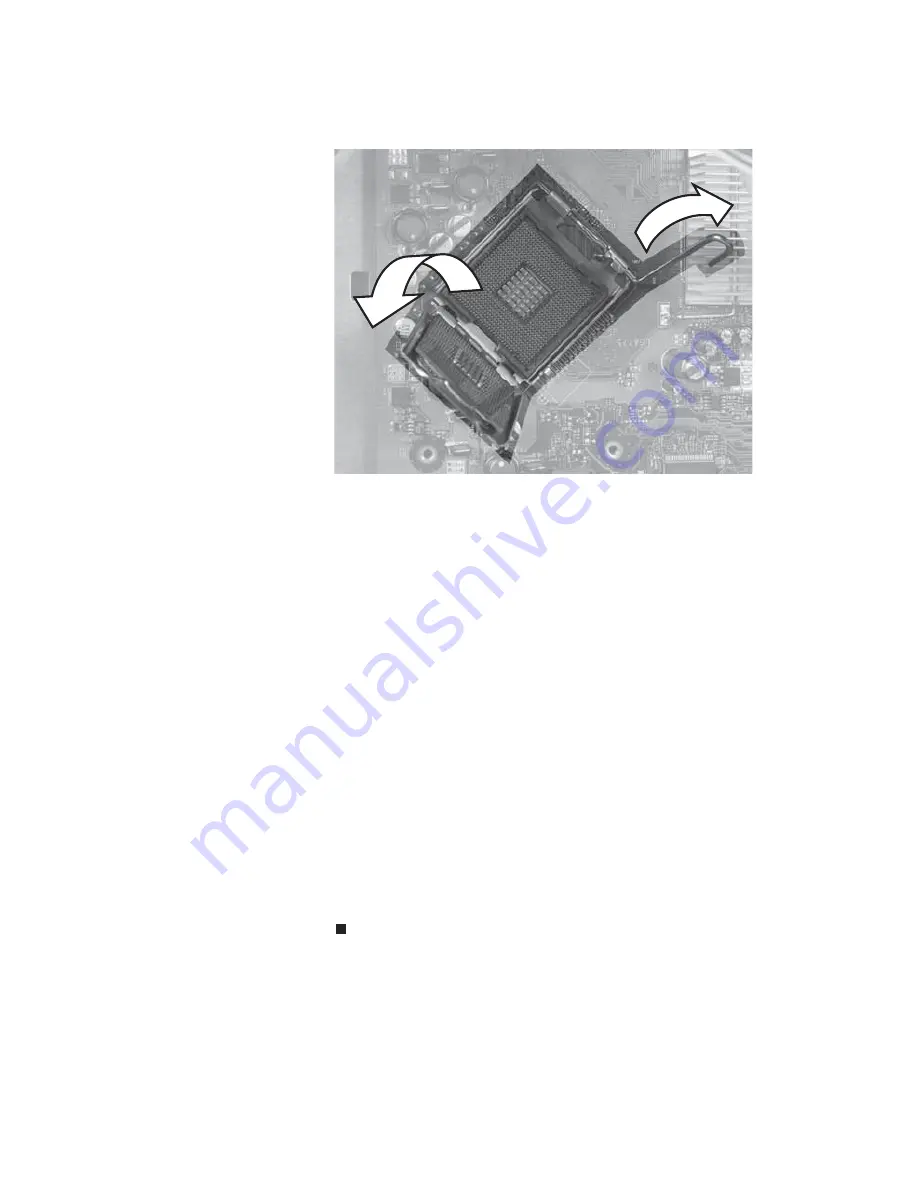
Push the processor release lever down, lift it completely
up, then lift the processor retention bracket.
6
Remove the processor from the system board.
7
Install the new processor onto the system board. Make
sure that Pin 1 on the processor (indicated by the
silk-screened arrow on the corner of the processor)
aligns with Pin 1 on the processor socket (indicated by
the absence of a pin hole in the processor socket), then
return the retention bracket and lever to their locked
position.
8
If this is a new heat sink, remove the strip on the heat
sink that covers the gray thermal grease. If you are
re-using a heat sink, use rubbing (isopropyl) alcohol to
remove the old thermal grease, then re-apply a small
bead of thermal grease (about the size of a pea) to the
surface that contacts the processor.
9
Place the heat sink and fan assembly on the processor,
then tighten the screws that secure it to the system
board.
10
Connect the heat sink fan cable to the system board.
11
Replace the side panel by following the instructions in
“Replacing the side panel” on page 38
.
Summary of Contents for H5082
Page 1: ...Computer Reference Guide Guide du matériel de l ordinateur ...
Page 2: ......
Page 10: ...Chapter 1 About This Reference 4 ...
Page 11: ...Chapter 2 5 Checking Out Your Computer Front Back ...
Page 16: ...Chapter 2 Checking Out Your Computer 10 ...
Page 122: ...Appendix A Legal Notices 116 ...
Page 132: ...126 Index ...
Page 133: ...Computer Reference Guide Guide du matériel de l ordinateur ...
Page 134: ......
Page 142: ...Chapitre 1 À propos de ce guide 4 ...
Page 143: ...Chapitre 2 5 Vérification de votre ordinateur Avant Arrière ...
Page 148: ...Chapitre 2 Vérification de votre ordinateur 10 ...
Page 172: ...Chapitre 3 Installation et initiation 34 ...
Page 198: ...Chapitre 4 Mise à niveau de votre ordinateur 60 ...
Page 250: ...Chapitre 6 Dépannage 112 ...
Page 260: ...Annexe A Informations légales 122 ...
Page 270: ...132 Index ...
Page 271: ......


