Tinyhawk
4
emax-usa.com
3. Monitor the tinyhawk flight controller; a red light will flash on the board
indicating when binding has been completed.
4. Take the radio out of binding mode by pressing and holding the throttle trim
down and pitch trim down buttons for 2 seconds until the red lights turn off.
5. Unplug tinyhawk battery to power it down to take it out of binding mode.
6. Tinyhawk and radio will not be bound.
Trim
There are trim buttons for each axis on each gimbal. Each trim adjustment will beep
the radio and a longer beep will sound for center trim. Adjust roll and pitch trim when
hovering to achieve a stable hover with no gimbal input.
Gimbal Calibration
The radio comes pre-calibrated; however, recalibrating can help troubleshoot some
problems.
1. With the radio off, pull the right gimbal to the lower right corner and then
power on.
2. Release the right gimbal to its center position and red lights will flash around
the power button indicating in calibration mode.
3. Use the right gimbal and pitch forward to the maximum pitch forward point
then press the respective trim button (pitch positive trim) setting the maximum
point for the pitch axis.
4. Repeat for the right gimbal most minimum position and press the respective
trim button (pitch negative trim) to set the minum.
5. Repeat step 3 and 4 for each axis on both gimbals.
6. Press and hold both throttle trim buttons and both pitch trim buttons for 2
seconds to exit calibration mode.
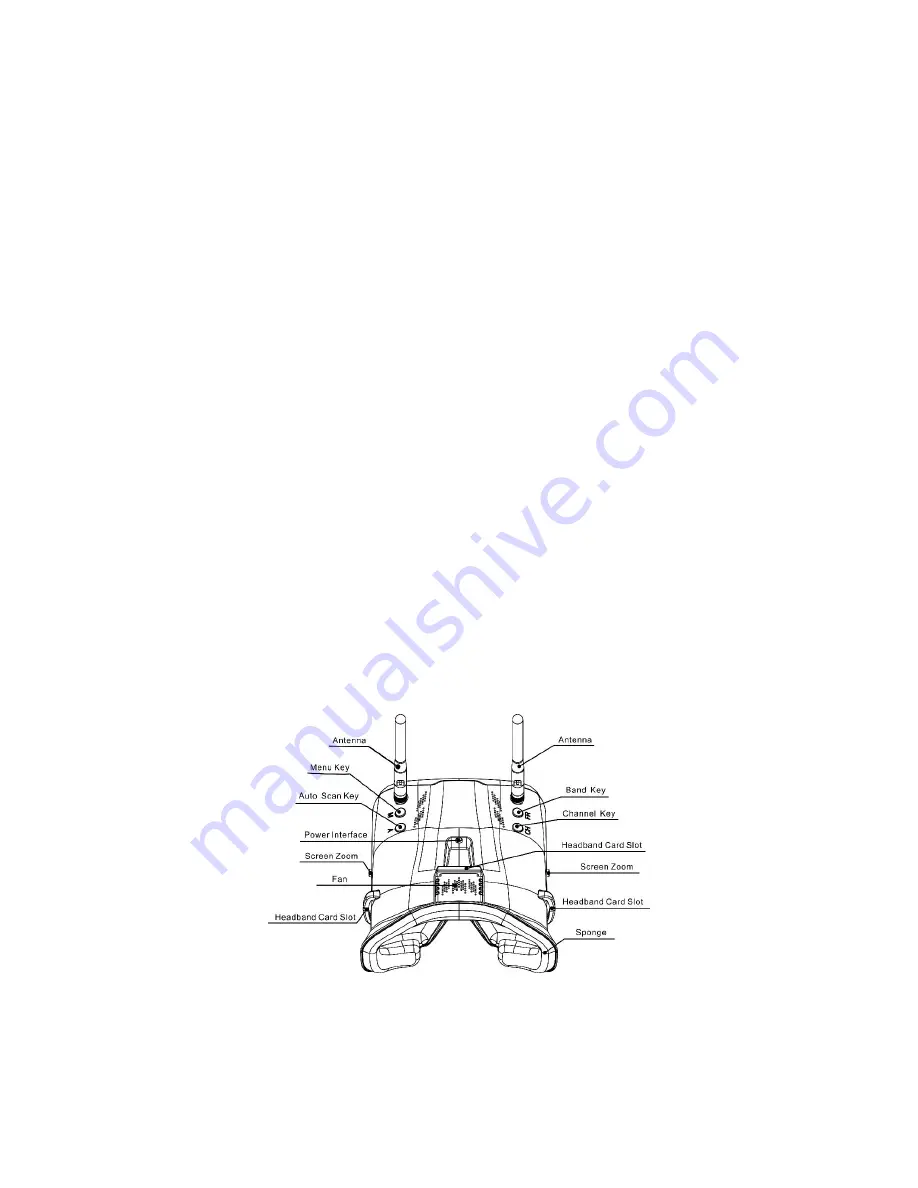
Goggles
Battery and Charging
The battery cartridge comes preinstalled with a 18650 battery. If a battery reinstall is
required please use caution making sure to install with the correct polarity. The
battery can be charged in the cartridge with a micro USB cable. When the battery is


