DD640, DD670, DD860, and DD890 Disk Drive Replacement
7
disks in a RAID-6 configuration. After the first disk drive failure, the hot spare
becomes active. If a DD640 or DD670 has two failed drives and no spare is
available, the system becomes disabled.
The system assigns a disk drive state to a replacement disk drive depending on the
history of the disk drive. Use the
disk show state
command to display the state of all
disk drives. See
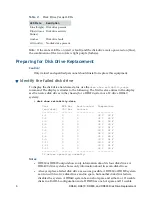
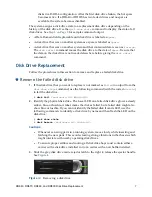
Step 6 on Page 8
for sample command output.
•
A Data Domain field replaceable unit disk drive is labeled as
Spare
.
•
A disk drive that was on another system as a spare is labeled as
Spare
.
•
A disk drive that was on another system and that contained data is seen as
Foreign
.
The
disk unfail
command moves the disk drive to the state of
Spare
. Be sure that
the data on the disk drive is not needed elsewhere before giving the
disk unfail
command.
Disk Drive Replacement
Follow the procedures in this section to remove and replace a failed disk drive.
Remove the failed disk drive
1.
If the disk drive that you want to replace is not marked as
Failed
in output from the
disk show state
command, use the following command (with the correct
disk-id
)
to fail the disk drive.
#
disk fail
<enclosure id>
<
disk-id>
2.
Identify the physical disk drive. The lower LED on a failed disk drive glows a steady
amber, blue, or fuschia. Amber marks the disk as failed, but a failed disk might also
show blue or fuschia. If you cannot identify the failed disk from its LED, use the
following commands to identify a disk drive by name and then flash the LED on the
disk drive:
#
disk show state
#
disk beacon
<enclosure id> <disk-id>
Cautions:
•
Whenever servicing parts in a running system, move slowly while inserting and
latching the new parts. This avoids creating strong vibrations in the chassis which
might interfere with nearby operating disk drives.
•
To ensure proper airflow and cooling, all disk drive bays must contain either a
carrier with a disk drive installed in it or a carrier with an air baffle installed.
3.
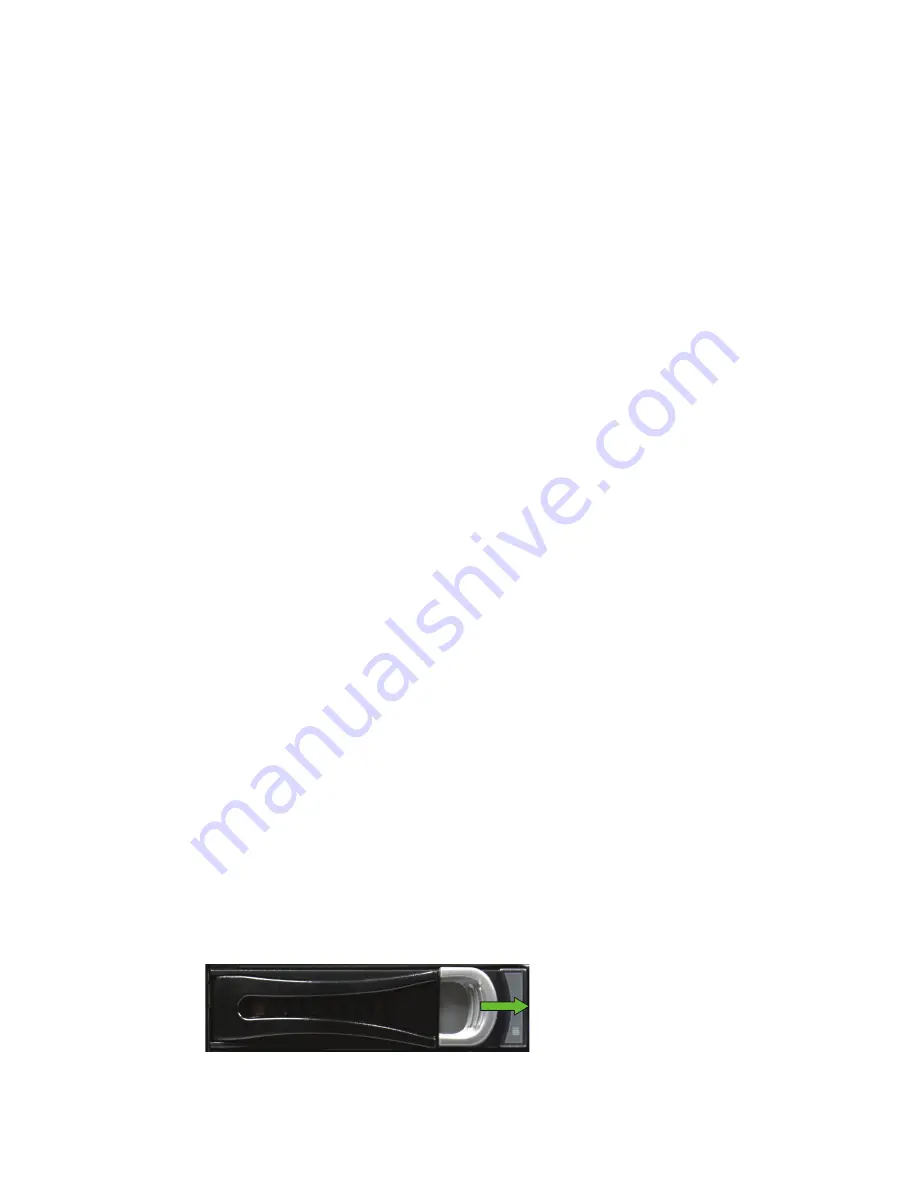
Slide the gray disk drive carrier ejector latch to the right to release the ejector handle.
See
Figure 4
.
Figure 4:
Removing a disk drive

