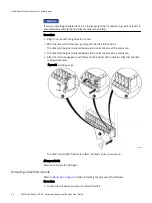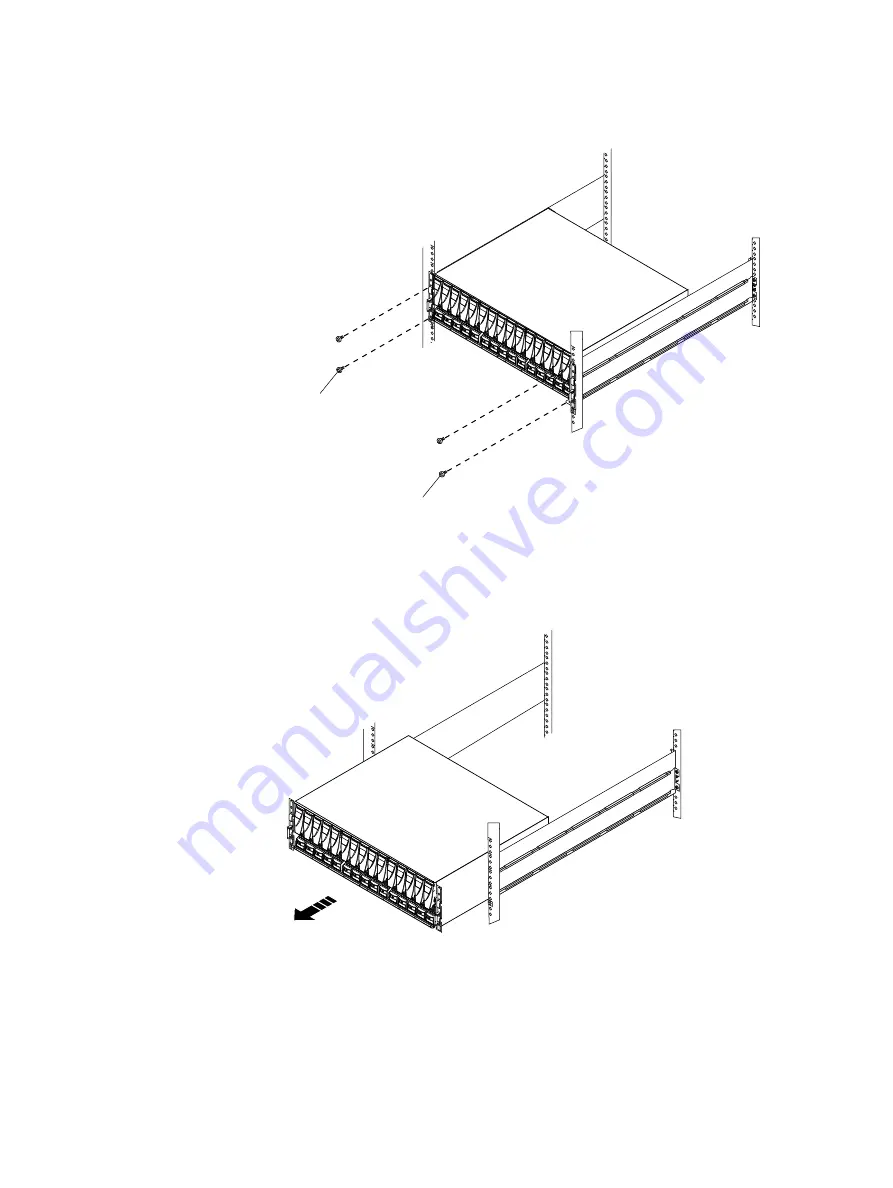
Figure 15 Removing the screws that secure the enclosure to the front of the cabinet
Rear
Front
Screw (2)
Screw (2)
CL4728
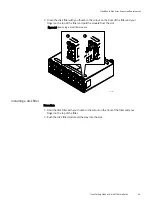
2. With help from another person, slide the enclosure out of the cabinet and place it on a
static-free work surface (
Figure 16 Sliding the enclosure out of the cabinet
CL4718
Unpacking a part
Procedure
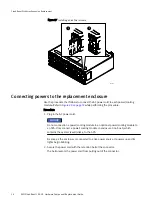
1. Wear ESD gloves or attach an ESD wristband to your wrist and the enclosure in which
you are installing the part.
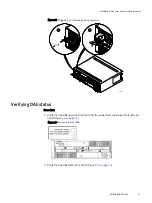
2. Unpack the part and place it on a static-free surface.
CloudBoost Disk Array Expansion Replacement
Unpacking a part
41
Summary of Contents for CloudBoost 100
Page 1: ...EMC CloudBoost 100 Version 2 0 Hardware Component Replacement Guide P N 302 002 471 REV 02 ...
Page 6: ...FIGURES 6 EMC CloudBoost 100 2 0 Hardware Component Replacement Guide ...
Page 8: ...TABLES 8 EMC CloudBoost 100 2 0 Hardware Component Replacement Guide ...
Page 14: ...CloudBoost 100 Overview 14 EMC CloudBoost 100 2 0 Hardware Component Replacement Guide ...
Page 20: ...Disk Drive Replacement 20 EMC CloudBoost 100 2 0 Hardware Component Replacement Guide ...


