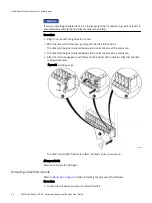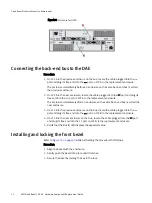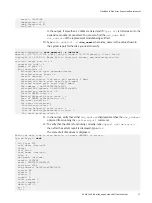
Figure 22 Removing an LCC
CL4574
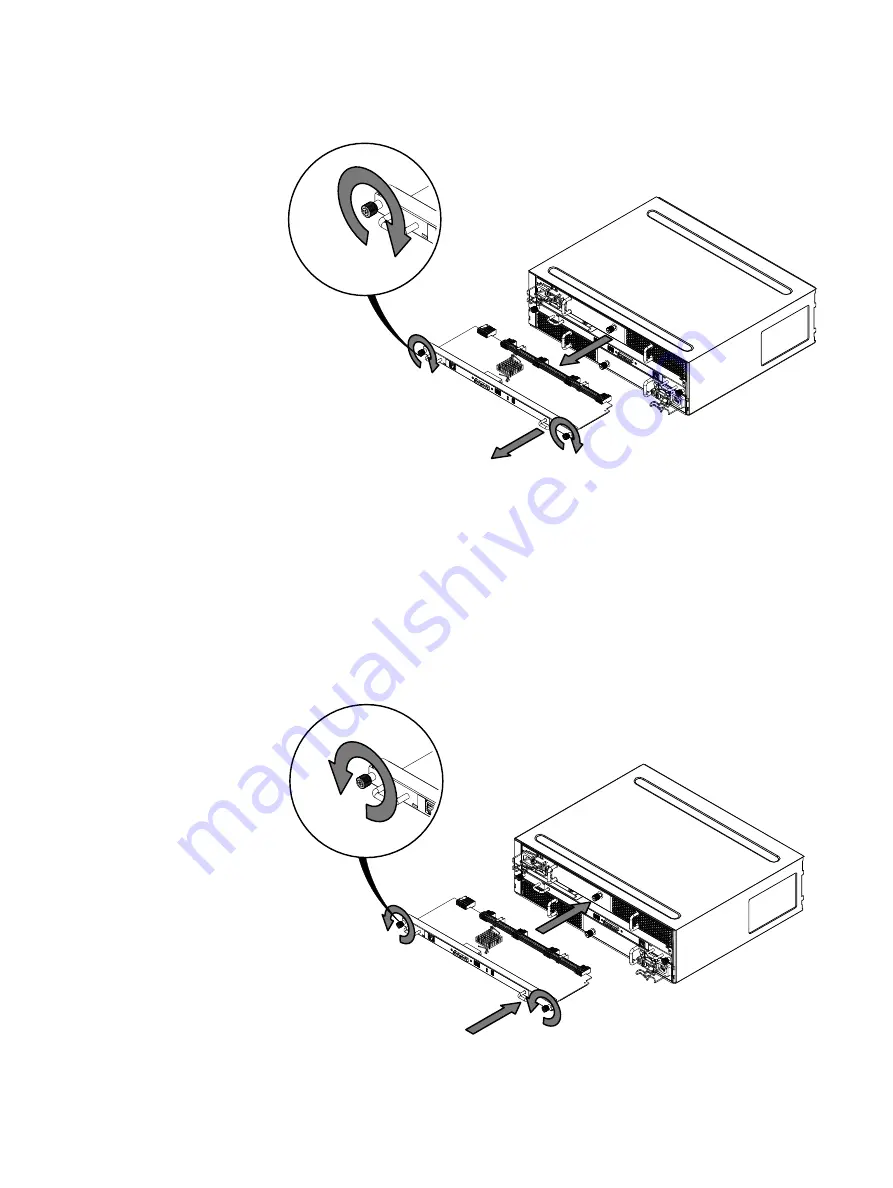
Installing an LCC
performing the procedure that follows.
Procedure
1. Attach an ESD wristband to your wrist and the enclosure.
2. Gently insert the LCC, being sure the LCC is completely seated in the enclosure.
3. Secure the LCC with the captive screws.
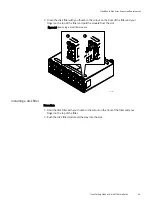
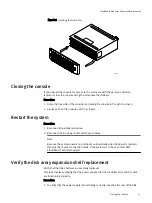
Figure 23 Installing an LCC
CL4573
CloudBoost Disk Array Expansion Replacement
46
EMC CloudBoost 100
2.0
Hardware Component Replacement Guide
Summary of Contents for CloudBoost 100
Page 1: ...EMC CloudBoost 100 Version 2 0 Hardware Component Replacement Guide P N 302 002 471 REV 02 ...
Page 6: ...FIGURES 6 EMC CloudBoost 100 2 0 Hardware Component Replacement Guide ...
Page 8: ...TABLES 8 EMC CloudBoost 100 2 0 Hardware Component Replacement Guide ...
Page 14: ...CloudBoost 100 Overview 14 EMC CloudBoost 100 2 0 Hardware Component Replacement Guide ...
Page 20: ...Disk Drive Replacement 20 EMC CloudBoost 100 2 0 Hardware Component Replacement Guide ...


