7
WATER CARE
Your spa is equipped with what we believe is the finest filtering device available. We call it the Skim/Filter system, and it is one of
the few skimmers available which actually skims the water surface. When your spa is operating, watch how the Skim/Filter bobs
up and down with the water level. You'll notice a distinct whirlpool being drawn into the system, and floating debris of all sizes will
literally "fall" into the unit and be trapped by the filter. It is important that you keep your filter clean, and it is suggested that you
check the filter at least once per month and replace it when it becomes loaded with dirt or debris.
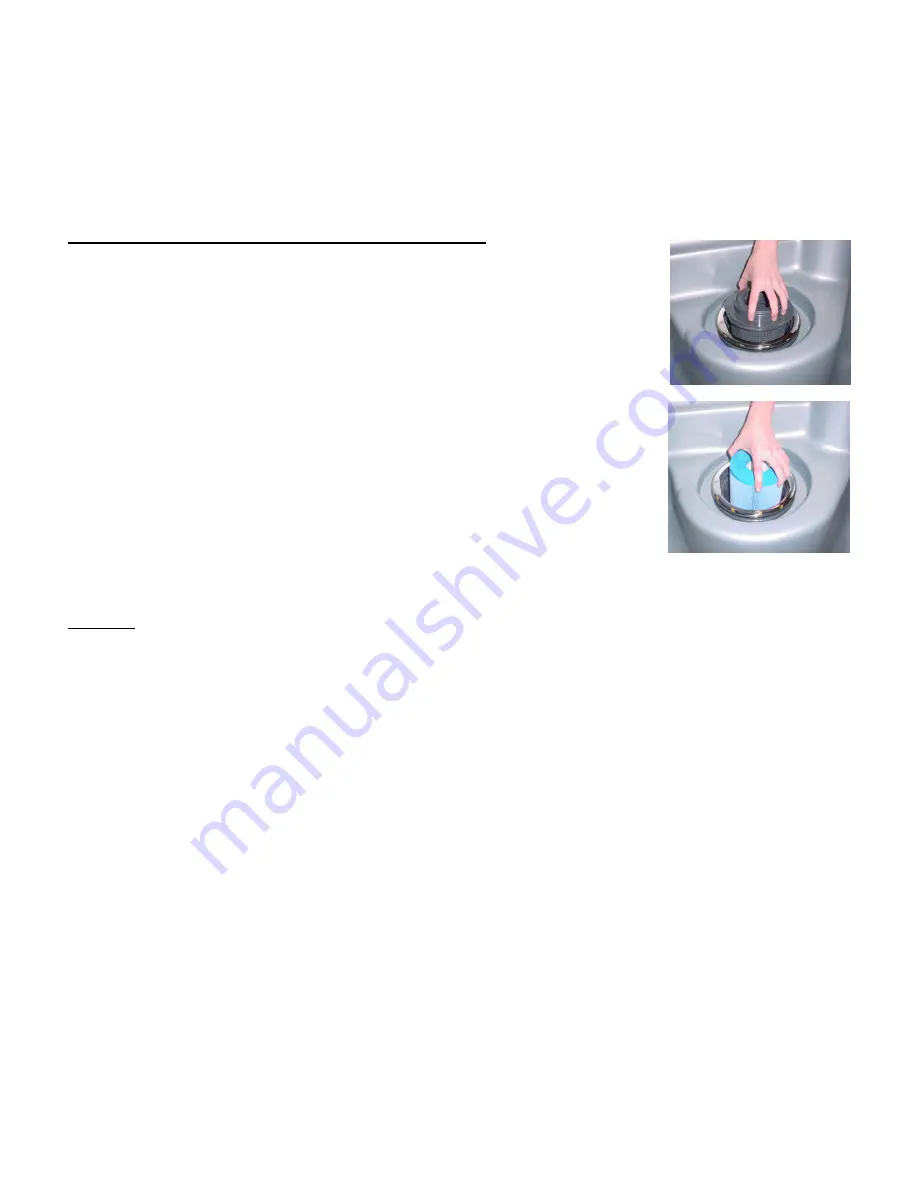
Filter Basket and Cartridge Removal and Replacement Procedure
1. Turn off electrical power to the spa.
2. Remove the floating weir and attached basket by rotating it counterclockwise to align the flat
tabs on the filter housing flange with the flat areas on the floating weir and basket assembly,
then lift out the assembly.
3. Lift the filter cartridge straight up and out of the filter housing, quickly moving it away from the
tub to prevent collected debris from falling back into the water.
4. Separate the floating weir from the basket by rotating it counterclockwise to align the notches
on the floating weir flange with the tabs on the top of the basket, then simply pull them apart.
5. Clean any accumulated debris from the basket. Avoid hitting the basket against objects to
knock debris loose, as this will break the basket.
6. Re-attach the basket to the floating weir.
7. Install a new filter cartridge in the filter housing.
8. Reinstall the floating weir and attached basket assembly.
9. Turn electrical power to your spa back on.
CONSUMER NOTICE
Chemicals
Due to the warm temperatures in your spa, you must properly test and maintain your spa water for health and appearance reasons.
Chemical imbalance can cause skin irritations, and dirty water is both unsightly and undesirable to soak in. With little effort you can
have clean water for your constant enjoyment. This is attained through the use of spa chemicals, a superb filter system and the
optional ozonator. Consult your dealer to set up a proper water treatment program that will work best with the equipment in your
spa.
CAUTION: Always follow the water treatment chemical manufacturer’s instructions when treating your water. Higher than normal
concentrations of certain chemicals can degrade or cause permanent damage to your spa. When introducing chemicals into the
water, never pour them directly into the filter.
Be aware that the mineral content of spa water increases from water evaporation and with the addition of algaecide and sanitizing
chemicals. If the mineral concentration of the water becomes too high, the minerals will precipitate and deposit on the spa, in the
filter, and on the heater. The water must be changed when the amount of dissolved solids becomes excessive. Algaecide and
sanitizing chemicals are either alkaline or acidic. Sodium and calcium hypochlorite are alkaline. Chlorine gas and practically all
other dry chlorine products are acidic. Whichever type of chlorine is used, it is very important that the ph level be checked fre-
quently and maintained between 7.2 and 7.8.
CAUTION: Do NOT store spa or pool chemicals near the equipment module because their corrosive fumes may cause damage.
Change the spa water frequently, typically every 3 to 4 months or when the water clarity and cleanliness can no longer be main-
tained by chemical treatment. It is recommended that the total alkalinity of the spa water be kept from 80 to 100 parts per million
(ppm) when sodium or calcium hypochlorites are used, and 100 to 120 ppm when other dry chlorine products are used.


