background image

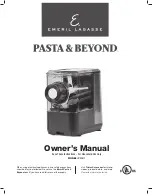
Emeril Lagasse Pasta & Beyond


15

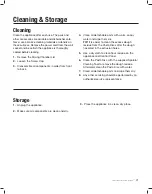
1. 

Read all material, warning stickers, and labels.

2. 

Disassemble all components, including the 
Mixing Chamber, Screw Cap, Storage Bin, 
and other detachable components. To remove 
the Mixing Chamber lid, pinch the tabs on the 
Mixing Chamber and the lid together and lift 

the lid. Wash with warm, soapy water. Then, 
rinse and wipe dry. 

3. 

Never wash or submerge the appliance base 
in water. Wipe the inside and outside of the 
appliance base with a clean, moist cloth. Rinse 
with a warm, moist cloth.

Before First Use

General Operating Instructions

Using the Pasta Maker

1. 

Plug the appliance into a three-pronged wall 
outlet. The appliance will beep once and the 
LED display will show four dashes.

2. 

Press the Power Button to turn the  
appliance on. The LED Display will read “ON.”

3. 

Use a spoon or scoop to add flour into the Dry 
Measuring Container until slightly overfull. Do 
not pack the flour into the container; lightly 
scoop it in until the container is full and a small 
peak has formed in the center. Level it off. Use 
the Spatula/Cleaning Tool or the back of a knife 
to level off the top by running it against the 
rim of the container. You are now ready to use 
the flour in your recipe. If it calls for additional 
containers, measure them the same way. 

NOTE:

 The Dry Measuring Container that came 

with your appliance holds 1 ¼ cups of flour.

4. 

Beat the eggs and add the egg to the measuring 
container if your recipe calls for eggs. Then,  
add water and any other liquid ingredients to the 
same measuring container with the eggs until 
you reach required measurement. Stir to mix all 
the wet ingredients. 

5. 

Add your flour and salt to the Mixing Chamber.

6. 

Place the lid on the Mixing Chamber. Press the 
Batch Button according to your recipe size. 
The paddle will begin mixing the flour.

7. 

Add all the liquid in slowly through the opening 
on top of the lid. The paddles will knead the 
mixture for serval minutes. The mixture will 
have a consistency of coarse sand. See the   
“Flour Mixing” section for more information  
on consistencies.  

NOTE: 

Only pour your liquid into the Mixing 

Chamber once the appliance is mixing the flour.

8. 

The appliance will pause to let the dough rest 
and then begin turning in the opposite direction 
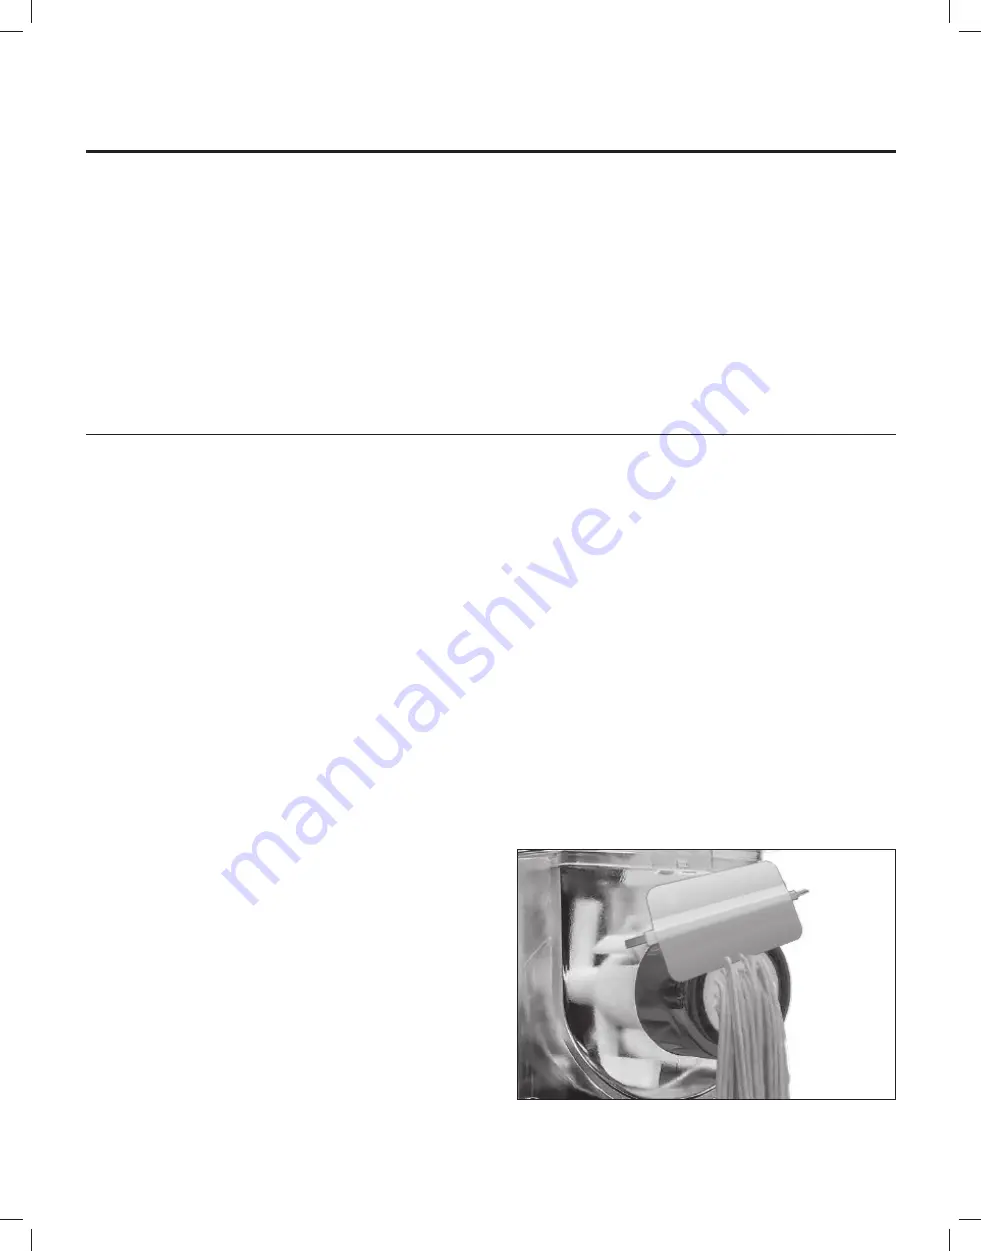
to begin extruding the dough. While the pasta 
is extruding, cut it to size using the Spatula/
Cleaning Tool with a downward motion. Cut 
to your desired length. For most pasta, cut at 
about 10 inches for each portion (see Fig. a).

Fig. a

Summary of Contents for Pasta & Beyond PM-01

Page 1: ...ways be followed Do not use the Emeril Pasta BeyondTM until you have read this manual thoroughly Save These Instructions For Household Use Only Owner s Manual Visit TristarCares com for tutorial video...

Page 2: ...family meals and memories around the dinner table But before you begin it s very important that you read this entire manual making certain that you are totally familiar with this appliance s operation...

Page 3: ...Panel Assembling the Pasta Maker Assembling the Meat Grinder Assembling the Slicer Shredder Assembling the Slow Juicer Assembling the Frozen Treat Maker 6 8 10 11 12 13 14 General Operating Instructi...

Page 4: ...FORE USE 11 Do not operate any appliance with a damaged cord or plug or after the appliance malfunctions or is dropped or damaged in any manner Contact customer service using the contact information o...

Page 5: ...outlet Never pull from the power cord 31 Avoid touching moving parts 32 Never feed food or ingredients into the housing by hand Always use a food pusher 33 Blades are sharp Handle carefully 34 Always...

Page 6: ...se for measuring dry ingredients Capacity 1 cups LIQUID MEASURING CONTAINER Use for measuring liquid ingredients including eggs oil and water 1 Batch 70 mL 2 Batches 150 mL MAIN UNIT FOOD PULP COLLECT...

Page 7: ...ING SLICER AND SHREDDER HOUSING FROZEN TREAT HOUSING MIXING CHAMBER PASTA DISCS Pasta Discs included for these pasta shapes Tagliatelle Spaghetti Fettucine Penne Angel Hair Linguine Lasagne Udon PUSHE...

Page 8: ...unterclockwise Once done mixing or unjamming press the Start Pause Button to resume the current process 5 Forward Button Used when slicing shredding grinding meat juicing and making frozen treats Can...

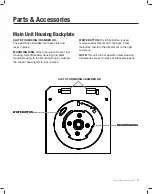
Page 9: ...G RING Attach the Juicer Frozen Treat Housing Slicer Shredder Housing and Meat Grinder Housing to the Mounting Ring by twisting the chosen housing left to lock in place WHITE BUTTON The White Button i...

Page 10: ...rough the Mixing Chamber s mouth so that the Auger shaft fits into the opening of the kneading paddle 4 Choose one Pasta Disc G and place it on the front tip of the Auger on the front tip of the Auger...

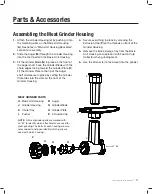
Page 11: ...the Basic Unit Housing 3 Fit the Grinder Blade N in place on the front of the Auger shaft Face the Grinder Blade with the sharp edges facing toward the Grinder Plate O Fit the Grinder Plate to the ti...

Page 12: ...t either the Slicer Blade S or the Shredder Blade T and insert the blade onto the three fins at the back of the Shredder Housing While holding the Outer Tab rotate the blade so it locks into the housi...

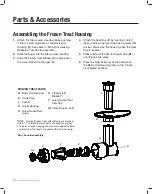
Page 13: ...Cap Y by twisting it until it locks in place The Seal Cap has an arrow that will be centered on the housing when the Seal Cap is locked Place and twist the Round Extrusion Cap Z until it locks into pl...

Page 14: ...the Auger into the Slow Juicer Housing 3 Slide the Frozen Treat Blocker X in place over the Juice Frozen Treat Auger V 4 Attach the Seal Cap Y by twisting it until it locks in place The Seal Cap has a...

Page 15: ...the rim of the container You are now ready to use the flour in your recipe If it calls for additional containers measure them the same way NOTE The Dry Measuring Container that came with your applian...

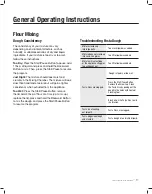
Page 16: ...guide for pasta dough recipes that include specific instructions and ingredient amounts Using the Dry and Liquid Measuring Containers Use the markings on the Dry and Liquid Measuring Containers to me...

Page 17: ...appliance Too Wet Press the Start Pause Button remove the lid add 2 tbsp of flour at a time up to cup replace the lid press and hold the Backward Button to mix the dough and press the Start Pause Butt...

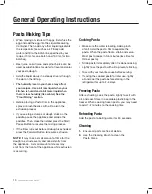
Page 18: ...the Start Pause Button to resume the mixing process If the timer runs out before all dough is extruded press the Forward Button to resume extrusion NOTE It may take a small amount of time for the dou...

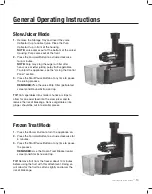
Page 19: ...time to pause the juicing process REMINDER Use the Juice Pulp Filter perforated screen and Round Extrusion Cap TIP Cut vegetables into smaller chunks or strips to allow for an easier feed into the slo...

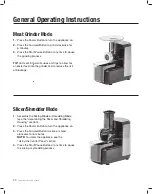
Page 20: ...er feed into the grinder and to reduce the risk of blockage General Operating Instructions Slicer Shredder Mode 1 Assemble the Slicing Blade or Shredding Blade see the Assembling the Slicer and Shredd...

Page 21: ...Clean all detachable parts with warm soapy water and wipe them dry TIP It is easier to clean the excess dough residue from the Pasta Discs after the dough has dried in the extrusion holes 5 Use a dry...

Page 22: ...lid properly and press the Start Pause Button E1 displays on the screen The motor is blocked because the dough is too dry or too much food is being pushed through Press the Start Pause Button Press th...

Page 23: ...your order number can be used as the return merchandise authorization number RMA If the product was purchased in a retail store return the product to the store or use RETAIL as the RMA Return your pro...

Page 24: ...Pasta BeyondTM This product has been manufactured to the highest standards Should you have any questions our friendly customer service staff is here to help you For parts recipes accessories and ever...

Reviews: