8
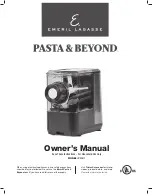
Emeril Lagasse Pasta & Beyond
™
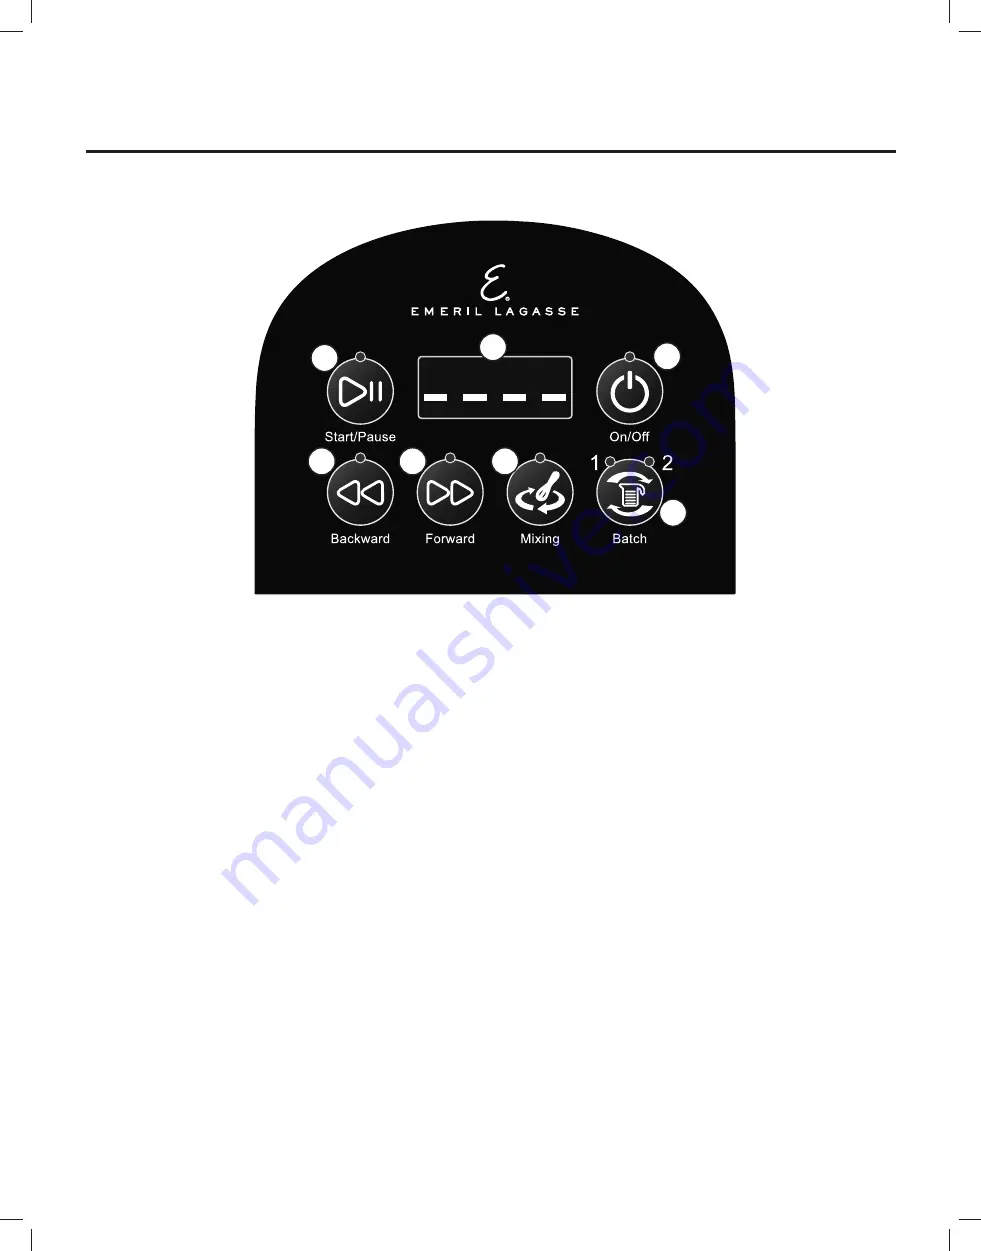
1. Power Button:
Once the power cord
has been connected to a dedicated 3-prong,
120V wall outlet, pressing the Power Button will
cause the word "ON" to be displayed on the
Control Panel, indicating that the appliance is
in Ready mode.
2. Time Display:
Shows the total time and
elapsed time for the selected process.
3. Start/Pause Button:
Press to pause or
resume a selected function during operation.
4. Backward Button:
Rotates
counterclockwise for 5 minutes. Can also be
used to unjam during juicing, slicing, shredding,
and grinding and to mix dough. During the
forward or batch cycles, press the Pause/Start
Button anytime and hold the Backward Button
down to mix counterclockwise. Once done
mixing or unjamming, press the Start/Pause
Button to resume the current process.
5. Forward Button:
Used when slicing,
shredding, grinding meat, juicing, and making
frozen treats. Can be used to extrude pasta.
Default time: 6 mins.
6. Mixing Button:
Used to mix dough without
extruding (see "Flour Mixing" section). Default
time: 6 mins. You can press the Start/Pause
Button at any time to pause the process.
You can press the Start/Pause button to
resume the cycle.
7. Batch Button:
Press the Batch Button once
to select the one-batch program, which is equal
to ½ lb pasta. Press the button twice to select the
two-batch program, which is equal to 1 lb pasta.
Once the Batch Button is pressed, no other
buttons need to be pressed during the cycle.
NOTE:
Pasta needs to be cut to length by hand as it
is extruded from the appliance.
1
2
3
4
5
6
7
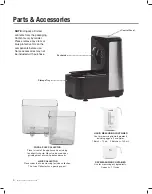
Parts & Accessories
Using the Control Panel

