xxxxxxxxxxxxxxxxxx XR44CH ISA GB r1.6 21.11.2016
XR44CH
2/5
3.4.3 Forced activation of fans
This function managed by the Fct parameter is designed to avoid short cycles of fans, that could
happen when the controller is switched on or after a defrost, when the room air warms the evaporator.
Functioning: if the difference of temperature between the evaporator and the room probes is more
than the value of the Fct parameter, the fans are switched on. With Fct=0 the function is disabled.
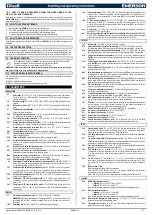
3.4.4 Double humidity function
By means of the parameter FSU is possible to set different actions of the fan.
With
FSU = Std
the fan operates according to Fnc parameter
With
FSU = Fon, FNC = C-n or C-Y
and
i1F = FAn
or by
UP
key pushed for 3s is
possible to perform a double humidity action: when the digital input is activated, it
keeps evaporator fan continuously working, when d.i. is disable the fan works with
compressor.
NOTE2: With this function enabled the LED
flashes.
With
FSU = FoF
and
i1F = FAn
or by
UP
key pushed for 3s when the digital input is
activated, it stops the fan, when d.i. is disable the fan works according to the
FnC
parameter.
NOTE2: With this function enabled the LED
flashes.
3.5
DRIPPING HEATERS
With oAx=HEt, the relay will work as dripping heater to eliminate the humidity/water after a defrost.
The relay is on during Stc time and for hot gas defrost during defrost and dripping time.
4.
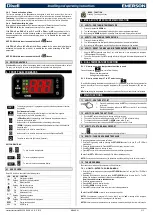
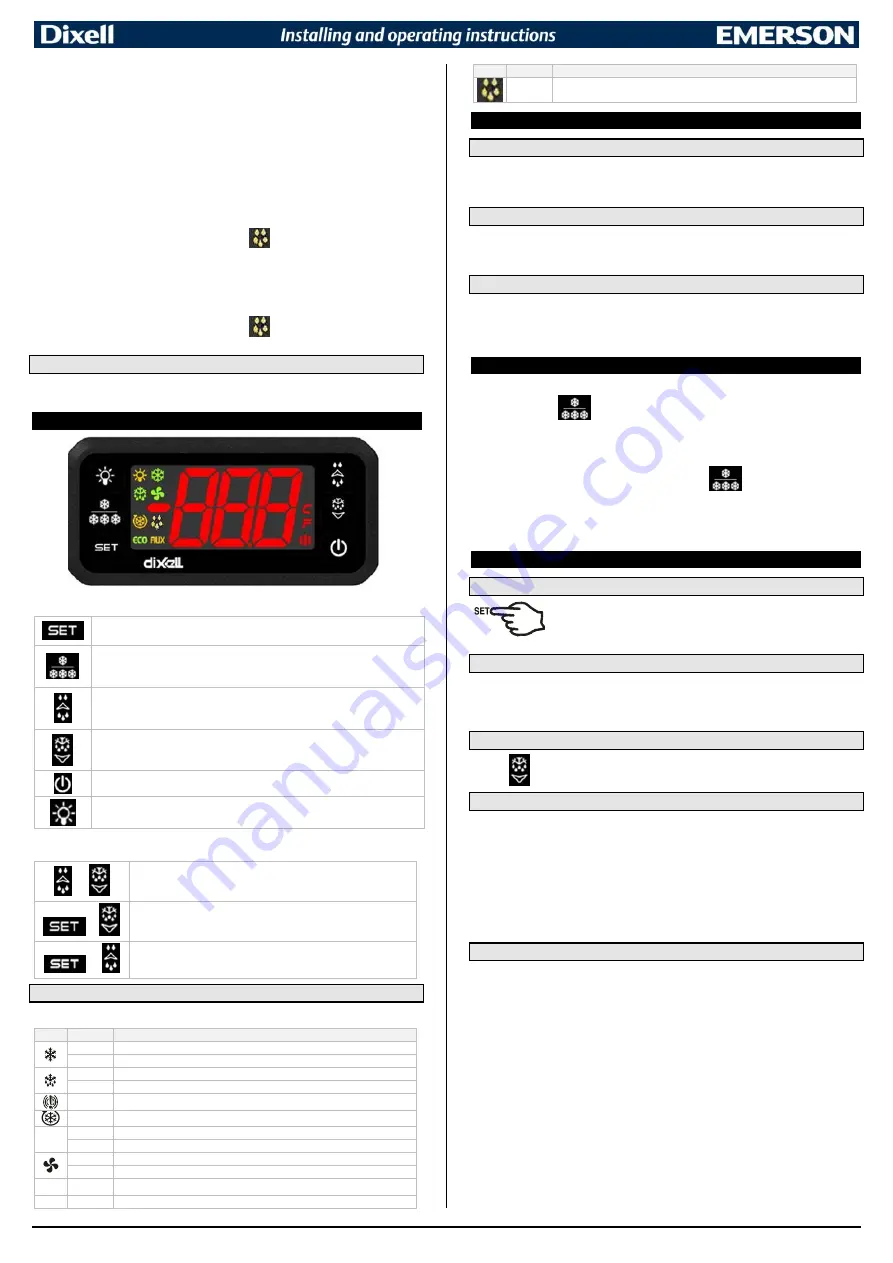
FRONT PANEL COMMANDS
To display target set point; in programming mode it selects a parameter or confirm
an operation.
Dual temperature function
Pushed for 5s within the first min after power on, it switches from negative
temperature (Lt) to positive temperature (Pt)
(UP/Dual Humidity)In programming mode it browses the parameter codes or
increases the displayed value.
Hold pushed for 5s enable/disabled the fan according to the setting.
(DOWN) In programming mode it browses the parameter codes or decreases the
displayed value.
Hold pushed for 5s to start a manual defrost
Hold pushed for 5s to switch the instrument on and off (when onF=oFF).
To switch on and off the light output (if present).
KEY COMBINATIONS:
+
To lock & unlock the keyboard.
+
To enter in programming mode.
+
To return to the room temperature display.
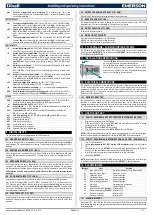
4.1
USE OF LEDS
Each LED function is described in the following table.
LED
MODE FUNCTION
ON
Compressor enabled
Flashing Anti-short cycle delay enabled
ON
Defrost enabled
Flashing Drip time in progress
ON
An alarm is occurring
ON
Continuous cycle is running
°C/°F
ON
Measurement unit
Flashing Programming phase
ON
Fans enabled
Flashing Fans delay after defrost in progress.
ECO
ON
Energy saving enabled
AUX
ON
AUX relay on
LED
MODE FUNCTION
Flashing Fan stopped by key
5.
MAX & MIN TEMPERATURE MEMORIZATION
5.1
HOW TO: SEE THE MIN TEMPERATURE
1.
Press and release the DOWN key.
2.
The “Lo” message will be displayed followed by the minimum temperature recorded.
3.
By pressing the DOWN key again or by waiting 5 sec the normal display will be restored.
5.2
HOW TO: SEE THE MAX TEMPERATURE
1.
Press and release the UP key.
2.
The “Hi” message will be displayed followed by the maximum temperature recorded.
3.
By pressing the UP key again or by waiting 5 sec the normal display will be restored.
5.3
HOW TO: RESET THE MAX AND MIN TEMPERATURE RECORDED
1.
Keep the SET key pressed more than 3 sec, while the max or min temperature is displayed.
(“rSt” message will be displayed)
2.
To confirm the operation the “rSt” message will start blinking and the normal temperature will be
displayed.
6.
DUAL TEMPERATURE FUNCTION
6.1.1 How to see which temperature function is used
Push and release the
key, controller will display:
-
Pt
: positive temperature
-
Lt
: negative temperature
6.1.2 How to switch from LT to PT and vice versa
To modifiy the operating temperature, keep pushed for 5s the
key within the first minute after
start up: controller will move from negative temperature (LT) to positive temperature (Pt) and vice
versa.
NB: after switching the temperature the controller is switched off and on to load the new configuration.
7.
MAIN FUNCTIONS
7.1
HOW TO: SEE THE SET POINT
1.
Push and immediately release the SET key: the display will show the Set
point value.
2.
Push and immediately release the SET key or wait for 5 sec to display
the probe value again.
7.2
HOW TO CHANGE THE SET POINT
1.
Push the SET key more than 2 sec to change the Set point value.
2.
The value of the set point will be displayed and the “°C” or “°F” LED will start blinking.
3.
To change the Set value push the UP
or DOWN arrows within 10 sec.
4.
To save the new set point value, push the SET key again or wait for 10 sec.
7.3
HOW TO START A MANUAL DEFROST
Push the
key for more than 2 sec and a manual defrost will start.
7.4
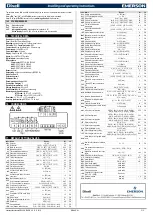
HOW TO: CHANGE A PARAMETER VALUE
To change a parameter value, operate as follows:
1.
Enter the Programming mode by pressing the SET+DOWN buttons for 3s (the °C or °F LED will
start blinking).
2.
Select the required parameter. Press the SET button to display its actual value.
3.
Use UP or DOWN buttons to change its value.
4.
Press SET button to store the new value and move to the following parameter.
To exit: Press SET + UP buttons or waiting for 15s without pressing any key.
NOTE: the set value is stored even when the procedure is exited by waiting for the time-out to expire.
7.5
THE HIDDEN MENU
The hidden menu includes all the parameters of the instrument.
7.5.1 HOW TO: ENTER THE HIDDEN MENU
1.
Enter the Programming mode by pressing the SET+DOWN buttons for 3 sec (the °C or °F LED will
start blinking).
2.
Released the buttons and then push again the SET+DOWN buttons for more than 7s. The Pr2
label will be displayed immediately followed from the HY parameter.
Now it is possible to browse the hidden menu.
3.
Select the required parameter.
4.
Press the SET button to display its value.
5.
Use UP or DOWN to change its value.
6.
Press SET to store the new value and move to the following parameter.
To exit: Press SET+DOWN or wait 15 sec without pressing a key.
NOTE1: if no parameter is present in Pr1 menu, after 3 sec the “noP” message will be displayed.
Keep the buttons pushed till the Pr2 message will be displayed.
NOTE2: the set value is stored even when the procedure is exited by waiting for the time-out to expire


