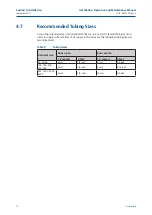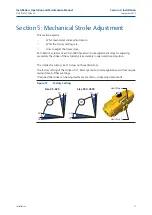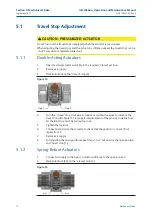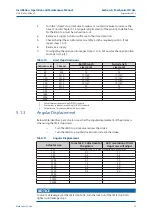
Installation
3.
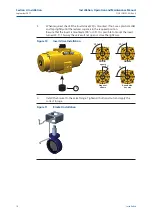
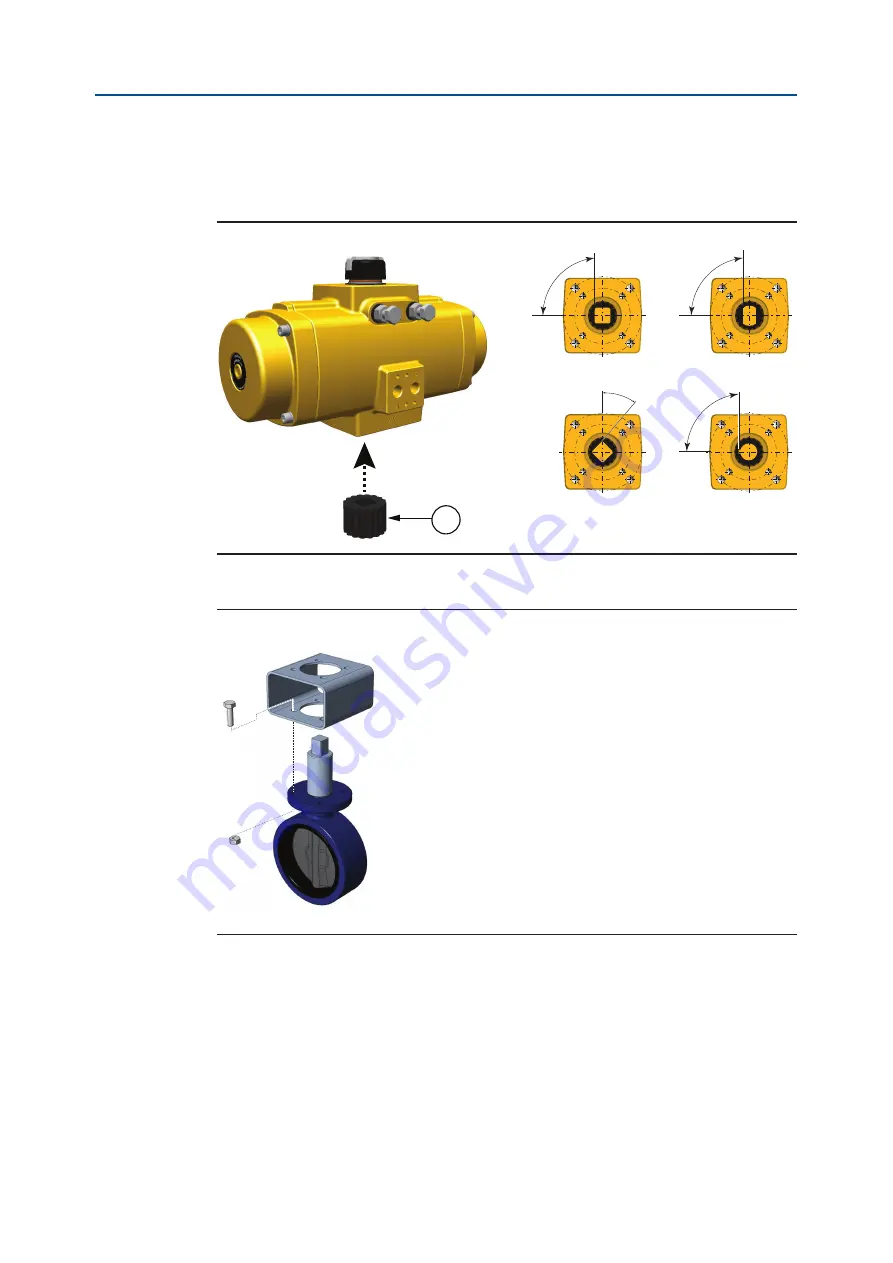
When required, check if the insert drive (23) is mounted. If not, use a plastic mallet
and tap slightly until the reducer square is in the required position.
Be sure that the insert is mounted at 90° or 45°. It is possible to mount the insert
turned 22.5°. This way the valve will not open or close the right way.
Figure 10
Insert drive Installation
23
4.
Install the bracket to the valve flange. Tighten all bolts and nuts and apply the
correct torque.
Figure 11
Bracket Installation
90°
45°
90°
90°
Parallel
square
Diagonal
square
Flat head
Round with
key way
14
September 2015
Installation, Operation and Maintenance Manual
DOC.IOM.EF.EN Rev. 6
Section 4: Installation
Summary of Contents for EL-O-Matic F-Series
Page 2: ......


