Disassembly
Section 8: Disassembly
This section explains:
•
How to disassemble an actuator safely.
Tip
The instructions of this section can be used for maintenance or reconfiguration like spring
set change or maintenance.
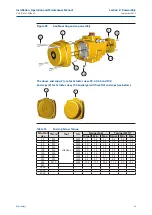
Reference numbers for components refer to the exploded view in section 11.
In case of maintenance, discard all the used soft parts like O-ring seals, guide bands,
wear strips and circlip.
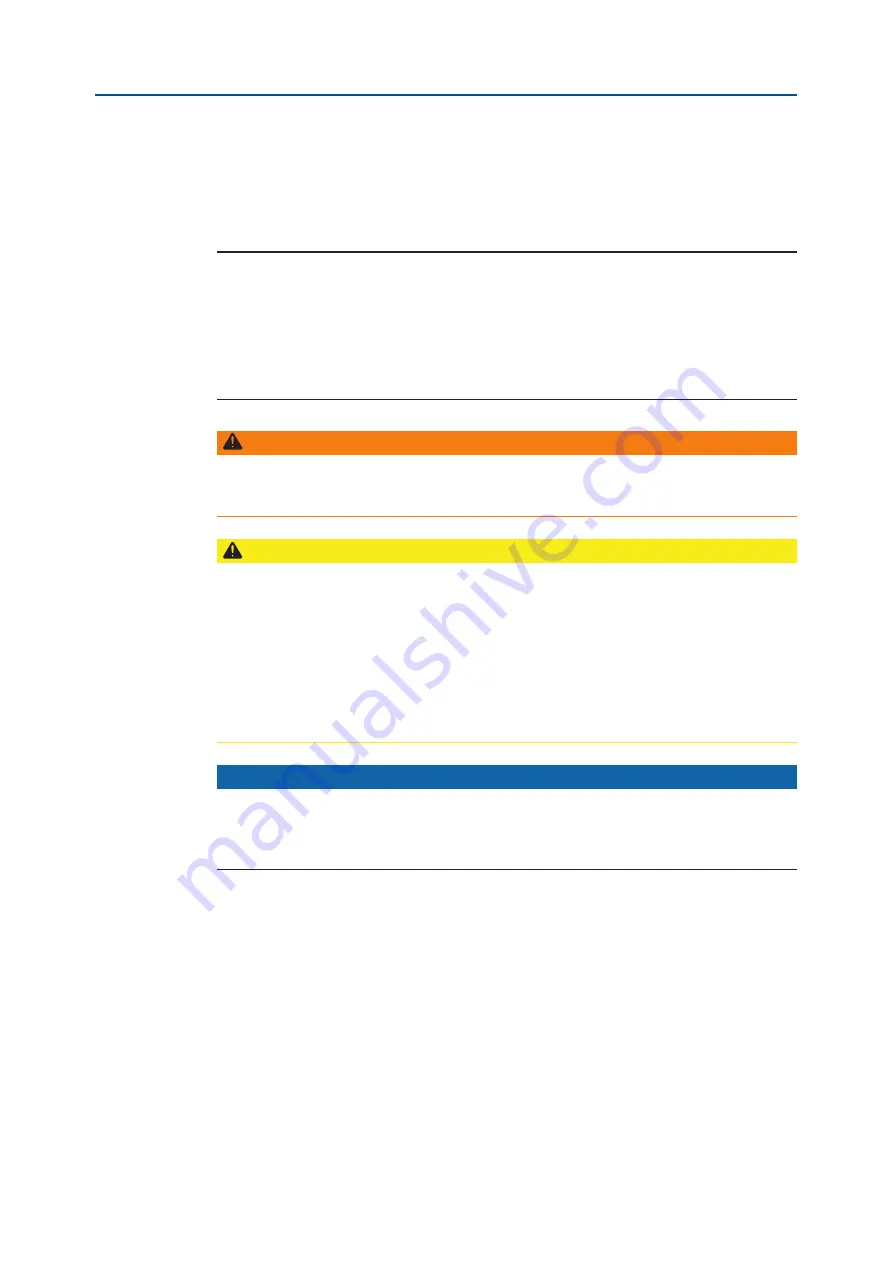
WARNING
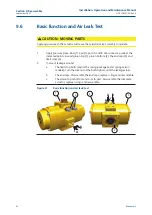
Actuator must be isolated pneumatically and electrically before any (dis)assembly starts.
Before mounting or (dis)assembling the actuator consult the relevant sections of this manual.
CAUTION - SPRING FORCE
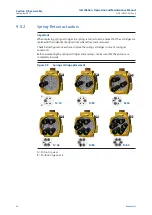
Spring-return actuators contain springs in a compressed state. Follow these instructions to
release the spring force safely.
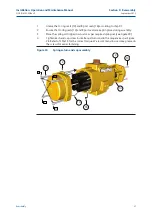
Normally the end caps of spring-return actuators should be free of the spring load after
10 full turns (crosswise relaxing) of the end cap screws. If there is still spring load on the
end cap, this might indicate a broken spring cartridge. Stop this disassembly procedure
immediately. Continuing might cause the end cap to be “shot” away causing serious injury.
Refer to Appendix A for instructions to safely remove the spring load before disassembling
the end cap of a spring-return actuator with a broken spring cartridge.
NOTICE
The actuator is designed to be installed, commissioned and maintained using generic tools
like wrenches, Allen keys and screwdrivers.
Refer to the tables in this section or refer to appendix B Tool and Torque tables.
24
September 2015
Installation, Operation and Maintenance Manual
DOC.IOM.EF.EN Rev. 6
Section 8: Disassembly
Summary of Contents for EL-O-Matic F-Series
Page 2: ......

