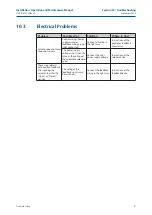
Troubleshooting
Section 10: Troubleshooting
10.1
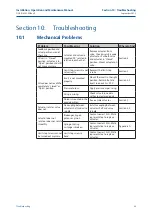
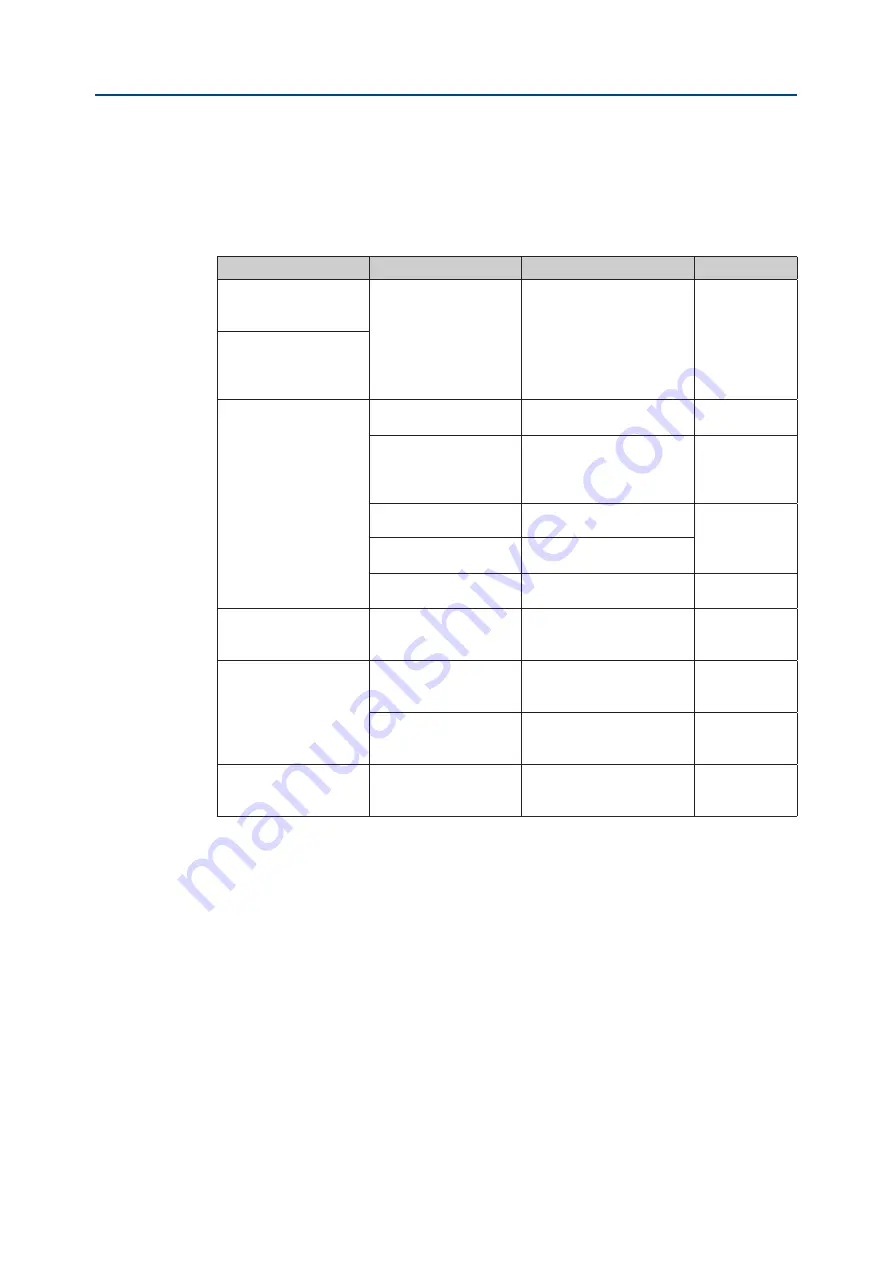
Mechanical Problems
Problem
Possible error
Solution
Where to find
Feedback position and
actual position are not
the same.
Actuator and valve are
mounted 90° rotated in
relation to each other.
Remove actuator from
valve. Check assembly code
of actuator. Put both valve
and actuator in “Closed”
position. Mount actuator on
valve.
Section 4
Valve is in “Closed”
position, actuator is in
“Open” position and will
not move anymore.
Valve does not reach the
completely “Closed” or
“Open” position.
Limit stop screws are not
set correctly.
Readjust the limit stop
screws.
Section 5
Insert is not mounted
properly.
Mount the insert in the right
position. Remark: Rotate
insert to one cam = 22.5°.
Section 4.5
Pressure to low.
Apply pressure as per sizing.
Sizing is wrong.
Check valve torque data
with actuator torque data.
Pinion is mounted in the
wrong position.
Re assemble actuator.
Section 9
Actuator rotates, valve
does not.
No coupling between
actuator shaft and valve
spindle.
Install a coupling between
actuator shaft and valve
spindle.
Section 4.5
Actuator does not
rotate or does not rotate
smoothly.
Broken gearing on
pistons or pinion.
Contact nearest EL-O-Matic
representative to replace
actuator.
Spring or Spring
cartridge is broken.
Contact nearest EL-O-Matic
representative to replace
actuator.
Appendix A.
Limit stop screws cannot
be turned out anymore.
Limit stop screws is
bend.
Contact nearest EL-O-Matic
representative to replace
actuator.
Installation, Operation and Maintenance Manual
DOC.IOM.EF.EN Rev. 6
September 2015
39
Section 10: Troubleshooting
Summary of Contents for EL-O-Matic F-Series
Page 2: ......

