– 18 –
EN
•
Shaded buttons are used for following operation.
GETTING STARTED
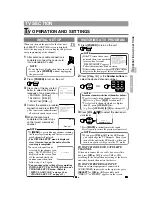
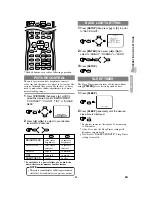
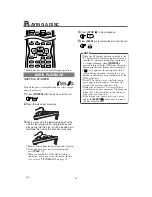
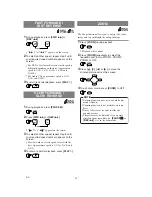
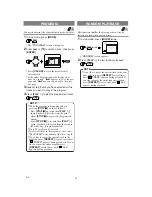
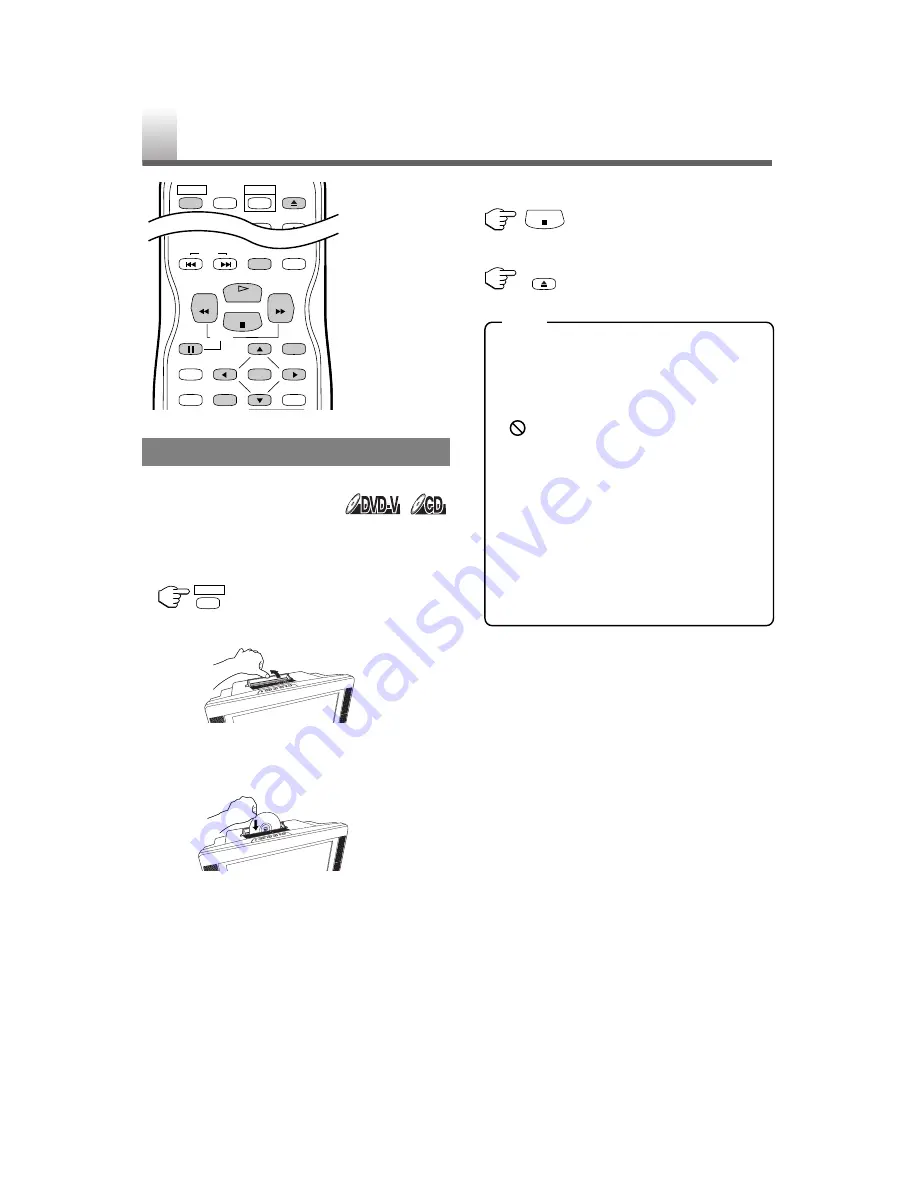
Turn on the power of amplifier and any other compo-
nents, if necessary.
1
Press
[POWER]
then the power will turn on.
2
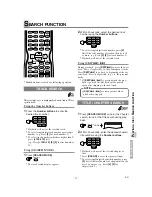
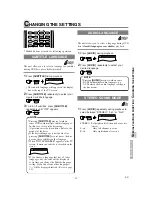
Open the disc door manually.
3
Insert a disc with the label facing back of the
unit to start playing it. By simply placing the
disc gently into the slot, it will be loaded auto-
matically, then close the disc door manually.
•
Playback will start from the first chapter/track of the disc.
•
If the playback does not start automatically,
press
[PLAY
O
]
.
•
When you playback a DVD which features a
title menu, it may appear on the screen. In this
case, refer to
“TITLE MENU”
on page 19.
4
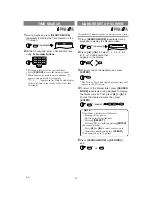
Press
[STOP
C
]
to stop playback.
5
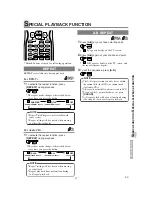
Press
[EJECT
A
]
to remove the disc from the unit.
•
When the DVD mode has been switched to the
TV mode, the DVD mode shuts down first and
then the TV picture and sound appears in about
4 seconds. Similarly, when
[POWER]
is
pressed to turn off in the DVD mode, this mode
shuts down first and then the unit is turned off.
•
“
”
may appear at the top-right on the TV
screen during operation, warning that a pro-
hibited operation has been encountered by the
DVD or the disc.
•
With DVDs that use titles for playback pro-
gram signals, playback may start from the
second title or it may skip these titles.
•
During the playback of a two layered disc,
pictures may stop for a moment. This happens
when the 1st layer switches to the 2nd layer.
This is not a malfunction.
•
If the disc doesn’t come out at step 5, press
and hold
[EJECT
A
A
]
on the unit to remove
the disc from the unit.
P
LAYING A DISC
BASIC PLAYBACK
REV
SLOW
PLAY
STOP
FWD
ENTER
PAUSE
DISC
MENU
RETURN
TITLE
SETUP
DISPLAY
SKIP
MUTE
ZOOM
SELECT
POWER PICTURE
EJECT
3
POWER
STOP
EJECT
NOTE

