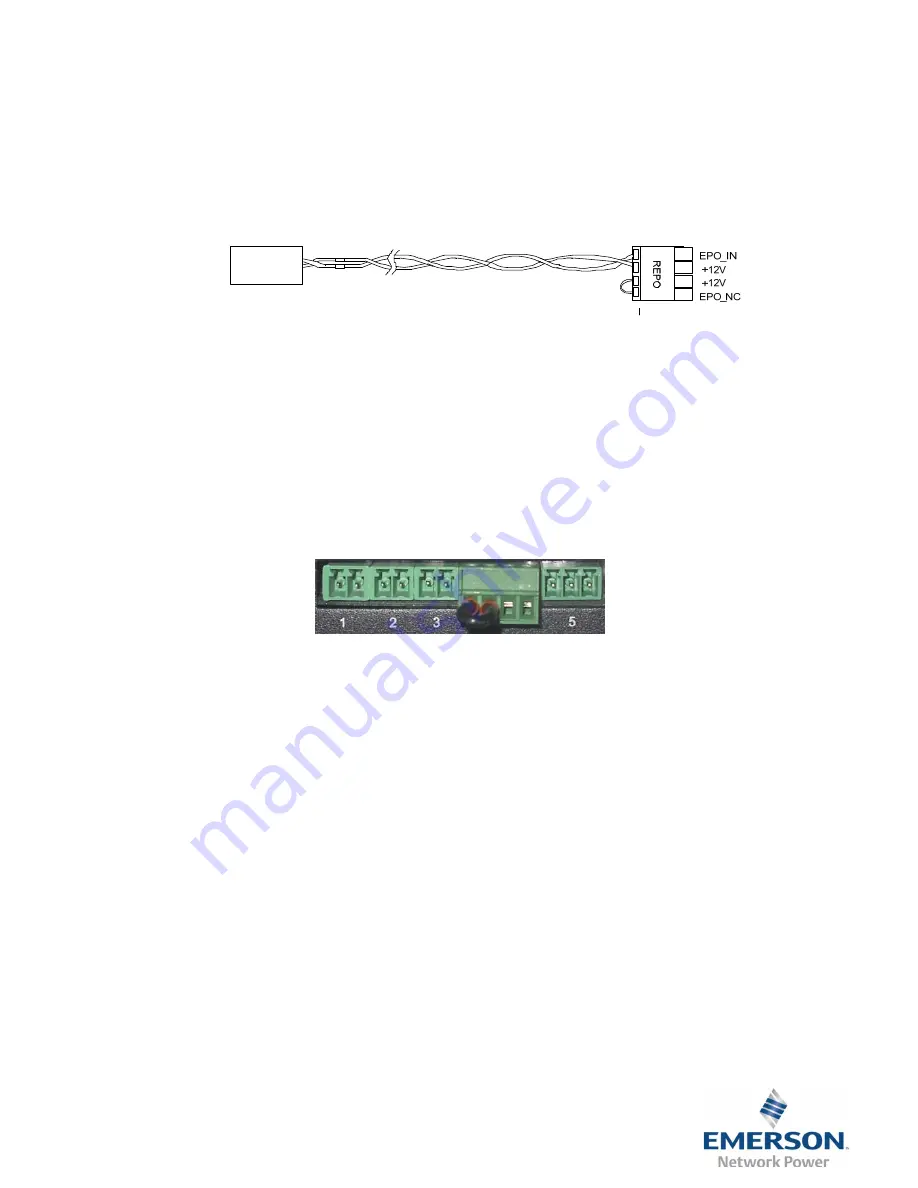
In emergency conditions, close the REPO switch (prepared by users) to shut down the rectifier and inverter, and the UPS is
powered off. In normal condition, the REPO switch cannot cut off the UPS input power. If a switch of electronic control tripping
function is adopted at the UPS input, the REPO switch can help the switch trip and thus cut off the UPS input power. The
position of the REPO switch is shown in Figure 1-1, and the REPO cable connection is shown in Figure 1-4.
Figure 1-4 REPO cable connection
The cable connection procedures are as follows:
1. Loosen the “+12V” and “EPO_IN” connection terminals of the REPO port.
2. Insert the two ends of the copper core cables with the insulation stripped back into the “+12V” and “EPO_IN” connection
terminals of the REPO port, and press down the terminals. The REPO cable is complete. Ensure that the REPO cable is firmly
connected to avoid no action or wrong action of the REPO caused by accidental dropping or rough handling.
3. For parallel UPS, when connecting the REPO cable, users should parallel connect “+12V” of the REPO port with one end of
the electronic switch, and parallel connect “EPO_IN” with the other end of the electronic switch. Note the difference between
the port silkscreen “+” and “-” during connection.
REPO switch
REPO plug
When the REPO switch at the user end closes, the UPS will generate an alarm and cut off the output
immediately, and the UPS will not return to the normal operation state automatically. At this point, you must
change the REPO switch state, and power
on the UPS manually.
1.3 Connecting USB Communication Cables
The USB port is located on the rear panel of the UPS, as shown in Figure 1-1.
The USB port can connect the monitoring software.
The methods to connect the communication cable are as follows:
Insert one end of the USB communication cable to the USB port (see Figure 1-1) on the rear panel of the UPS, and
connect the
other end to the USB port of the computer.
After the connection, you need to install the USB drive program in the installation disk.
Figure 1-5 User dry contact and opto-coupled connectors


