PACEdge User Manual
Section 3
GFK-3178B
Nov 2020
Quick Start Guide
4
Section 3:
Physical Connections and
Configuration Settings
3.1.1
Network, Keyboard, Display
PACEdge is designed to primarily operate on a headless compute device using web interfaces,
however, if desired, a monitor and keyboard can be attached.
To use web interfaces, the user must know the IP address assigned to the Ethernet port. If using a
keyboard and local display, the IP address assignment can be easily checked using Linux
commands. Otherwise following options are available:
PACEdge Factory Installation
Static IP on 1
st
Ethernet port:
192.168.3.100
DHCP assigned IP on any Ethernet
port
RXi2-LP: LAN port
next to the USB port
RXi2-BP: ETH0
port
1.
Follow the Ethernet Port and IP address guidance above.
2.
Attach Ethernet cable to an appropriate Ethernet port.
Optionally, attach a USB keyboard to any of the USB ports.
Optionally, attach a display to the DP++ port.
Note: DisplayPort (DP++) connection is well suited for conversion to HDMI and VGA.
(Conversion adapters are not included).
3.1.2
Power
1.
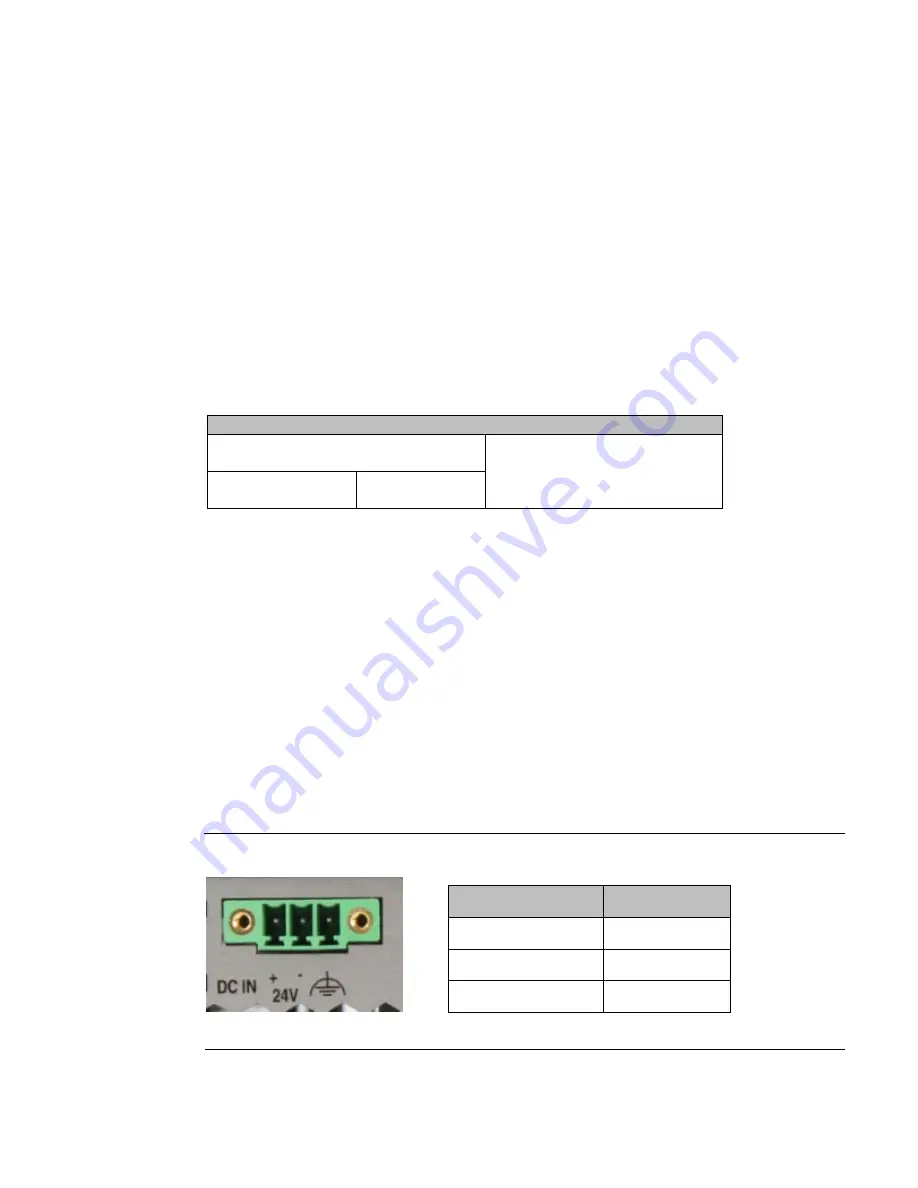
Connect 24V +/-25% power to the power connector and power up the unit (Figure 3).
2.
The correspo
nding plug must be a Phoenix Contact “
1748367
” or equivalent.
RXi2-BP can be powered with a DC power supply with 24V (+-25%) and at least delivering 1.8 A.
Figure 3: 24 V DC-IN
Signal Name
Pin (left to right)
Power + (24V DC)
1
Power - (24V DC)
2
FGND
3


