23
MODEL 1054B pH/ORP
SECTION 4.0
CONFIGURATION
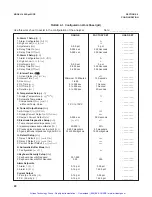
4.2 ALARM 1 AND 2.
Display Mnemonic
AL1
or
AL2
.
Used to set alarm relay logic. The alarms may be con-
figured to perform on-off process control. See note
below.
A. On.
Display Mnemonic
On
. Select this item if Alarm
1 or 2 is to be used as a process alarm. See Steps D
thru G for further alarm configuration.
B. Off.
Display Mnemonic
OFF
. Select this item if Alarm
1 or 2 will not be used as a process alarm or to tem-
porarily disable either alarm. Alarm 1 or 2 setpoint will
display
oFF
if this item is selected. Omit Steps C thru G.
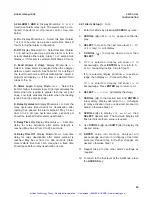
C. Fault (Alarm 2 Only).
Display Mnemonic
FLt
.
Select to make Alarm 2 energized when the analyzer
detects a fault condition. See Table 8-1 for a listing of
the fault mnemonics and their descriptions. Alarm 2
setpoint will display
FLt
if this item is selected. Omit
Steps D thru G.
D. Alarm Logic.
Display Mnemonic
H-L
. Select this
item for high or low alarm logic. High logic activates the
alarm when the reading is greater than the set point
value. Low logic activates the alarm when the reading
is less than the setpoint value.
E. Relay Hysteresis.
Display Mnemonic
HYS
. Sets the
relay hysteresis (dead band) for deactivation after
reading has passed the alarm setpoint. May be set
from 0 to 2.0 pH. Use hysteresis when a specific pH
should be reached before alarm deactivation.
F. Delay Time On.
Display Mnemonic
don
. Sets time
delay for relay activation after alarm setpoint is
reached. May be set from 0 to 255 seconds.
G. Delay Time Off.
Display Mnemonic
doF
. Sets time
delay for relay deactivation after alarm setpoint is
reached. May be set from 0 to 255 seconds. Alarm
state restarts time from zero. Use when a fixed time
should pass before relay deactivation occurs.
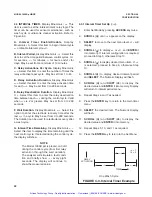
4.2.1 Alarm Setup (
AL1
/
AL2
).
1.
Enter Set Mode by pressing
ACCESS
key twice.
2.
SCROLL
(
é
) until
AL1
or
AL2
appears on the dis-
play.
3.
SELECT
to move to the next menu level.
On
,
OFF
or (
AL2
only)
FLt
will display.
4.
SCROLL
(
é
) to display desired item then
SELECT
.
5.
If
OFF
is selected, display will show
oFF
to
acknowledge. Press
ENTER
key to return to
AL1
or
AL2
, concluding routine. Skip to Step 11.
If
On
is selected, display will show
on
to acknow-
ledge, then display
H-L
. Proceed to Step 6.
If
FLt
is selected, display will show
FLt
to
acknowledge. Press
ENTER
key to return to
AL2
.
6.
SELECT
H-L
.
Hi
or
Lo
will display (flashing).
7.
SCROLL
(
é
) to the desired item and
ENTER
it
into memory. Display will return to
H-L
. If changes
to relay activation logic are desired, proceed to
Step 8, otherwise Step 12.
8.
SCROLL
(
é
) to display
HYS
,
don
or
doF
, then
SELECT
desired item. The Numeric Display will
flash to indicate that a value is required.
9.
Use
SCROLL
(
é
) and
SHIFT
(
ç
) to display the
desired value.
10.
ENTER
value into memory. Analyzer will
acknowledge and return to display of last item
selected. Repeat Step 8 if further changes are
desired, otherwise Step 12.
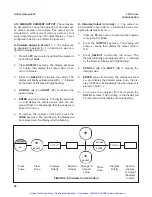
11. Repeat Step 3 for the other Alarm’s settings as
required.
12. To return to the first level of the Set Mode, press
the
ACCESS
key.
Artisan Technology Group - Quality Instrumentation ... Guaranteed | (888) 88-SOURCE | www.artisantg.com

