


Hardware Preparation and Installation
RTM-ATCA-F140 Installation and Use (6806800M97A)
27
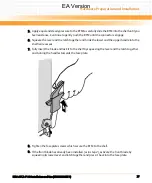
5. Apply equal and steady pressure to the RTM to carefully slide the RTM into the shelf until you
feel resistance. Continue to gently push the RTM until the connectors engage.
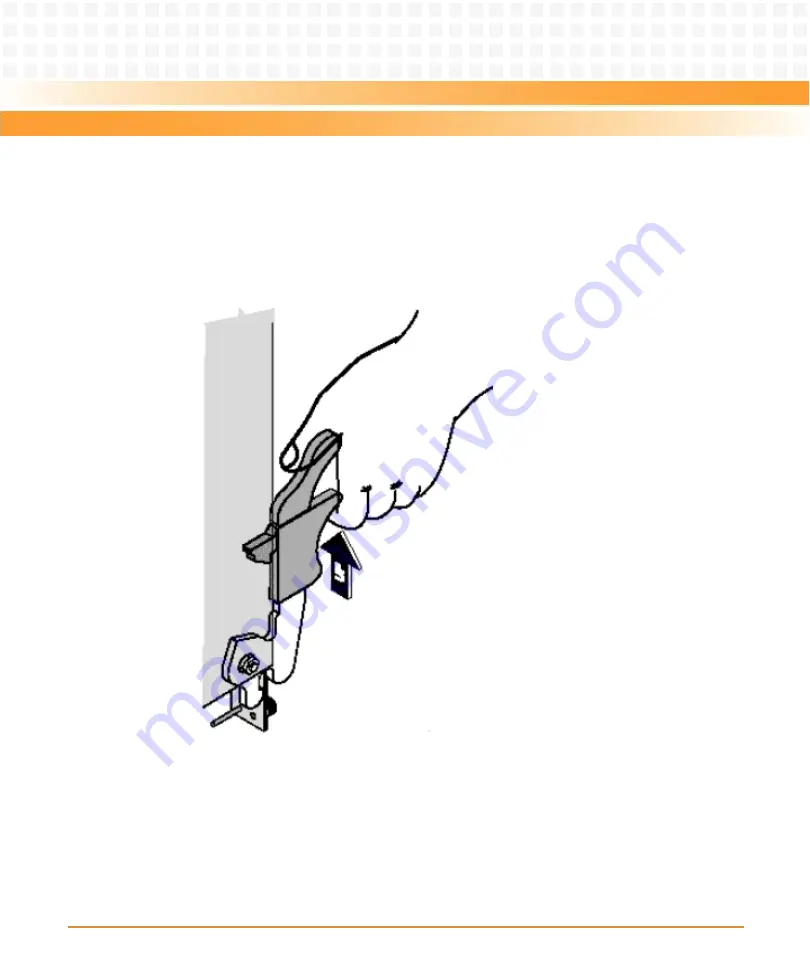
6. Squeeze the lever and the latch together and hook the lower and the upper handle into the
shelf rail recesses
7. Fully insert the blade and lock it to the shelf by squeezing the lever and the latch together
and turning the handles towards the face plate.
8. Tighten the face plate screws which secure the RTM to the shelf.
9. If the front blade has already been installed (as in step 2), activate the front blade by
squeezing its lower lever and latch together and press it back into the face plate.
EA Version
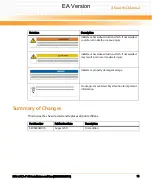
Summary of Contents for RTM-ATCA-F140
Page 6: ...RTM ATCA F140 Installation and Use 6806800M97A Contents 6 Contents Contents EA Version ...
Page 8: ...RTM ATCA F140 Installation and Use 6806800M97A 8 List of Tables EA Version ...
Page 10: ...RTM ATCA F140 Installation and Use 6806800M97A 10 List of Figures EA Version ...
Page 20: ...Introduction RTM ATCA F140 Installation and Use 6806800M97A 20 EA Version ...
Page 34: ...Controls LEDs and Connectors RTM ATCA F140 Installation and Use 6806800M97A 34 EA Version ...
Page 58: ...Functional Description RTM ATCA F140 Installation and Use 6806800M97A 58 EA Version ...
Page 60: ...Related Documentation RTM ATCA F140 Installation and Use 6806800M97A 60 EA Version ...
Page 70: ...Index RTM ATCA F140 Installation and Use 6806800M97A 70 EA Version ...
Page 71: ...EA Version ...