


8
Trouble Shooting
FAN/LIGHT FAILS TO OPERATE
Make sure the Code Learning
Procedure has been performed (Pages
8 through 11).
• Check that the light switch on the light
fixture is on.
• Check that the battery is good (green
indicator light should light when any
button is pressed).
• Check that the receiver is wired
properly.
• Check that the ON/OFF wall switch is in
the on position.
MULTIPLE FAN INSTALLATION USING
THE SR330 REMOTE CONTROL AND
SW350 WALL CONTROL.
When installing two or more fans on the
same electrical circuit with both using
either the SR330 or SW350 controls to
operate the fans separately perform the
following steps:
3. Install the second fan as directed in the
Owner’s Manual and perform the Code
Learning Procedure.
4. If all ceiling fan installations are
complete at this time, turn the power
back on to the first fan or reconnect the
power to the SW375 Receiver and both
fans will now operate independently.
5. If additional fans are to be installed,
continue to complete Step #2 until all
fans are installed.
USE OF SR330 REMOTE CONTROL IN
CONJUNCTION WITH SW350 WALL
CONTROL.
The SR330 Remote uses a LCD display
that shows the status of the fan, uplight,
and downlight. Each time any button is
pressed on the SR330 handheld, the
remote control sends all instructions to the
SW375 Fan Receiver. This means that the
remote control sends the fan, uplight,
downlight, fan speed, and fan direction
readings on the LCD display to the SW375
Receiver.
If any changes have been made to the fan
or light functions using the SW350 Wall
Control, those changes are not indicated
on the remote LCD display. When the
SR330 Remote Control buttons are
pressed, the fan and light functions
change to the LCD display settings.
Off
On
Up
Down
Lights
Fan
Sleep
YELLOW WIRE
TO YELLOW
WIRE (Built-in
Up Light Only)
BLUE WIRE TO
BLUE WIRE
SW375 RECEIVER
WIRING HARNESS
CONNECTOR
RECEIVER CONNECTOR
TO
120V SUPPLY
SW350
WALL CONTROL OR
ON/OFF WALL SWITCH
DISCONNECT THE
WIRING HARNESS
CONNECTOR AND THE
RECEIVER CONNECTOR
Figure 15
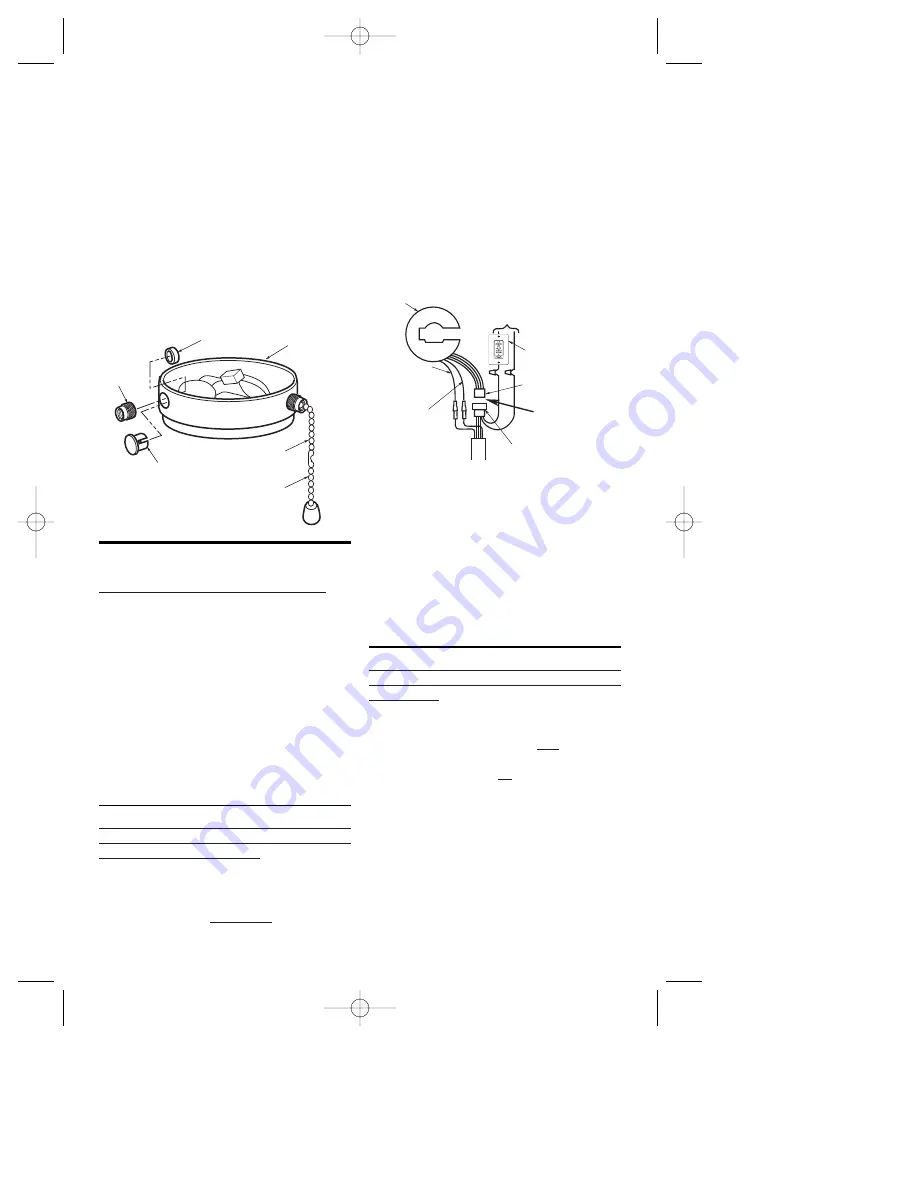
Installation of
Pull Chain Plug
If you have either a single or dual pull
chain switch cup assembly and you do not
desire to have the pull chain(s) hang from
your ceiling fan, proceed as follows.
Uncouple the chain extensions(s), if
installed. Unscrew the nut(s) on the inside
of the switch cup assembly and remove
the chain bushing(s) (Figure 14). Tuck the
chain(s) into the switch cup assembly and
then plug the hole(s) with the pull chain
plug(s) (supplied). Choose the color of the
plug that best matches your ceiling fan.
SWITCH CUP
ASSEMBLY
PULL CHAIN
PULL CHAIN
PLUG
CHAIN
EXTENSION
CHAIN
BUSHING
KNURLED
KNOB
Figure 14
1. On the first fan, install as directed in the
Owner’s Manual and perform the Code
Learning Procedure.
2. Turn the power OFF on the first fan by
either flipping the ON/OFF switch on
the SW350 or turning OFF the wall
switch (if using a SR330 Remote
Control). If there is no wall switch and
you are operating the fan with the
SR330 Remote Control only, discon-
nect the wiring harness in the receiver
(See Figure 15).
BP7253-2 4/28/06 11:58 AM Page 8


