3
YARWAY
SERIES 460D3 AND 515D3 INTEGRAL STRAINER HIGH PRESSURE DISC TRAPS
INSTRUCTION, OPERATION AND MAINTENANCE MANUAL
MAINTENANCE
Check bonnet nut torque after 48 hours
of operation.
1. For the best trap operation and maximum
service life, strainer screen should be
cleaned frequently. This can best be done by
using a blowdown valve connected to blow-
off connection.
2. Periodically remove the bonnet and clean
and inspect the screen. This should be done
at least once a year and more frequently
if the trap is not fitted with a strainer
blowdown valve.
3. When cleaning the strainer it is
recommended that the trap be inspected
and working parts cleaned if necessary. In
the event of condensate drainage problems,
check before opening the trap whether
the trouble is due to a clogged line, valve
broken or in wrong position, or dirty strainer
requiring blowdown.
4. More frequent checks for proper trap
operation can be quickly made by one of the
following methods:
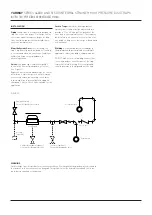
a. Observe the discharge from the trap
through the test connection-first closing
the downstream stop valve.
b. Hold screwdriver or metal rod against
base of cap. Listen for characteristic
clicking sound of valve as it opens and
closes.
c. Check temperature of the cleaned pipe
surface up and downstream of trap.
Use a touch pyrometer or temperature
sensitive crayon.
If trap is remaining open continuously or not
operating at all:
• Strainer screen may be damaged or dirty
• Parts may be worn from service
• Dirt and scale may be lodged in internals
Disassemble and inspect the trap.
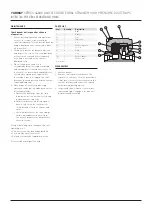
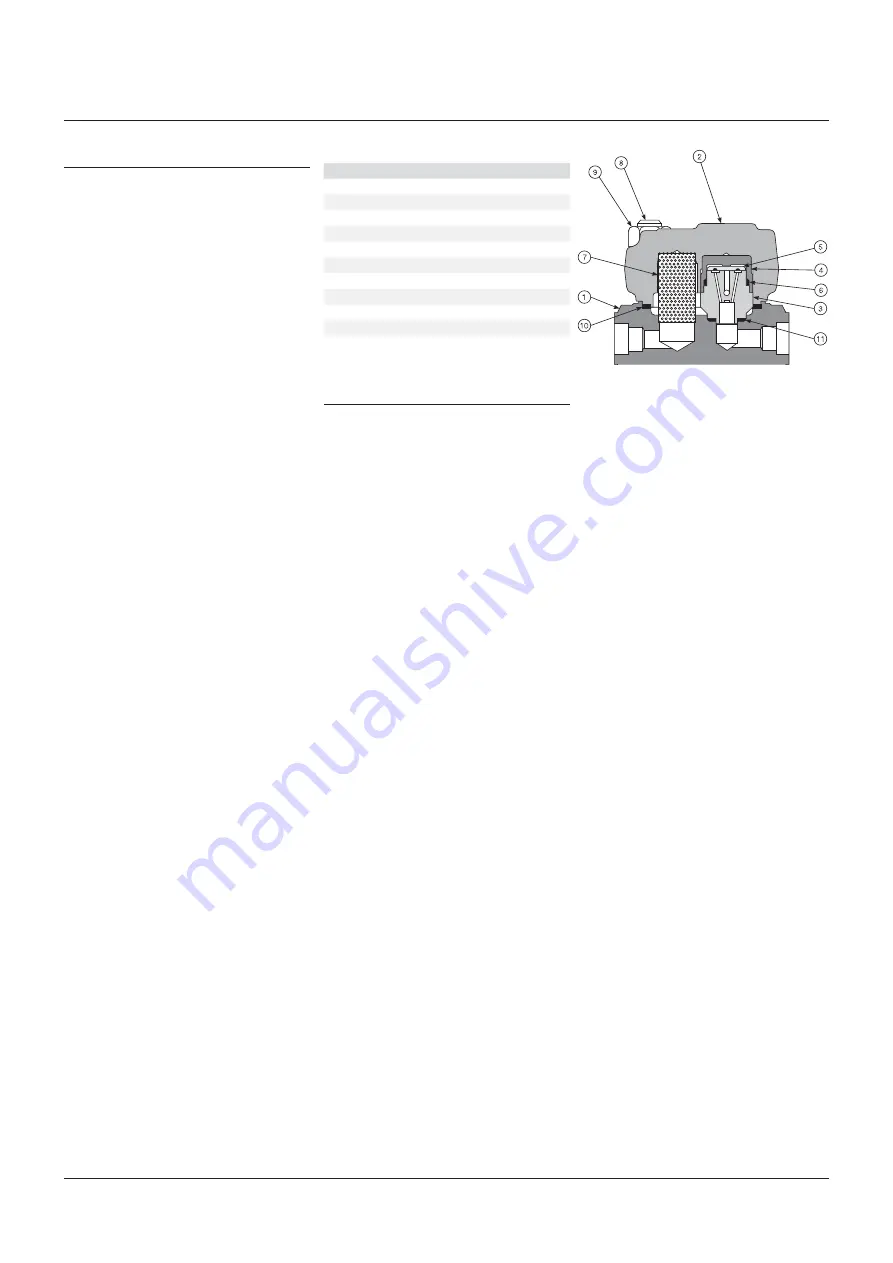
PARTS LIST
Item
Quantity
Description
1
1
Body
2
1
Bonnet
3*
1
Seat
4*
1
Cap, seat
5*
1
Disc
6*
1
Gasket, capsule
7*
1
Screen
8
4
Stud
9
4
Nut
10*
1
Gasket, bonnet
11*
1
Gasket, seat
* Renewal kit
DISASSEMBLY
1. Remove bonnet.
2. Remove seat capsule from bonnet. The
capsule is a clearance fit in the bonnet bore.
It may be necessary to insert a small rod in
the seat inlet port and extract the capsule
with a turning, pulling motion.
3. Inspect and clean all parts. If satisfactory,
reassemble trap. See page 4 for repair kit
installation and assembly.


