26
EN
EN
1
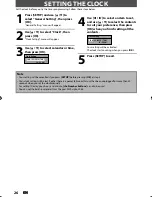
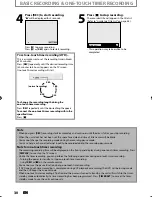
Press [SETUP] and use [
K
/
L
] to
select “General Setting”, then press
[OK].
“General Setting” menu will appear.
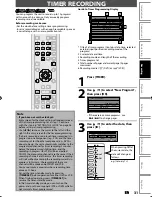
2
Use [
K
/
L
] to select “Clock”, then
press [OK].
“Clock Setting” menu will appear.
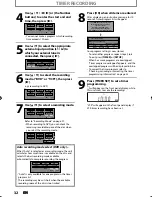
3
Use [
K
/
L
] to select calendar or time,
then press [OK].
Clock Setting
JAN / 23 / 2014 ( THU )
12 : 00 AM
Note
• Your setting will be cancelled if you press
[SETUP]
before pressing
[OK]
at step 4.
• Your clock setting will be lost if either there is a power failure or this unit has been unplugged for more than 30
seconds when you set the clock manually.
• For setting the day, year, hour, and minute,
[the Number buttons]
can also be used.
• You can set the built-in calendar from the year 2012 up to 2062.
SETTING THE CLOCK
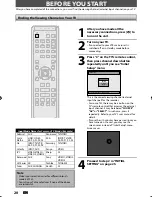
Set the clock before you try the timer programming. Follow these steps below.
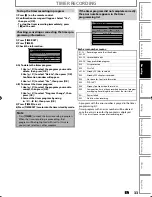
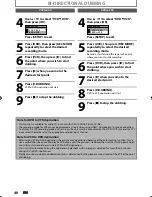
4
Use [
{
/
{ B
] to select an item to set,
and use [
K
/
L
] to select the contents
to suit your preference, then press
[OK] when you finish setting all the
contents.
Clock Setting
JAN / 23 / 2014 ( THU )
12 : 00 AM
Your setting will be activated.
The clock start counting when you press
[OK]
.
5
Press [SETUP] to exit.

