


10
11
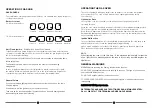
OPERATING THE GAS OVEN
The oven is equipped with a gas thermostat. Its purpose is to keep the temperature
a
t
a constant heat. The oven is fitted with electronic spark ignition and a safety
shut off device.
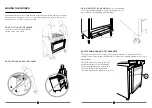
Lighting the Oven
First open the oven door and remove the grill tray. Leave the grill tray out while
operating the oven.
Press the oven control knob and rotate anti-clockwise to the maximum heating position.
The electronic ignition is activated automatically when the knob is depressed.
Keep the knob depressed for about 15 seconds after the flame has lit. Always view the
burner during lighting
the
procedure for safety. There is a hole in the bottom panel of the
oven for viewing the burner.
Ignition Malfunction
In case of ignition malfunction or electricity failure depress and turn the oven knob in an
anticlockwise direction to reach the maximum heating positioning.
Light a match and place it near the hole in the base panel, keep the knob depressed.
Once the burner is lit keep the knob depressed for 15 sec.
NOTE:
When lighting the oven for the first time -
if the electronic ignition fails to light the
oven
-
light the oven manually and run the oven in by
operating
it at 200 degrees for
20 minutes.
GENERAL WARNINGS
WARNING avoid touching the heating element inside the oven.
DO NOT USE polyunsaturated oils with cooking in the oven. The type of oil can cause
heavy deposits inside the oven.
DO NOT USE a steam cleaner to clean the cooker.
TO CLEAN YOUR COOKER Do not use strong detergents or acids as this can cause
rust spotting.
Call 1300 307 917 if you are unsure.
DETERGENTS CAN CAUSE RUST SPOTTING EVEN ON STAINLESS STEEL.
CALL 1 300 307 917 FOR TECHNICAL ADVICE ON CLEANING.
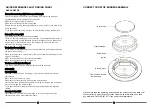
OPERATION OF GAS HOB
GAS BURNERS
The combination of high-speed burners with those of a standard type allows all types of
cooking to be achieved.
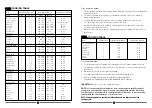
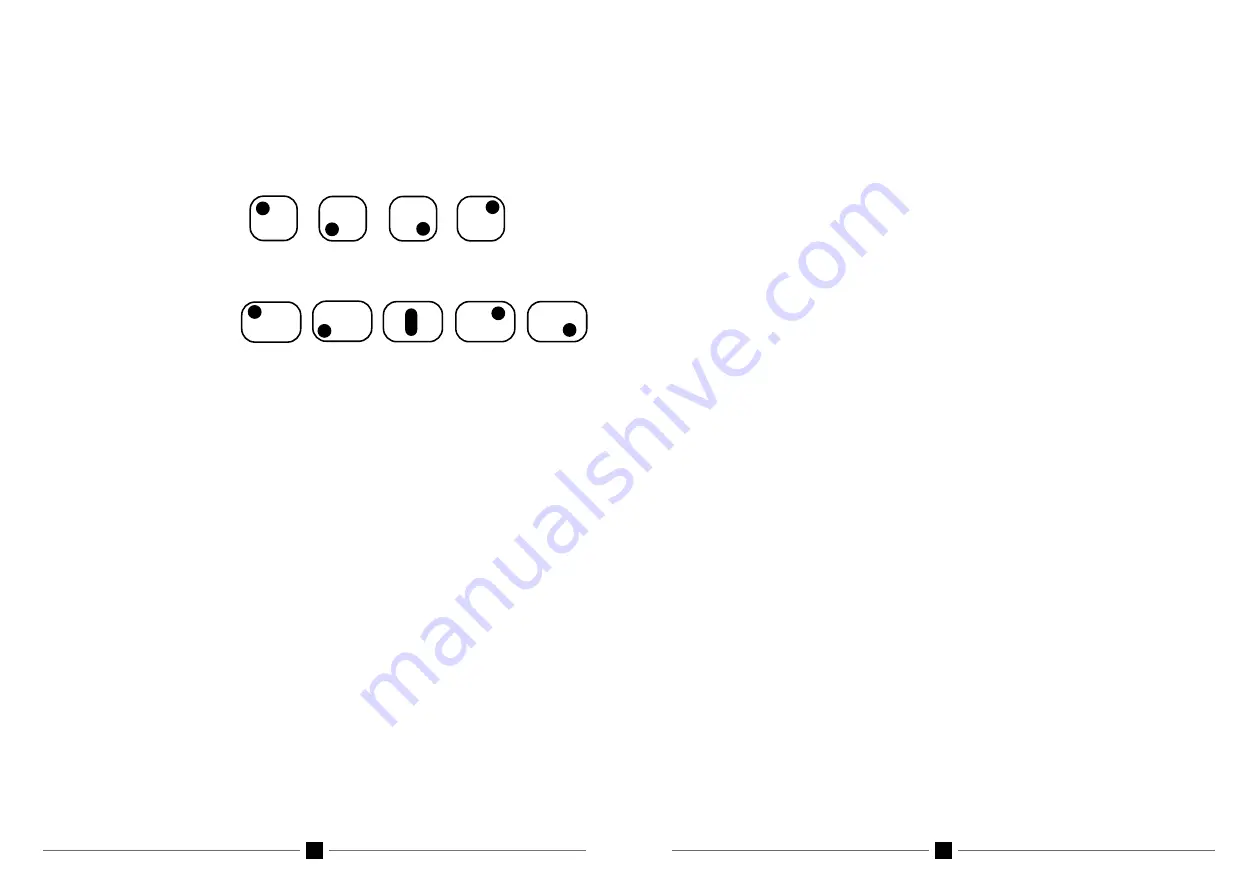
Burner Locations
53 - 60cm wide models
7
0 - 90cm wide models
Left back
Left front
Right front Right back
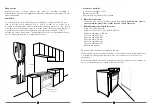
Auto Flame Ignition
- Emilia Series 4 and all Glem models
To ignite any burners simply depress the corresponding control knob and rotate anti
clockwise to the high flame position. As the knob is rotated the gas begins to flow and
the electrode begins sparking.
Once the flame is lit hold the knob for a couple more seconds to activate the flame
failure safety valve.
The flame safety valve
will
shut off the gas in the event of the flame being
extinguished.
In case of ignition malfunction or electricity failure a match can be used to ignite
the burners. Strike a match and place it close to the selected burner. Depress the
corresponding control knob and turn it anti clockwise to maximum flame.
General Points
If you have problems lighting the burners check that the round cap on the top is
correctly aligned.
If the burner is wet the ignition may not operate correctly.
Take care as t
he electronic sparker is ceramic and can be easily damaged when
reassembling the burner after cleaning
Left back
Left front
Central
Right back
Right
Front


