


12
13
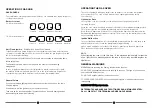
OPERATING THE ELECTRIC OVEN
Multifunction Electric Oven - some models
Remove
the
grill tray. Choose a function using the selector knob. Turn it to the symbol of
the cooking function you wish to use. Then rotate the thermostat knob to the desired
temperature. Wait until the thermostat indicator light goes off – this indicates that the oven
has reached temperature. Then introduce the food to be cooked. Below is a description of
each of the functions-
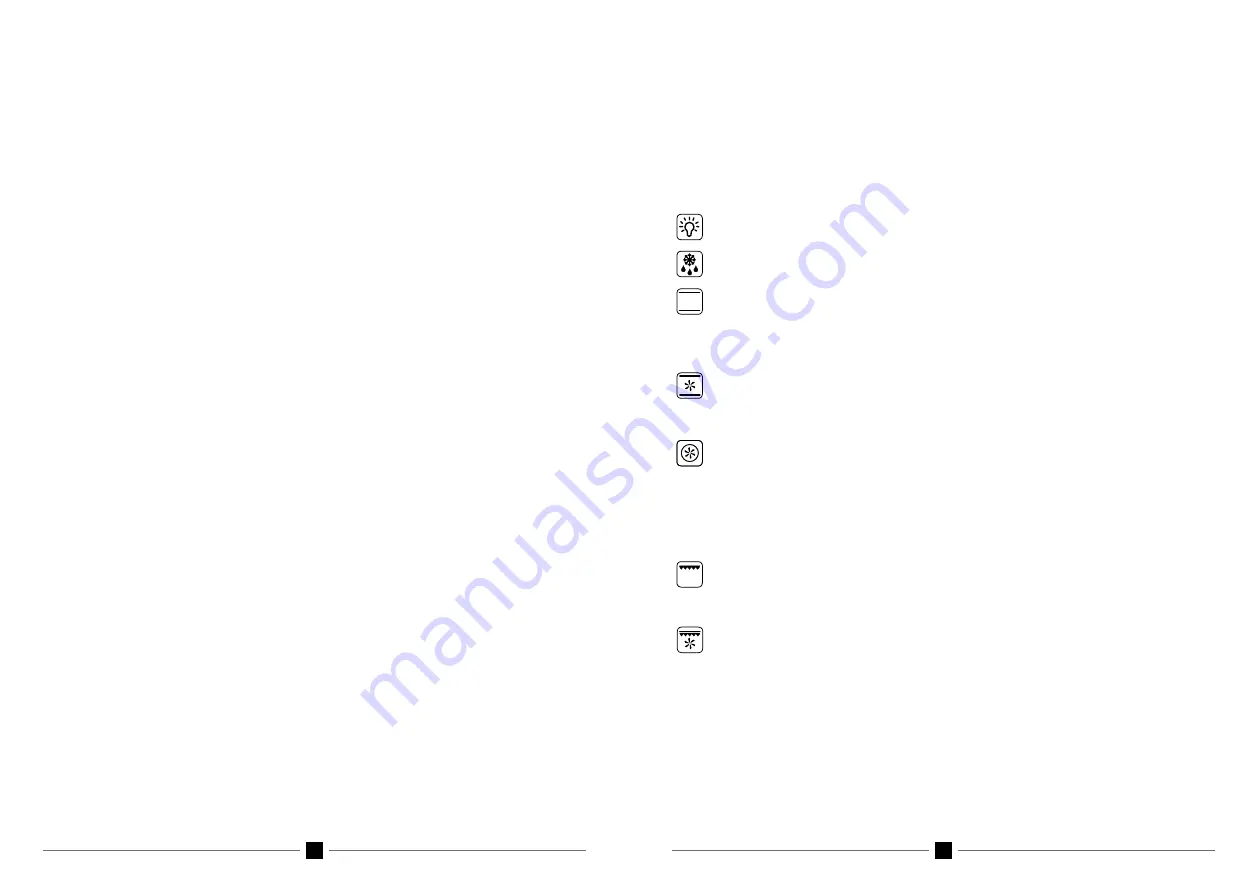
Oven light
- the oven light switches on
Defrosting
-
only the fan operates - defrosting times reduce by approximately 1/3.
Static convection mode (conventional cooking)
- Heat is supplied from above
and below using natural convection. The oven must be preheated before food is
placed inside. Static convection is ideal for cooking foods that need to be heated
steadily internally and externally. Use for roasts, spare ribs, meringues.
Fan Assist
- Top and bottom element operate with the fan operating. This function
circulates hot air from the top to the bottom element. Great for large quantities and
volume of food such as turkeys, chickens, cakes etc.
Fan Forced
- the circular heating element and the fan come into operation and
the heat is distributed evenly to all levels of use. Fan mode is ideal for cooking
foods that must be well done on the outside and tender or rare on the inside. Heat
is supplied from every direction, cooking is possible on several shelves, it provides
high moisture removal, defrosting is possible with or without eat.
Rotation of food
during cooking is sometimes required.
Static Grill
Closed door grilling at all times. The infrared element operates.
Recommended operation is only for 30 minute periods. Position the shelf at the
desired level. Great for browning, crisping and toasting
Grill with Fan
- the action of the fan combined with the powerful action of the two
grill elements is ideal for cooking large pieces of food. Closed door grilling at all
times. Great for steaks.
N.B:
The thermostat pilot light switches on and off during cooking to show that the heating
cycles are taking place properly. For Static and fan forced mode, the oven must always be
preheated. For optimum results, try to open the oven door as little as possible, opening the
door lowers the temperature suddenly and affects the thermostat cycles. When cooking on
different shelves simultaneously, put all containers in the centre of the shelves.
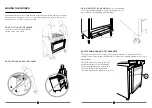
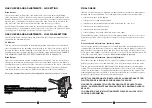
Rotisserie:
On the ML 106 cooker there is a rotisserie feature in the small oven. The
rotisserie motor operates when the grill function is selected. Operate the rotisserie with the
door closed.
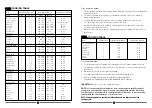
PRH
PRH
PRH
PRH
PRH
PRH
PRH
PRH
GAS
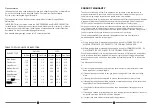
Oven Preheating
After the oven has been switched on, keep the door open for a minute then close the
door gently so there is no risk of extinguishing the flame. Set the oven knob to the
required temperature and wait for about 20 minutes before introducing the food. Comply
with the cooking indication chart in these instructions to get the best out of the oven and
choose the right shelf position.
Gas ovens heat up very rapidly and will reach temperature within 20 minutes.
Please note:
Gas oven models do not have an indicator light for oven mode. Do not
use oven base panel as a shelf, always make use of the oven shelves.
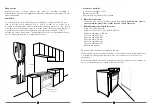
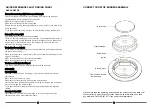
Removing and installing the oven shelves
Slide the oven shelves towards you until they reach the front stop.
Tilt them up at the front to clear the side supports and lift them clear.
To install the shelves reverse the operation ensuring that the shelf is correctly installed so
the stops prevent the shelf sliding out in one action.
NOTE: All ovens are different and your new oven may perform differently to
your previous model. Shelf positions and operating temperatures may vary to
what you are accustomed. It sometimes takes a few uses to become fully
familiar with the characteristics of your new oven.
NOTE: Some model cookers have a cooling fan that continues to run after the end of the
cooking cycle.
ELECTRIC GRILLING ELEMENT
All
Emilia and Glem
cookers have an electric grill within the oven compartment. On
cookers with
fan forced electric oven
s
the grill function is beyond the top temperature
on the temperature control knob. Rotate the knob to the grill symbol.
On gas oven cookers the grill is operated by a separate button. On
multifunction
electric
oven models the grill control is on the oven function selector knob.
The oven door must be closed during grill operation.
If the
oven has been
on
, always
wait a few minutes before switching on the grill.
The grill element is an infrared type, which provides an even controlled heat. When the
grill is on an indicator light will come on.
Using a standard shelf with a drip tray below filled with some water will avoid smoke
build-up coming from burnt fat and at the same time assist in keep the food moist.
NOTE: Always grill with the oven door closed - the oven and grill cannot be operated at
the same time.


