


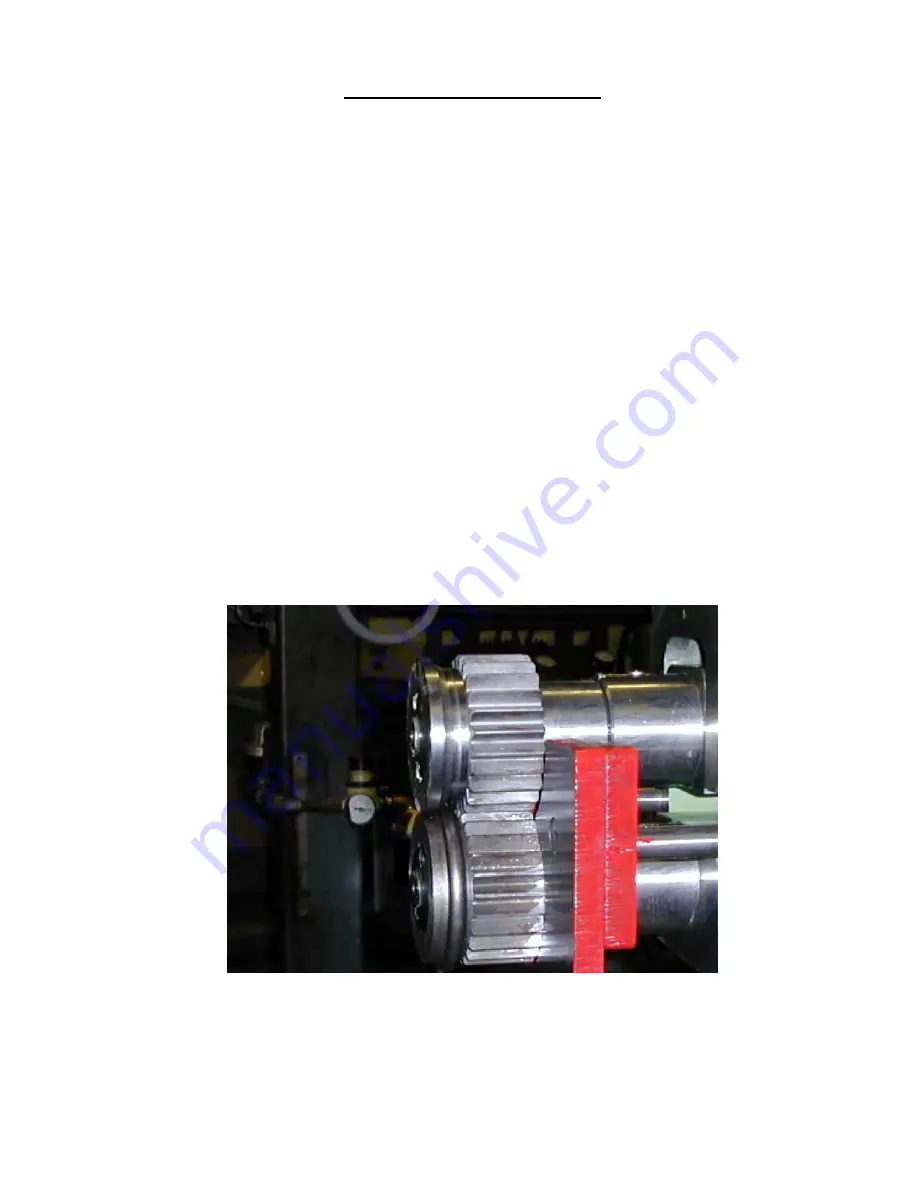
Combination Bead & Crimp
•
Remove the large shaft spacing collars on the top and bottom shaft
•
Install the top and bottom crimp rolls with the recess in the face of the roll to the
back of the shaft.
•
Install the male bead roll on the bottom shaft with the highest portion of the roll
facing out.
•
Install the female bead roll on the top shaft with the highest portion of the roll
facing out.
•
Bring the top shaft down until the rolls mesh together.
•
Tighten the locking collars.
•
Adjust the backstop up to the end of the crimp rolls and tighten.
•
When you are ready to form the crimp. With the rolls separated place your
material over the bottom roll until the material is against the backstop.
•
DO NOT START THE MACHINE UNTIL YOU BRING THE TOP ROLL
DOWN AND TIGHTEN FIRMLY TOGETHER SANDWICHING THE
MATERIAL BETWEEN THE ROLLS.
•
You can now press on the footswitch and begin the crimping process.
Summary of Contents for EMT-7R
Page 6: ......
Page 7: ...EMT 7R Parts Breakdown ...
Page 8: ......
Page 9: ......
Page 10: ......
Page 11: ......
Page 22: ...Electrical Schematics for Air Oil Hydraulic Package EMPIRE EMT 7R PIPE FORMER ...
Page 23: ...UNIVERSAL EMT 7 ...
Page 24: ...UNIVERSAL EMT 7 ...
Page 25: ...UNIVERSAL EMT 7 ...
Page 26: ...UNIVERSAL EMT 7 ...
Page 27: ......
Page 28: ......
Page 37: ......
Page 46: ......


