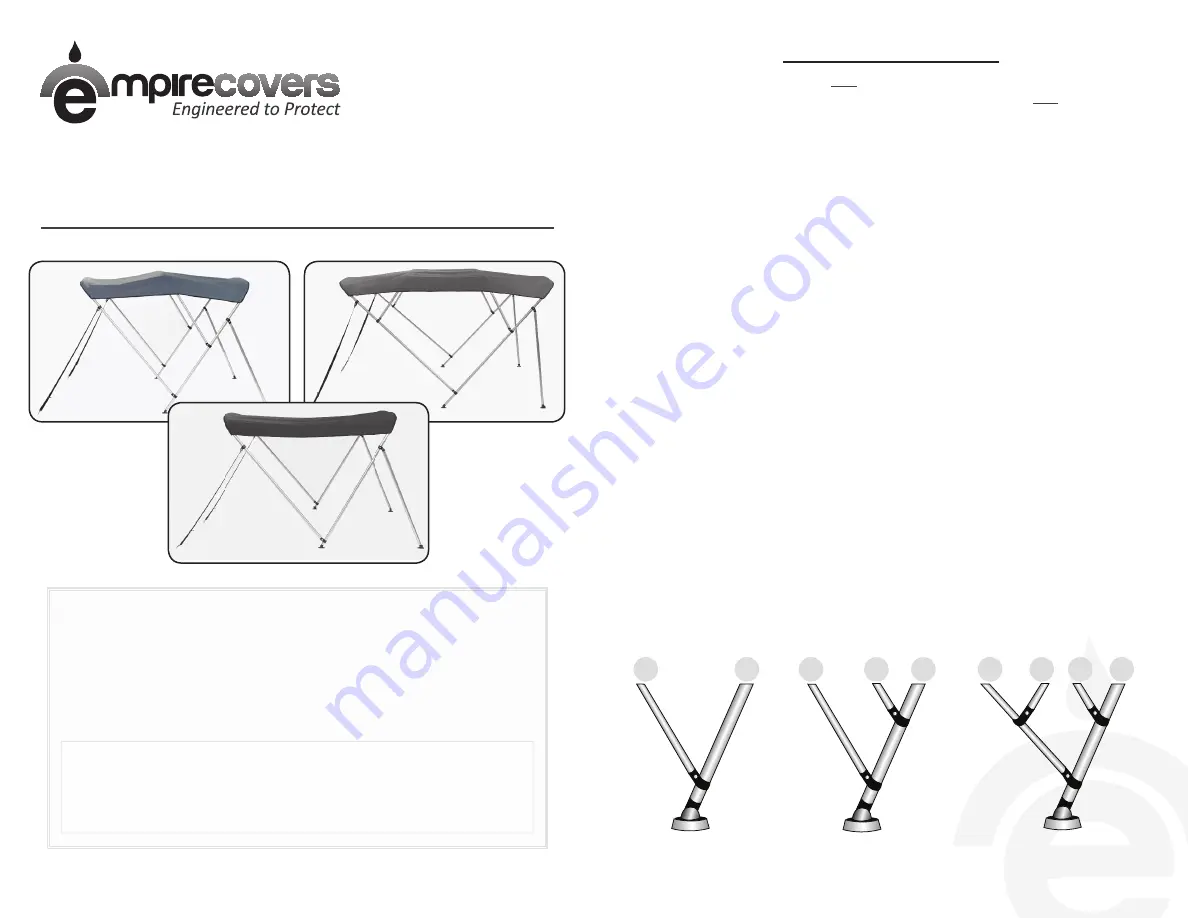
Bimini Top
INSTRUCTIONS
DISCLAIMER: Failure to adhere to these instructions will void all warranty.
EmpireCovers is a Budge Industries Company.
LIMITED WARRANTY
US AND CANADA ONLY
Budge Industries, LLC. with its principle place of business at 1690 Sumneytown
Pike, Suite 250, Lansdale, PA 19446, warrants to the original purchaser that it will
correct any defects in material or workmanship by repair or replacement of this
Bimini Top, from the date of purchase.
THE EXPRESS WARRANTY SET FORTH ABOVE IS THE ONLY WARRANTY
APPLICABLE TO THE PRODUCT AND IS EXPRESSLY IN LIEU OF ANY OTHER
WARRANTY, EXPRESSED OR IMPLIED WARRANTY OF MERCHANTABILITY OF
FITNESS FOR A PARTICULAR PURPOSE.
PLEASE SAVE YOUR WARRANTY STATEMENT & RECEIPT OF PURCHASE.
BIMINI INSTRUCTIONS
1. Carefully lay out all pieces. Do NOT remove plastic on poles until bimini is complete.
Be careful, as hardware may have come loose during shipping. Do NOT apply
provided nut lock until you confirm the bimini top is put together correctly AND
mounted on boat.
2. Begin by identifying and separating all curved rib poles. All rib poles are numbered for
easy assembly. Instructions will differ at this point depending on how many bows your
bimini has (2, 3 or 4 bow).
TWO BOW BIMINI: The following curved ribs connect together: ribs 1 & 3 and ribs
2 & 4.
ThREE BOW BIMINI: The following curved ribs connect together: ribs 1 & 4, ribs 2
& 5 and ribs 3 & 6.
FOUR BOW BIMINI: The following curved ribs connect together: ribs 1 & 5, ribs 2 &
6, ribs 3 & 7 and ribs 4 & 8.
3. Next, lay your bimini canvas top down on a clean surface and identify sewn in label
stating “Front.” Front tag should be facing up.
4. Now feed your connected rib poles through the pockets on the canvas in the order
listed below for your size frame.
TWO BOW: Insert connected rib numbered 1/3 in the front pocket and insert
connected rib 2/4 in the rear pocket. When correctly installed numbers 1 and 2 will
be on one side and numbers 3 and 4 will be on the other.
ThREE BOW: Insert connected rib numbered 3/6 in the front pocket. Insert
connected rib 2/5 in middle pocket and connected rib 1/4 in the rear pocket. When
correctly installed numbers will run 1, 2, 3 on one side and 4, 5, 6 on the other.
FOUR BOW: Insert connected rib numbered 4/8 in the front pocket. Insert
connected rib 3/7 in middle front pocket and connected rib 2/6 in middle rear
pocket. Insert connected rib 1/5 in rear pocket. When correctly installed numbers
will run 1, 2, 3, 4 on one side and 5, 6, 7, 8 on the other.
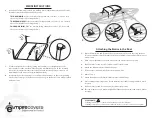
5. Assemble the remaining straight poles in the order shown in images below.
1/3
2/4
1/4
2/5
3/6
1/5
2/6
3/7
4/8


