13
Quick Installation and Checklist
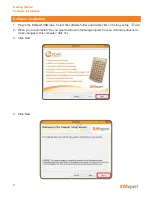
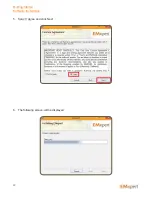
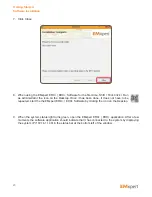
1. Install the EMxpert ERX+ | EHX+ software application by double clicking on the Setup application
icon. The application must always be installed on the C: drive.
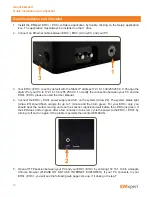
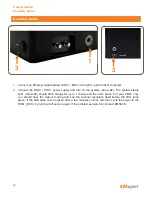
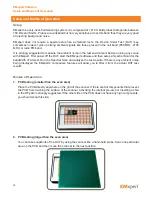
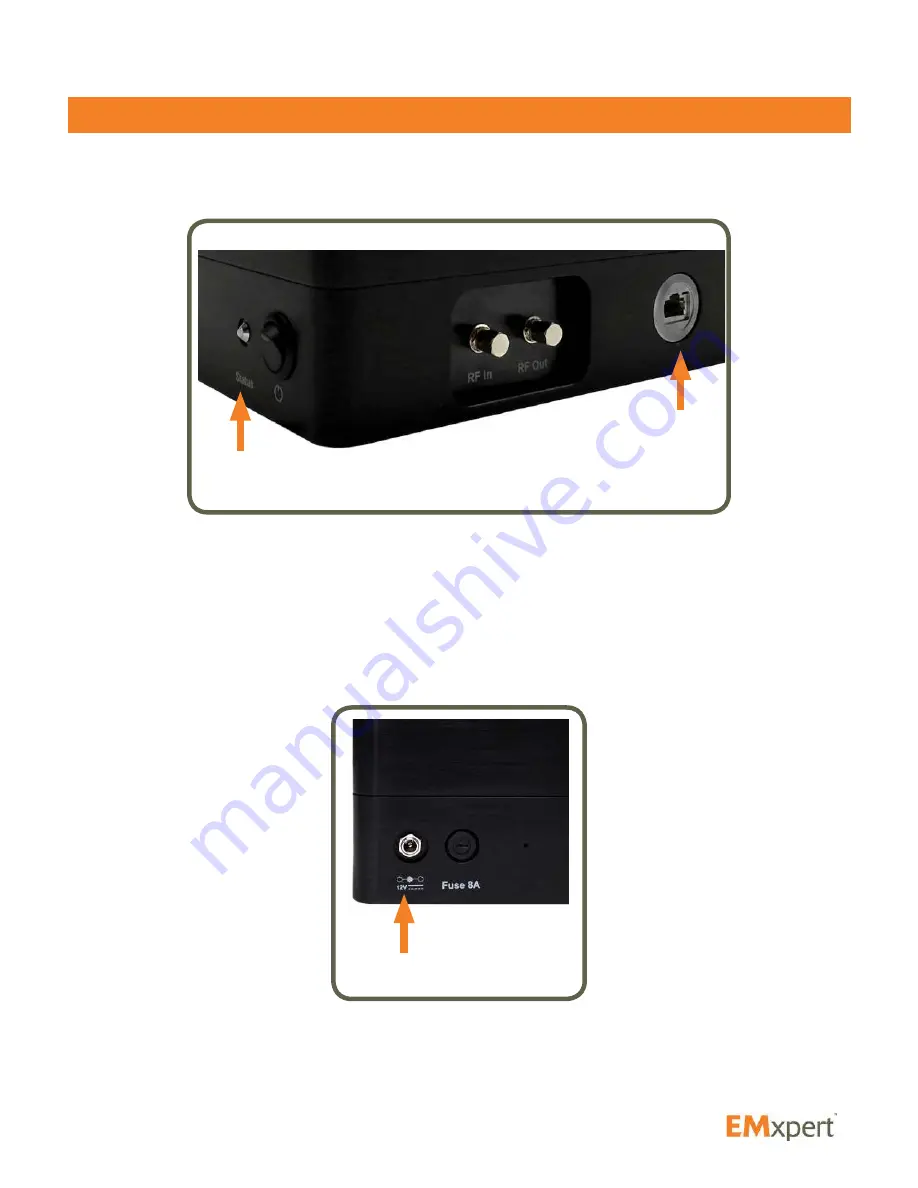
2. Connect an Ethernet cable between ERX+ | EHX+ (Arrow #1) and your PC.
3. Your ERX+ | EHX+ is set by default with the Static IP address 172.16.1.148/255.255.0.0. Change the
static IP of your PC to 172.16.1.99 / 255.255.0.0. To modify the connection between your PC and the
ERX+ | EHX+ please consult the User Manual.
4. Connect the ERX+ | EHX+ power supply and turn on the system (Arrow #2). The system status light
(Arrow #3) should flash orange for up to 1 minute and then turn green. For your ERX+ only, you
should hear the motors moving and see the scanner reposition itself before the LED turns green. If
the LED does not turn green after a few minutes or turns red, cycle the power to the ERX+ | EHX+ by
turning it off and on again. If the problem persists then contact EMSCAN.
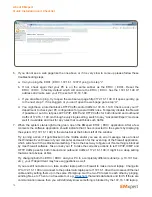
5. Open a HTTP session between your PC and your ERX+ | EHX+ by entering 172.16.1.148 in a Google
Chrome browser (PLEASE DO NOT USE INTERNET EXPLORER). If your PC connects to your
ERX+ | EHX+, you will see the following web page come up; if it does go to step 7.
About EMxpert
Quick Installation and Checklist
1
3
2


