3.
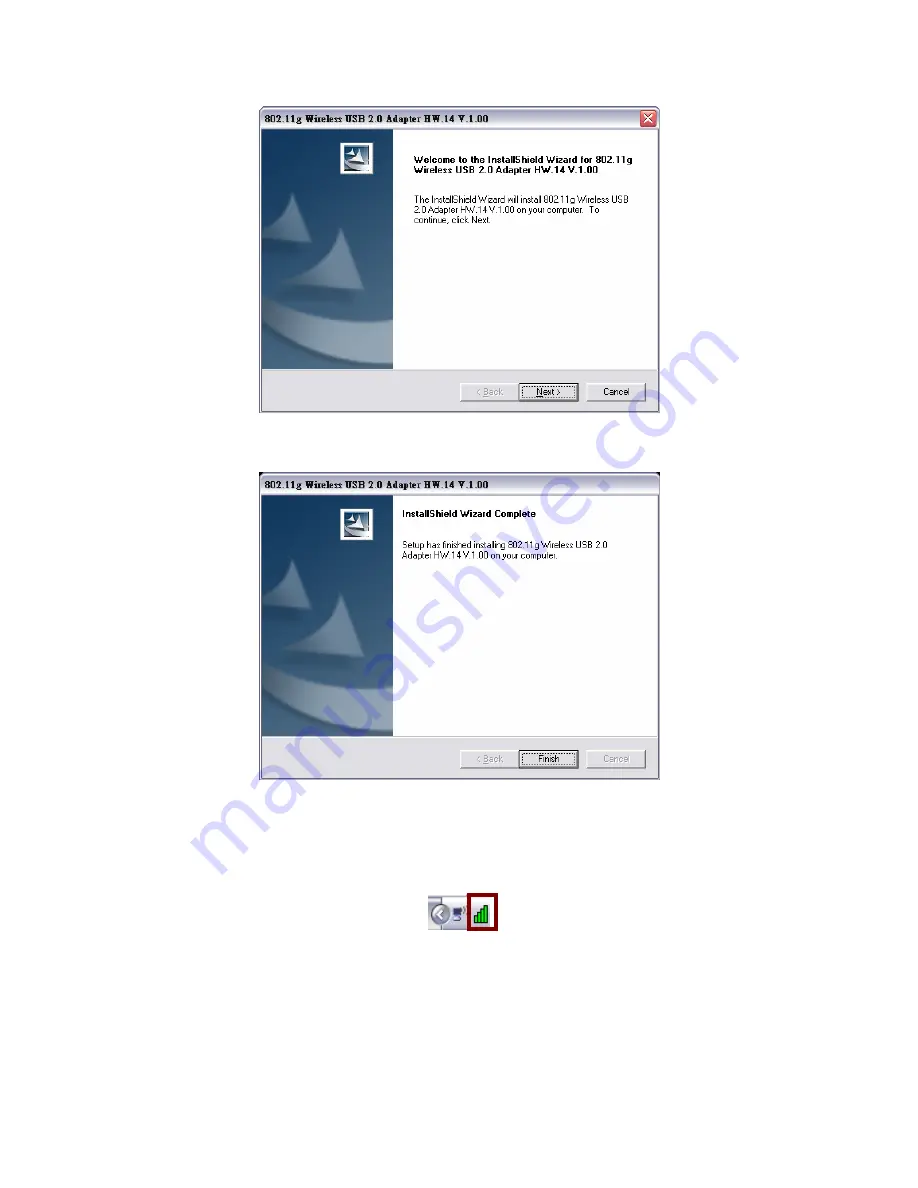
The Install Shield Wizard screen will appear. Click “
Next”
to continue.
4.
Click
“Finish”
to finish the installation.
5.
Plug-in your 802.11g Wireless USB 2.0 Adapter into your computer’s USB port.
6.
You will see the icon on the Windows task bar when you finish the utility
installation and plugged the 802.11g Wireless USB 2.0 Adapter.
When the icon in the toolbar represents in green color, it is properly connected
to the network and shown the linking quality.


