

Carlson Plug-in Wall Light
Safety Warnings
INSTRUCTION MANUAL
• This product is only suitable for connection to a 240V~50Hz supply in accordance with current IEE wiring
regulations. It is for indoor use only, and not suitable for a bathroom location.
• This fitting is a Class II, Double Insulated product
and does not require an Earth. Live or Neutral must not
be connected to Earth.
• Do not plug into the mains until your lamp is fully assembled.
• Never fit bulbs of a higher wattage than those specified on the label, as these may damage the fitting.
• The lamp must be protected by a 3 amp fuse in the mains plug.
• If the mains cable becomes damaged it must only be replaced by a technically competent, qualified person.
• If you are in any doubt about your competence please consult a qualified electrician.
• This product contains delicate parts – take care during handling and maintenance to avoid breakage.
• If any modification is made it will invalidate the warranty and may render the product unsafe
Endon Lighting, LS9 0SE
Assembly/ User Instructions
Before you start
Please read these instructions carefully before fitting and retain for reference. Check the packaging and make
sure that you have all the required parts. Follow each assembly step in order to prevent incorrect assembly.
Ensure that the product is fully assembled as illustrated before use.
These assembly diagrams are intended as a guide – if in doubt consult a qualified electrician.
Care Information
Allow 10 minutes to cool before replacing, adjusting or cleaning.
Clean with a dry cloth only. Do not use liquid or abrasive cleaners on this product.
79380_79500 Carlson W 20190613
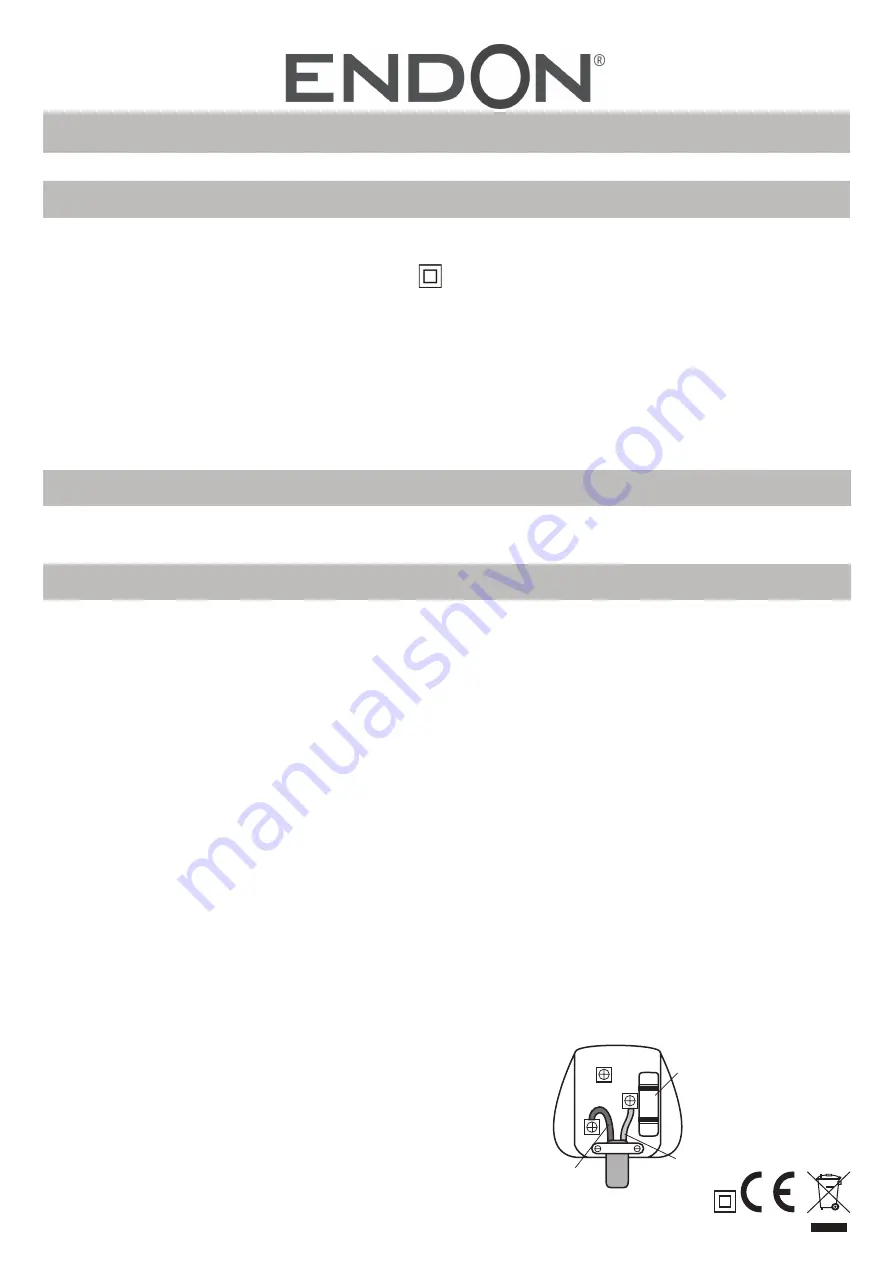
Class II Plug Wiring Diagram
E
L
N
FUSE
Fuse
(3 A
MP)
Blue
(Neutral)
Brown
(Live)
The Light pack contains:
Light fitting
Fixing pack
Retaining clip.
The following tools may be required:
Selection of cross and flat head screwdrivers.
Electric drill and assorted drill bits.
1. Do not attempt to plug in or use this product until it has been fully assembled. Disconnect from mains during
assembly or maintenance.
2. Decide of the position of this light fitting.. Use the backplate (1) as a template to mark the screw holes.
Make the screw holes and secure to the wall with appropriate screw fixings (2).
3. Remove the wrapping from the shade and attach the shade (3) to the lamp by removing the shade ring (4)
from the lampholder. Place the shade over the lampholder and refit the shade ring. Tighten to secure the
shade in place.
4. Install the bulb (5). Do not install a bulb with a greater wattage or different shape than specified on the label.
5. To keep the cable tidy, this product is supplied with a retaining clip. Decide on the cable position. Using the
retaining clip (6) as a template mark and drill the position of the fixing holes. Be careful not to damage any
wiring or pipes. Place the clip around the cable and fix in place using the supplied screw fixings (7).
IMPORTANT: Children can become entangled in loose cable. Ensure excessive loops of cable are
secured against the wall using the fittings supplied. Do not use
this product in children’s bedrooms.
6. Plug in, and operate the lampholder switch (8) to turn your lamp on.
If your lamp will not illuminate, please check the bulb, the 3
amp fuse in the plug and ultimately check the relevant fuse in
your Fuse Box. If unsuccessful please consult your Retailer.


