Maintenance
Cleanfit CUA451
32
Hauser
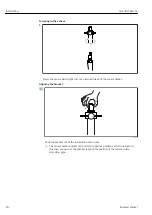
4. After cleaning, grease the retraction pipe to ensure the assembly moves in and out
easily. A suitable grease is SYNTHESO GLEP 1 (from Klüber). PARALIQ GTE 703
(from Klüber) is suitable for use in the food sector.
5. Also grease the area between the O-rings using the grease nipple.
8.1.4
Replacing the seals
L
CAUTION
Residual medium and elevated temperatures can cause irritation
Risk of injury
‣
When handling parts that are in contact with the medium, protect yourself against
residual medium and elevated temperatures.
‣
Wear protective goggles and safety gloves.
Keeping seals clean
1. Keep the sealing surfaces of the assembly free from dirt.
2. Remove caking and buildup from time to time.
3. If leaks are discovered, contact your Hauser sales office.
Preparing the assembly
The seals are available as an accessory kit. When replacing the seals, interrupt the process
and remove the assembly completely.
Use the following materials and tools:
• Teflon tape
• Grease (e.g. SYNTHESO GLEP 1 or PARALIQ GTE 703)
• 2.5 mm Allen screw
• 6 mm Allen screw
• Adjustable open-ended wrench (up to 45 mm)
• Open-ended wrench set (only for flange connection)
• Flat screwdriver
• Adjustable pin wrench DIN 1810 B, size 68 to 75
1. Switch off the process
2. Empty the pipe or vessel.
3. Disassemble the assembly → 29
Removing the retraction pipe and sensor holder
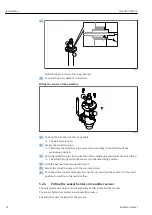
1. Wrap Teflon tape around the thread of the retraction pipe. This protects the seals
from damage when inserting and removing the retraction pipe.
The seals are therefore protected from damage when inserting and removing the
retraction pipe.
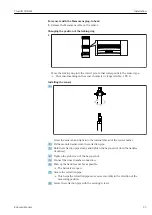
2. Press the retraction pipe downwards out of the ball valve.
3. Using the screwdriver, remove the locking ring above the bayonet nut.
4. Remove the bayonet nut from the sensor holder.


