25
www.enelx.com
Phone: +1-844-584-2329
•
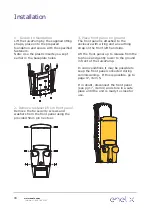
Place the radiator onto the fixing
studs.
•
Fasten the radiator onto the studs
with the supplied nuts using an 8mm
socket.
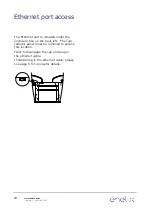
5. Replace cap on ethernet port
6. Attach front/rear radiator panels
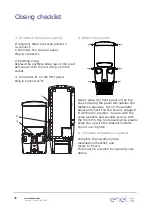
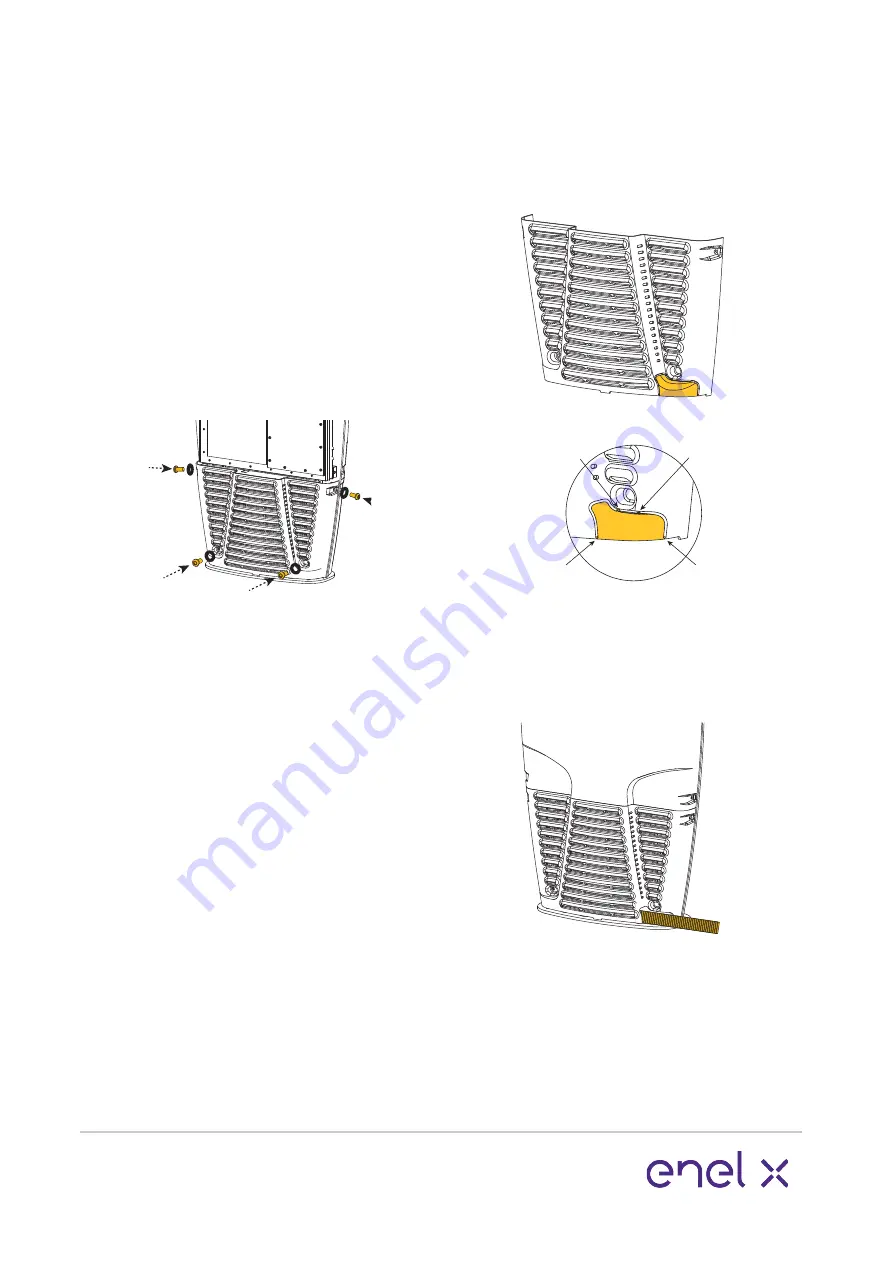
Sit the radiator panel on the base and
against the metalwork, lining up the
plastic holes with the bracket nutserts.
Fasten with nylon washers and security
screws using the 5mm Pin Hex tool.
Do not over tighten.
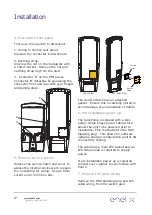
If the power is above ground, the rear
radiator panel provides the exit point for
the conduit from the JuicePump.
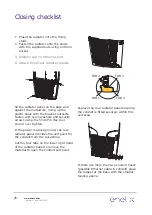
Cut the four tabs on the lower right hand
of the radiator panel to remove the
material to open the conduit exit point.
TAB 1
TAB 3
TAB 4
TAB 2
Replace the rear radiator panel ensuring
the conduit is fitted securely within this
exit area.
If there are more than two conduit hoses
(possible Ethernet cable in conduit) place
the largest at the base with the smaller
feeding above.
Closing checklist


