Part 1 – Introduction
12
Running Installation Program
(INIT)
The INIT (Integrated Network Installation Tool) program
is provided with the product for connection to the
product. You can connect to the product remotely via
Ethernet to change its settings and manage it. Run the
INIT program as follows.
1
Insert the program CD.
2
Run the INIT program by double clicking the
INIT.
exe
file in the INIT folder.
3
Set the language option. You can change the
language option after running the program.
4
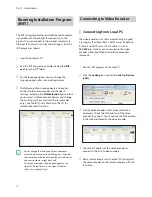
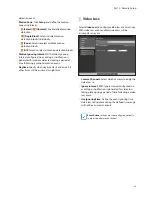
The following Main screen appears, and you can
connect to the video encoder and change its
settings. Selecting the
Multiselection
option allows
you to select multiple network devices and change
their settings at the same time (The same model
only). See the INIT User’s Manual on the CD for
details about each function.
• Do not change the IP address of your computer
manually while running the INIT program. If you do,
the network connection between the network device
and your computer might be cut off.
• This product includes software developed by the
OpenSSL Project for use in the OpenSSL Toolkit
(
http://www.openssl.org/)
Connecting to Video Encoder
Connecting from Local PC
The video encoder is set to be automatically assigned
a temporary IP address from a DHCP server by default.
If there is no DHCP server, the IP address is set to
169.254.x.x
. It allows you to connect to the video
encoder without additional installation procedure
(Zeroconf).
1
Run the INIT program on the local PC.
2
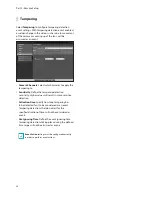
Click the
Lookup
icon and select
Look Up Devices
(LAN)
.
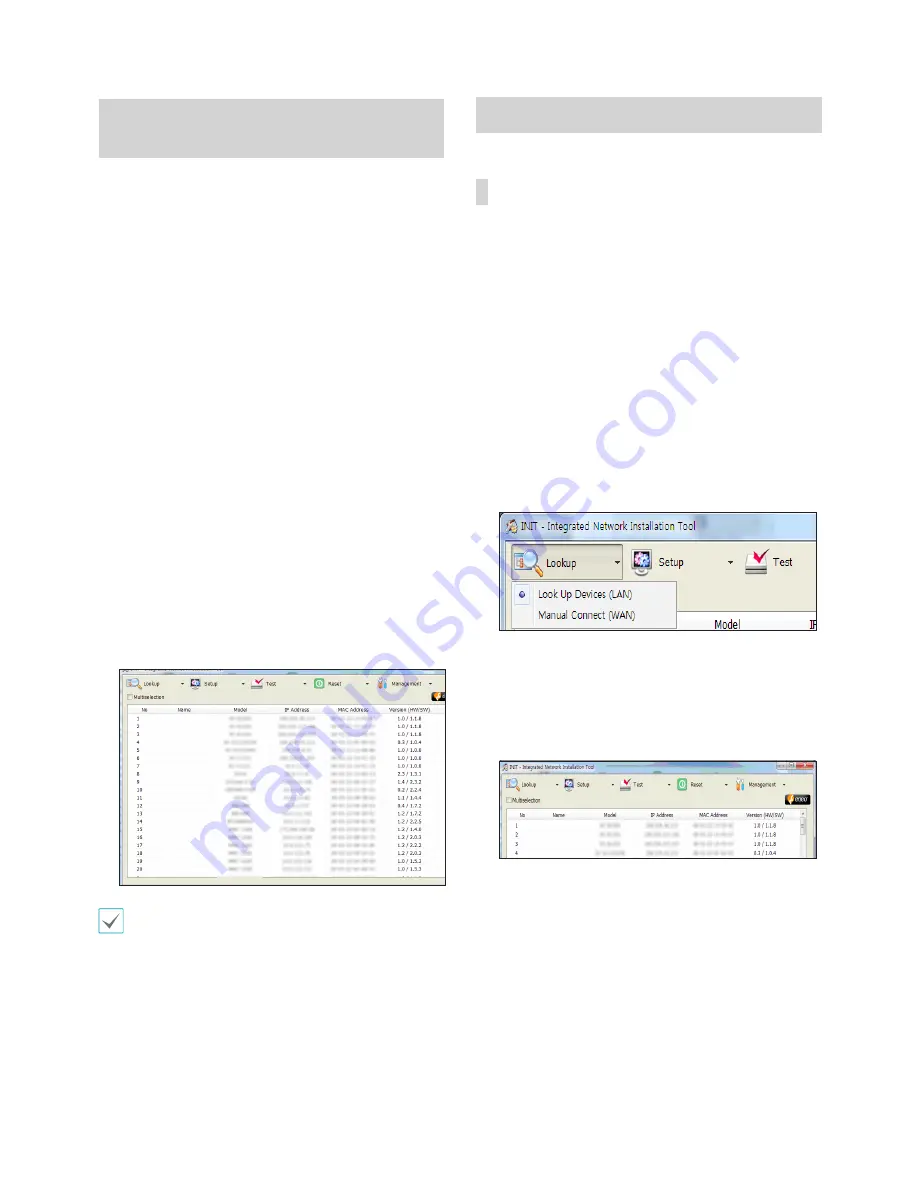
3
A list of video encoder within a local network is
displayed. Check the MAC address of the video
encoder to connect. You can check the MAC address
in the sticker adhered to the video encoder.
4
Check the IP address of the video encoder to
connect in the list of video encoders.
5
Run a remote program on the local PC and register
the video encoder on the remote program with the
IP address.


