background image


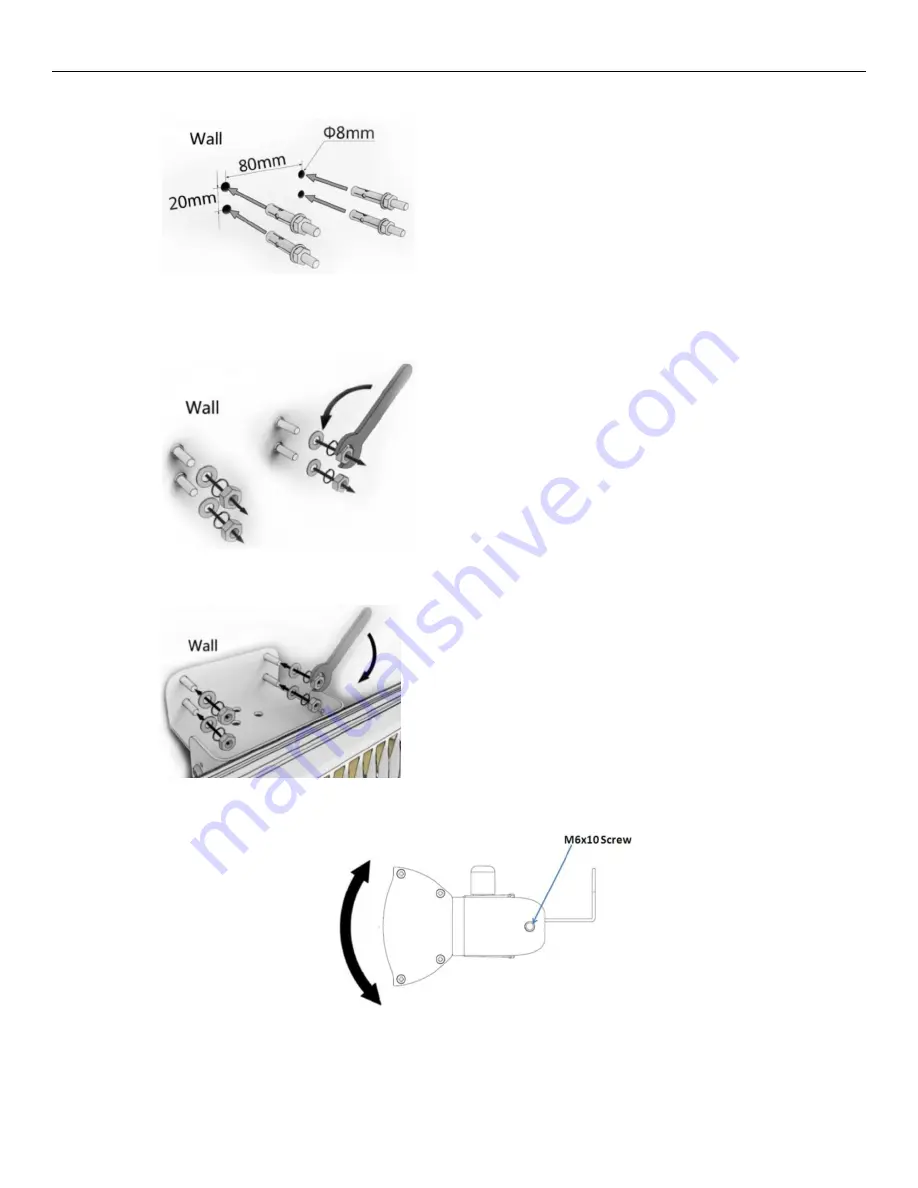
Step 2:


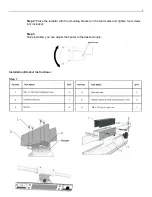
Unscrew the four nuts, spring locks washers and plain washers from the four expansion bolts. 
Keep them for the next step. 


Step 3:


Fix the mounting bracket over the 
four expansion bolts.


Step 4: 

Once installed, you can adjust the heater to the desired angle. 


Wall mounted (Other surfaces): 
 

Step 1: 

Using the wall mount bracket as a template mark the four screw holes where you plan to 

install the radiator. 


Summary of Contents for HEA-21590BT

Page 1: ...HEA 21590BT MURAL INFRARED PATIO HEATER With WIRELESS ACTIVATED SPEAKER RADIATEUR INFRAROUGE 1500 Watts MURAL POUR TERRASSE Avec HAUT PARLEUR SANS FILS Instruction Manual Guide d utilisation...

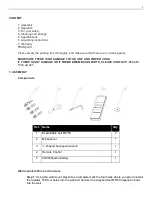
Page 2: ...D IF THERE IS ANY DAMAGE OR IF THERE ARE MISSING PARTS PLEASE CONTACT1 866 967 7333 ext 227 1 ASSEMBLY Components Ref Name Qty 1 Expandable bolt M6 50 4 2 M6 spanner 1 3 L shaped hexagonal wrench 1 4...

Page 3: ...eep them for the next step Step 3 Fix the mounting bracket over the four expansion bolts Step 4 Once installed you can adjust the heater to the desired angle Wall mounted Other surfaces Step 1 Using t...

Page 4: ...ator with the mounting bracket on the four marks and tighten four screws not included Step 3 Once installed you can adjust the heater to the desired angle Installation Bracket Instructions Step 1 1 M8...

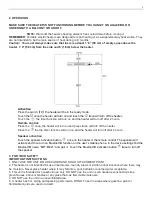
Page 5: ...e the timer function will turn on and the heater will turn off after 2 hours Speaker activation Touch the speaker activation button once on the heater or the remote control The speaker will activate a...

Page 6: ...bed where openings may become blocked 20 Use this heater only as described in this manual any other use not recommended by the manufacturer may cause fire electric shock or injury to persons SAVE THES...

Page 7: ...E Composantes R f Nom Qt 1 Boulon expansible M6 50 4 2 Cl M6 1 3 Cl exagonale en forme de L 1 4 T l commande 1 5 Batteriede type CR2450 1 REMARQUE Attendez que l l ment chauffant du radiateur ait refr...

Page 8: ...er le radiateur Percez ensuite quatre trous dans le mur et martelez les quatre boulons d expansion M6 50 fournis dans le mur tape 2 D vissez les quatre crous rondelles ressort et rondelles plates des...

Page 9: ...age mural comme mod le pour marquer les quatre trous o vous pr voyez d installer le radiateur tape 2 Placez le radiateur et son support sur les quatre marques et serrez avec quatre vis non incluses po...

Page 10: ...active la minuterie Le radiateur se d sactivera alors apr s 2 heures de marche T l commande Touchez le bouton une fois le radiateur se met alors en marche Touchez une autre fois le bouton et le radiat...

Page 11: ...areil 13 N ins rez pas ou ne laissez pas de corps trangers p n trer dans les bouches de ventilation ou de sortie d air de l appareil car ceci pourrait causer une d charge lectrique un incendie ou endo...

Page 12: ...re discr tion Notes importantes Tout dommage caus l une des pi ces de produit et attribuable un accident une utilisation abusive ou une installation inad quate n est PAS couvert par la garantie En ver...

Reviews: