31
Call 1-
800-347-9575
for Technical Support
5. Exhaust Flue System Installation
The exhaust system is critical for the safe operation of the boiler, as it exhausts the products of
combustion out of the building to the ambient environment.
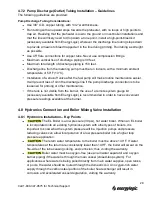
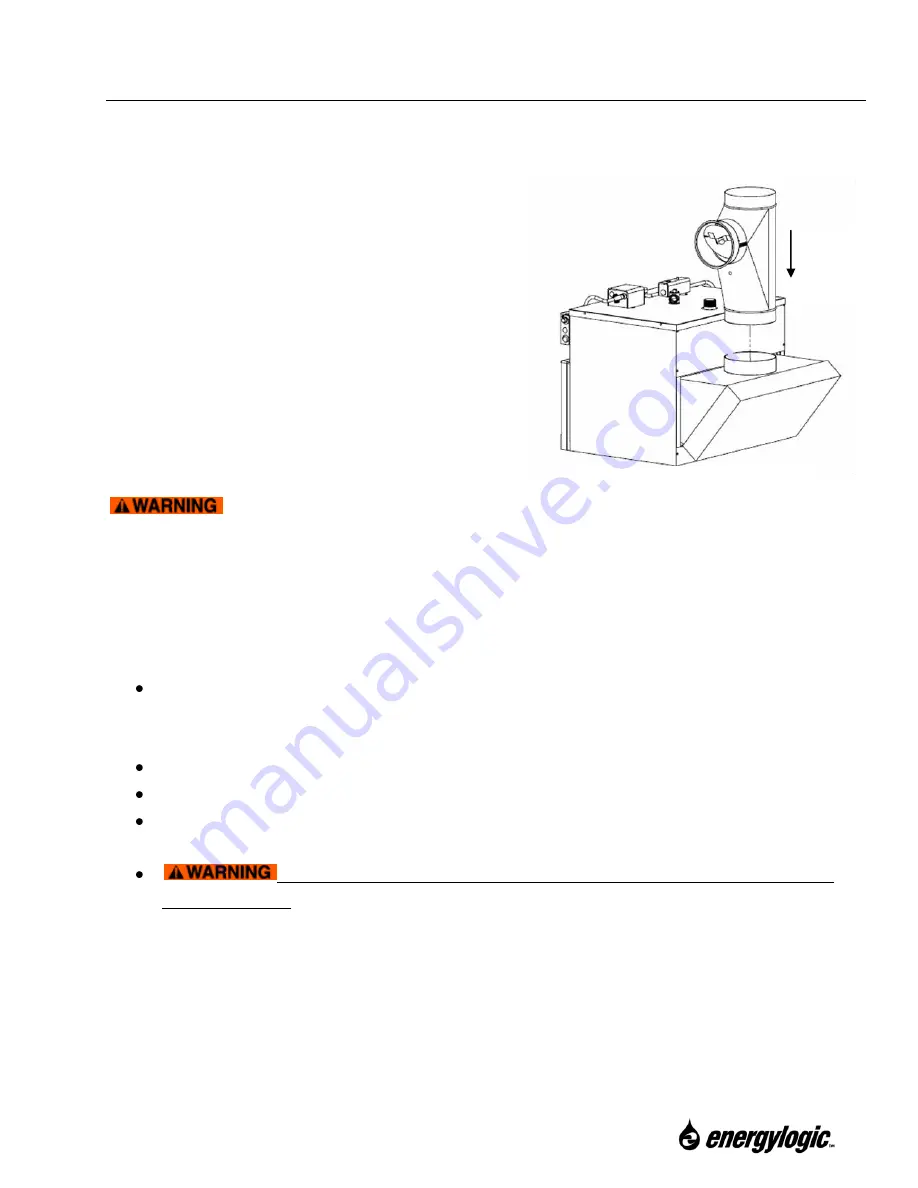
5.1 Barometric Damper Tee Installation
The barometric damper tee helps to regulate draft
pressure through varying ambient conditions.
Install the tee with the tapered end pointing
downward by sliding it into the heat exchanger
outlet until the taper is completely inserted (refer
to figure).
5.2 Flue Piping Installation
The flue piping exhausts products of combustion
out of the building into the ambient environment.
You may have a basic knowledge of carpentry and the use of hand tools.
However, it is important that you review all safety rules in this section, and all safety rules in
the manuals
provided with your manufactured flue kit. If you have any doubt about your ability
to complete the installation in a safe and workmanlike manner, you should arrange for a
professional installation. For more regulatory information regarding flue pipe installation,
consult NFPA 31 and your local fire protection and building codes.
Flue System Installation Steps and Considerations:
Review this section completely. Choose and purchase a factory-built flue kit that
complies with U.L. standard 103 Type HT - rated 1000°F (538°C) continuous operation,
or equivalent.
The EL-200B and the EL-375B require 8 inch diameter flue.
The EL-500B requires a 10 inch diameter flue.
For your convenience, EnergyLogic offers flue kits for EnergyLogic boilers. Contact your
EnergyLogic dealer to purchase.
Read and follow the product and safety instructions included with your
selected flue kit. If product instructions were not included, contact the manufacturer of
your kit to obtain the instructions. If unsure of your ability to properly install the flue
system, hire a professional installer or contact EnergyLogic for assistance.
Insert Tee
with taper
end down.
Installation of Tee and Damper.

