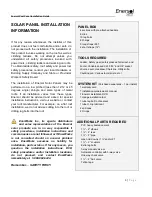
Enersol Pool Panel Installation Guide
7 |
P a g e
ASSEMBLY INSTRUCTIONS
(CONTINUED)
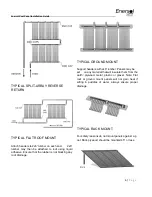
2 - Roll out panels on roof, rack or
ground:
a)
Carry the boxes to the installation area.
b)
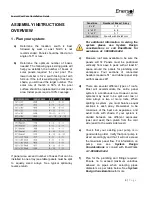
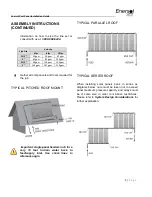
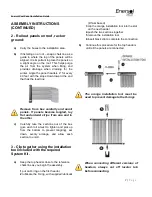
If installing on a roof
– snap a chalk line as a
guide to where the top of the panels will be
aligned. It is important to place the panels on
a slight angle on the roof. This helps purge
the air from the system when filling, and
provides drainage when draining for the
winter. Angle the panel headers
4” for every
40 feet with the slope down toward the end
that has the feed line
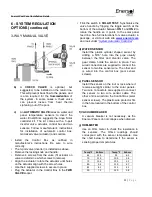
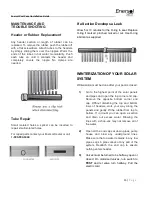
Remove from box carefully and unroll
panels. If panels become tangled, lay
flat and untwist strips from one end to
the other
c)
Carefully take the sections out of the box
(give each roll a twist to tighten and pick up
from the bottom to prevent tangling), set
down, evenly arrange, and allow each
section to unroll.
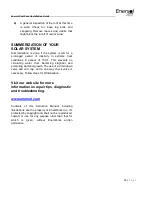
3 - Clip together using the installation
tool included with the required
System Kit.
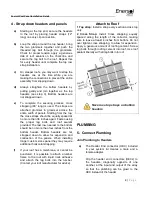
a)
Keep the top header close to the reference
chalk line as you begin the assembly.
1
put an O-ring on the first header
2
lubricate the O-ring, with supplied lubricant
(lithium based)
3
clip the orange installation tool into the slot
on the next header
4
push the two sections together
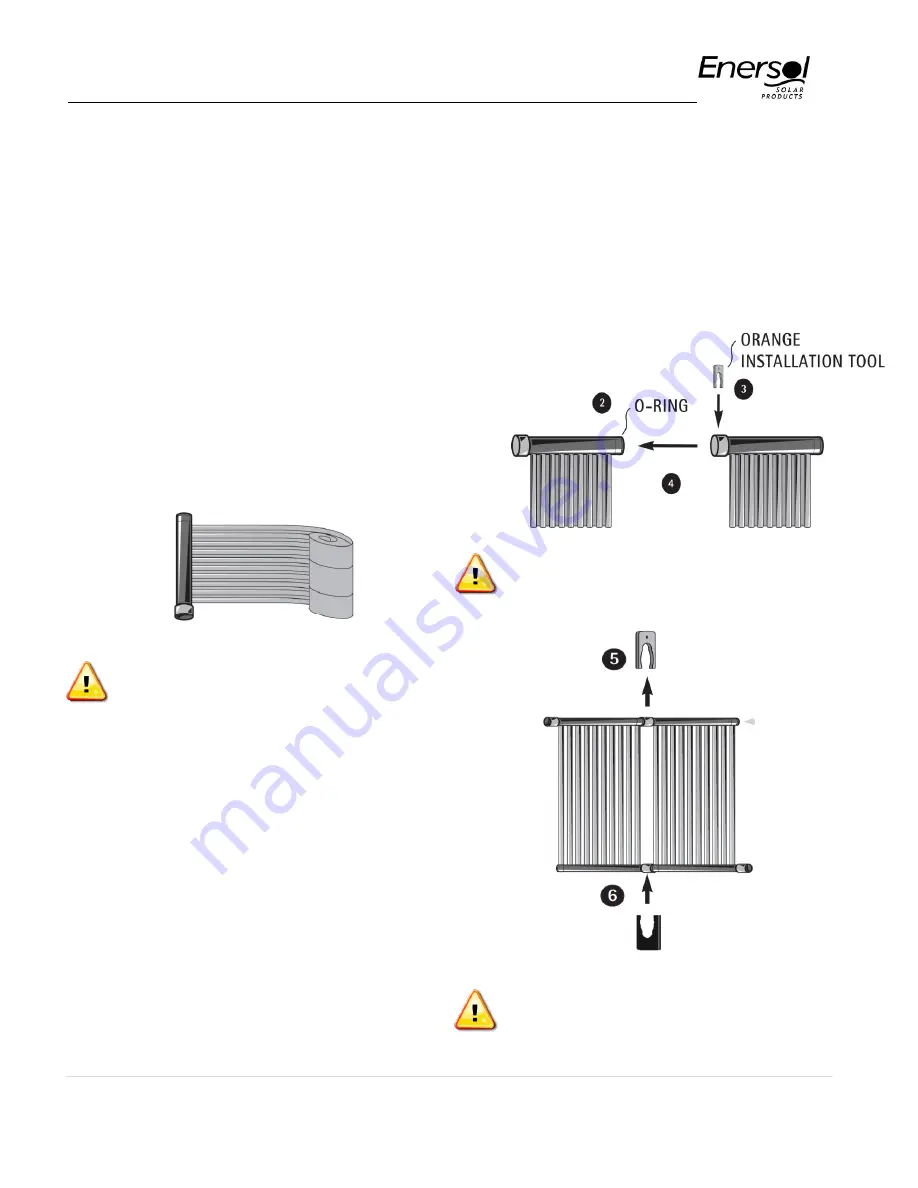
5
remove the installation tool
6
insert black clip to complete the connection
b)
Continue this procedure for the top headers
until all the panels are connected.
The orange installation tool must be
used to prevent damage to the O-rings
When connecting different versions of
headers, always cut off locator tab
before connecting.

