Enersol Pool Panel Installation Guide
8 |
P a g e
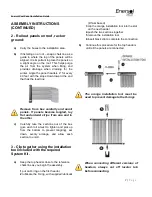
4 - Strap down headers and panels
a)
Starting at the top end, secure the headers
to the
roof by placing header straps (12”
long) on every clip connection.
b)
Loop the strap around the top header, bring
the two grommets together and push the
threaded lag bolt through the grommets.
Check for proper tension, apply a generous
dab of roof sealant on the chalk line and
secure the lag bolt to the roof. Repeat this
for every header until complete the top row
strap installation.
c)
On steeper roofs, you may want to strap the
headers one at the time while you are
making the connections to prevent the entire
assembly from slipping down.
d)
Always straighten the bottom headers by
pulling gently and join together as the top
headers (see step 3), Bottom headers are
not strapped down.
e)
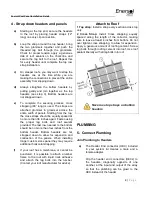
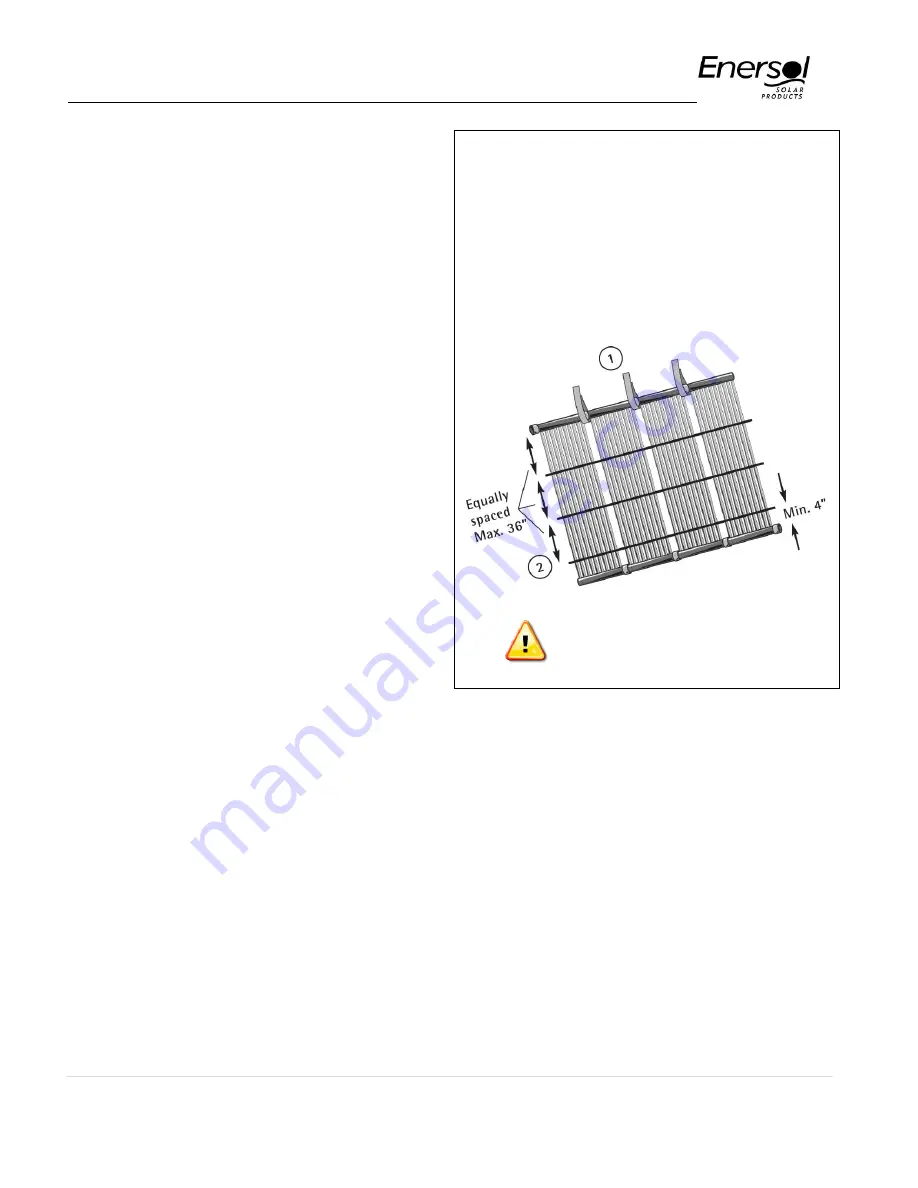
To complete the securing process, cross
strapping (48” long) is used. The straps are
attached grommet to grommet across the
entire width of panels. Starting from the top,
the cross straps should be equally spaced at
no more than 36 inches apart. Fasten using
the proper lag bolts and roof sealant
provided. The last row, nearest to the bottom
should be no more than four inches from the
bottom header. Bottom headers are not
strapped down to allow for expansion and
contraction of the panels. When installing
longer custom sizes panel they may require
additional horizontal strapping.
f)
If your roof has a membrane, or cannot be
punctured, it is possible to attach a lumber
frame to the roof with liquid nails adhesive
and attach the lag bolts into the lumber.
(Contact your roof manufacturer for advice).
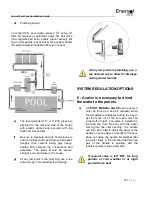
Attach to Roof
1 Top strap:
Install a strap every section across top
only.
2 Cross Strap:
Install Cross strapping equally
spaced along the length of the collector, making
sure to leave at least 4 inches from bottom. Do not
over tighten cross strapping, to allow for expansion.
Apply a generous amount of roofing cement. Screw
lag bolts through roofing cement into roof. Use roof
sealant liberally with all lag bolts into roof.
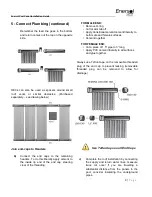
Never use top straps on bottom
headers
PLUMBING
5 - Connect Plumbing
Join Plumbing to Headers
a)
The Header End connector (HEC) included
in your system kit creates a male and a
female adapter.
Clip the header end connectors (HECs) to
the headers, diagonally opposite of one
another, at the input and output of the array
so that the plumbing can be glued to the
HEC instead of the header.

