background image

LOCAL/WIRED OPERATIONS:

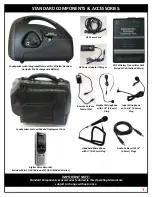
To project an operator’s live voice through the Loudspeaker unit via the supplied “Handheld Microphone with 
¼” (6.35mm) Plug,” please follow the instructions below

:

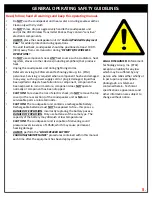
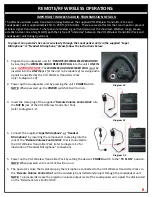
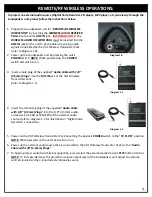
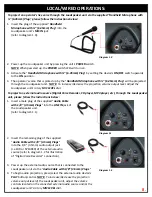
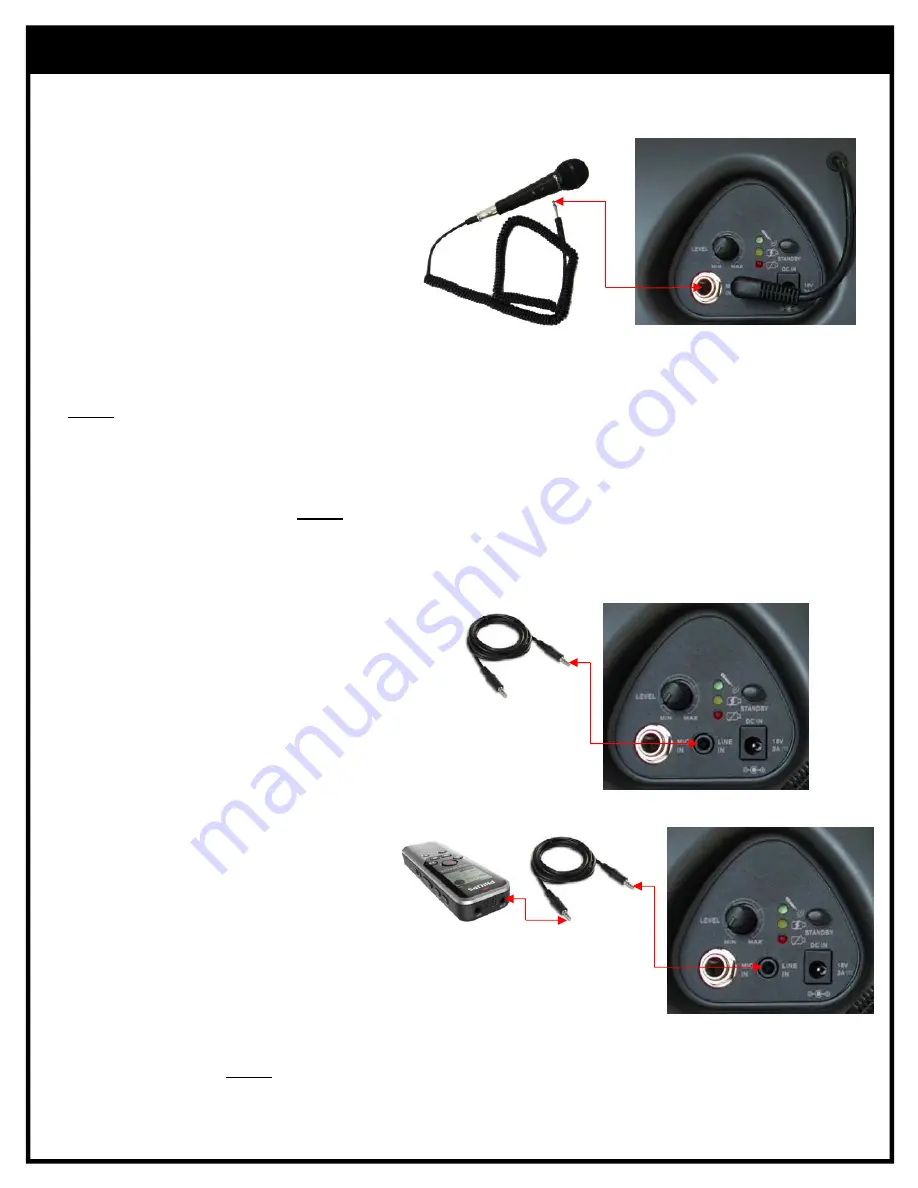
Diagram 1.0

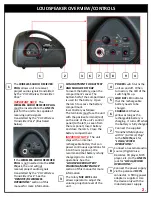
2. Power up the Loudspeaker unit by pressing the unit’s 

POWER

switch. 

NOTE:

When powered up, the 

POWER

switch LED will turn on. 

1. Insert the plug of the supplied “

Handheld

Microphone with ¼” (6.35mm) Plug

” into the

Loudspeaker unit’s

MIC IN

jack

(refer to diagram 1.0).

3. Activate the “

Handheld Microphone with ¼” (6.35mm) Plug

” by setting the device’s 

ON/OFF 

switch upwards 

to the 

ON

position. 

4. The operator’s voice that is picked up by the “

Handheld Microphone with ¼” (6.35mm) Plug

” will be projected 

through the Loudspeaker unit.  

NOTE:

To increase/decrease the projection volume output level, adjust the

Loudspeaker unit’s rotary 

MIC LEVEL

dial. 

To project an external audio source (Digital Voice Recorder, CD player, MP3 player, etc.) through the Loudspeaker 
unit, please follow the instructions below:

Diagram 1.1

1. Insert a male plug of the supplied “

Audio Cable 

with 1/8” (3.5mm) Plugs

” into the 

LINE IN 

jack of 

the Loudspeaker unit.
(refer to diagram 1.1).

Diagram 1.2

2. Insert the remaining plug of the supplied 

Audio Cable with 1/8” (3.5mm) Plugs

” 

into the 1/8” (3.5mm) audio output jack 
(i.e EAR or SPEAKER) of the external audio 
source (refer to diagram 1.2 for illustration 
of “Digital Voice Recorder” connection).

3. Power up the external audio source that is connected to the 

Loudspeaker unit via the “

Audio Cable with 1/8” (3.5mm) Plugs

.”

4. To begin audio projection, press/select the external audio device’s 

PLAY

button/control. 

NOTE:

To increase/decrease the projection 

volume output level of the Loudspeaker unit, adjust the volume 
controls located on the connected external audio source and/or the 
Loudspeaker unit’s rotary 

MIC LEVEL 

dial.

8.

Summary of Contents for ETG-WFR-OPS-2017

Page 1: ...tice TABLE OF CONTENTS TOPIC PAGE Standard Components Accessories 1 Loudspeaker Overview Controls 2 VHF Wireless Transmitter Pack Overview Controls 3 Loudspeaker Battery Charging Maintenance 4 General Operating Safety Guidelines 5 Remote RF Wireless Operations 6 7 Local Wired Operations 8 Loudspeaker VHF Wireless Transmitter Pack Microphone Specifications 9 ...

Page 2: ...itter Pack includes 9v Alkaline Battery AC Power Cord AC Power Adapter Charger Loudspeaker Custom Padded Deployment Case Remote Volume Control Dial Headset Microphone with 1 8 3 5mm Plug Lapel Microphone with 1 8 3 5mm Plug Digital Voice Recorder includes Micro USB Cable and 2 AA Alkaline Batteries IMPORTANT NOTE Standard Components Accessories featured in this Operating Manual are subject to chan...

Page 3: ...s control panel to the left as seen from the rear panel Insert battery and close the latch Close the battery compartment IMPORTANT NOTE The unit ships with an internal rechargeable battery that can power continuous operations for 6 to 8 hours approx We recommend that battery is fully charged prior to initial operations See the LOUDSPEAKER BATTERY CHARGING MAINTENANCE section of this manual for mor...

Page 4: ...R switch is set to the TX OFF position IMPORTANT NOTE The unit will NOT wirelessly transmit audio if the POWER switch is set to the TX F2 ON position 9V BATTERY COMPARTMENT To insert the battery open the battery compartment by sliding the cover downwards Insert the battery in accordance with the polarity decal contained within the compartment Once inserted close the battery compartment by sliding ...

Page 5: ...lly charged disconnect the AC Power Adapter Charger and AC Power Cord IMPORTANT NOTE To prevent damage to the Loudspeaker unit s battery due to overcharging ALWAYS disconnect the AC Power Adapter Charger after the battery has been fully charged IMPORTANT BATTERY MAINTENANCE STORAGE INFORMATION The Loudspeaker unit uses a sealed lead acid gel battery that will slowly self discharge when the unit is...

Page 6: ...o a component component has been exposed to rain or moisture component does NOT operate normally or component has been dropped CAUTION To reduce the risk of electric shock do NOT remove the top cover or the rear section of the Loudspeaker unit as NO user serviceable parts are located inside CAUTION The Loudspeaker unit contains a rechargeable battery Rechargeable batteries must NOT be exposed to f...

Page 7: ...m 1 1 Diagram 1 1 4 Connect the supplied Lapel Microphone or Headset Microphone by inserting the component s male plug into the jack of the Remote Volume Control Dial that is connected to the VHF Wireless Transmitter Pack refer to diagram 1 2 for illustration of Headset Microphone connection Diagram 1 2 6 The operator s voice that is picked up by the microphone connected to the VHF Wireless Transm...

Page 8: ...y setting the device s POWER switch to the TX F1 ON position NOTE When powered on the unit s LED will turn on 6 Power up the external audio source that is connected to the VHF Wireless Transmitter Pack via the Audio Cable with 1 8 3 5mm Plugs 7 To begin wireless audio transmission projection press select the external audio device s PLAY button control NOTE To increase decrease the projection volum...

Page 9: ...tary MIC LEVEL dial To project an external audio source Digital Voice Recorder CD player MP3 player etc through the Loudspeaker unit please follow the instructions below Diagram 1 1 1 Insert a male plug of the supplied Audio Cable with 1 8 3 5mm Plugs into the LINE IN jack of the Loudspeaker unit refer to diagram 1 1 Diagram 1 2 2 Insert the remaining plug of the supplied Audio Cable with 1 8 3 5m...

Page 10: ...r Adapter Charger 18vdc 3 A Mains Voltage 100 240v 50 60 Hz 1 5 A switching mode adapter INTEGRATED INTERNAL VHF WIRELESS RECEIVER Rx FREQUENCY CHANNEL VHF Frequency 169 445 MHz MODULATION SYSTEM FM POWER SUPPLY Integrated with Loudspeaker Rechargeable Battery POWER CONSUMPTION 25mA Loudspeaker Specifications VHF Wireless Transmitter Pack Specifications Microphone Specifications WEIGHT 6 oz 170 10...

Reviews: