XF
Rev: 7, 2008-10-14
Page 19
7.2 Joystick
installation
The joystick panel, (single or double), comes complete with;
•
Joystick with gasket and connection plug(s)
•
Drill
template
•
Self tapping screws
•
Manual
7.2.1 Mounting
•
Turn off the main switch to the electrical thruster.
•
Select the mounting position for the joystick panel. The desired position must
be even and in a location that will prevent water from rain or sea spray to be
able to access the back of the panel. Remove all grease, dust or dirt before
affixing the drill template.
•
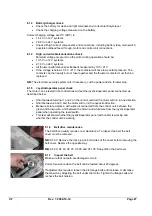
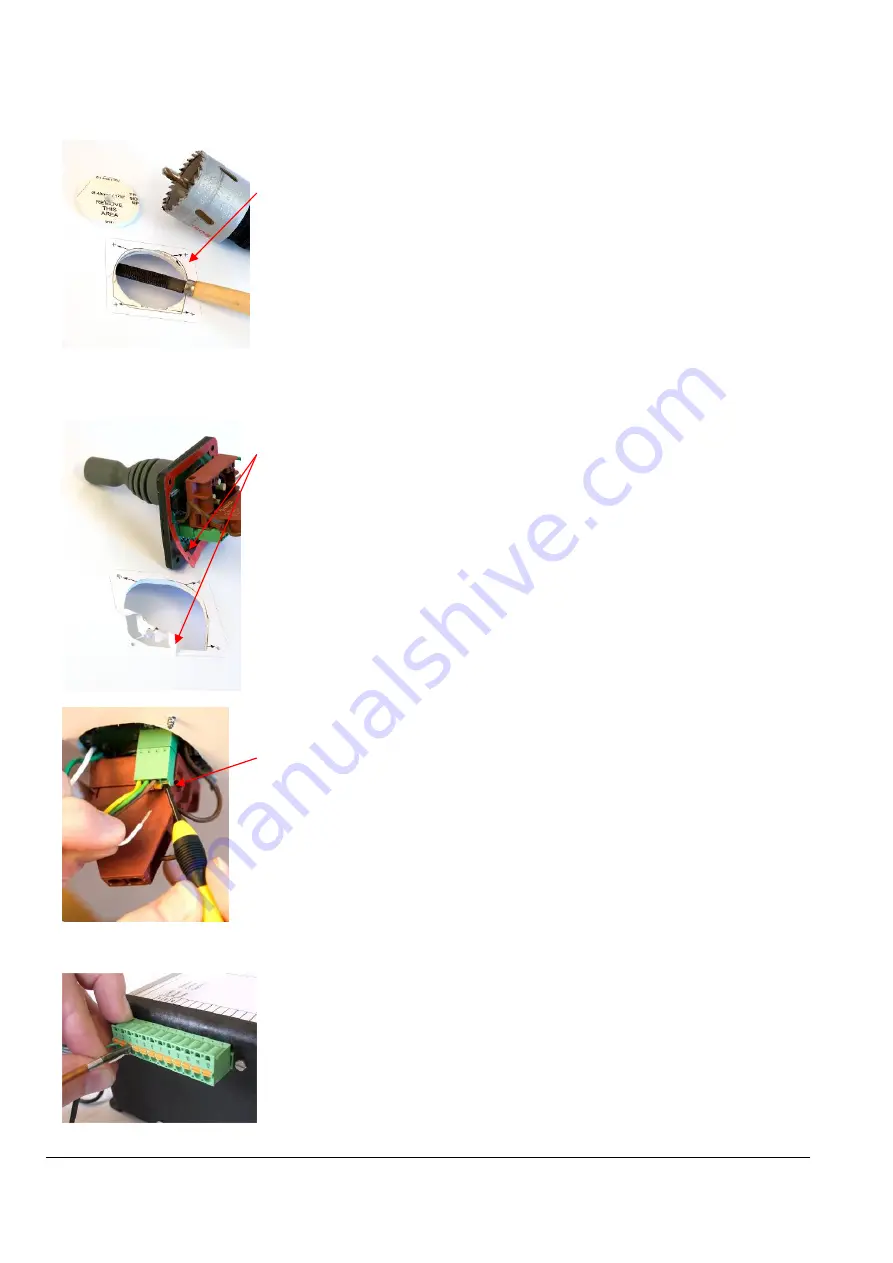
Mount the drill template sticker and use a hole saw and a file to remove all
needed area for installation. Pre-drill the four fastening holes with Ø2,4mm,
(3/32”).
•
Remove the drill template and remove the red cover film from the gasket.
•
Install the panel carefully and fix it in place with the four black stainless
screws.
•
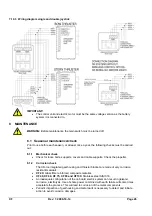
Connect the wires to the panel as shown on the connection diagram(s).
•
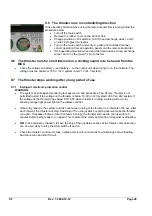
The wires are connected by pressing in the button placed under the hole
while the wire is being pushed into the hole. Release the button when the wire
is in place.
•
Check for good connection by pulling gently in the wires.
•
Correct connection is;
1. White (Direction 1)
2. Brown
(Common)
3. Green (Direction 2)
4. Yellow (+ supply from 1 A fuse connected ater thruster main switch or
directly to MCU from MCU serial no. 200473 and later.)
7.3 Connecting the control cable
•
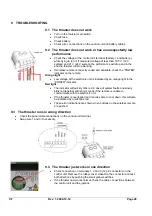
The wires are connected by pressing in the button placed over the hole while
the wire is being pushed into the hole.
•
Release the button when the wire is in place.
•
Check for good connection by pulling gently in the wires.
Summary of Contents for XForce Series
Page 24: ...XF Rev 5 2008 10 06 Side 24 6 11 Elektriske kobling skjemaer 6 11 1 XForce 20 ...
Page 25: ...XF Rev 5 2008 10 06 Side 25 6 11 2 XForce 40 60 75 90 130 ...
Page 32: ......
Page 56: ...XF Rev 7 2008 10 14 Page 24 7 10 Wiring diagrams 7 10 1 XForce 20 ...
Page 57: ...XF Rev 7 2008 10 14 Page 25 7 10 2 XForce 40 60 75 90 130 ...
Page 64: ......


